| Shelf | Level | Time | Hook | Yarn |
|---|---|---|---|---|
| Mini and keychains | Intermediate | 4-6 hours | 2.5 mm | Fingering |
Tiny knit spider amigurumi on double-pointed needles
How do you knit a tiny amigurumi spider? Body worked in rounds, legs worked flat as i-cord.
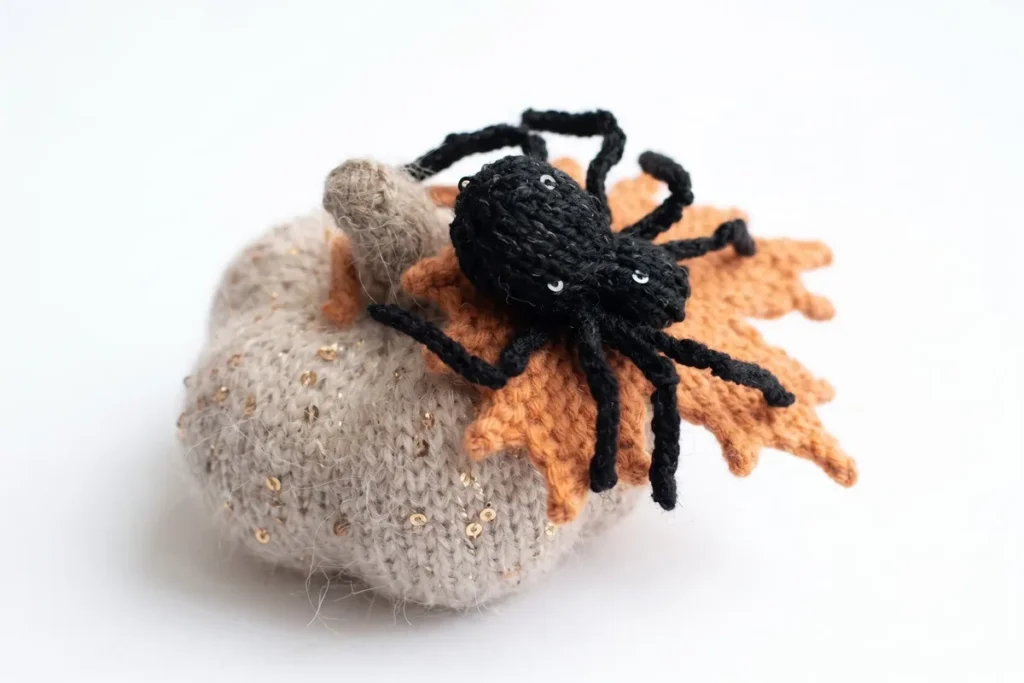
01 · The pieceWhat Tiny knit spider amigurumi on double-pointed needles actually is
The body is a single 12-round build worked tail to head, starting from a 6-stitch cast-on and expanding in continuous spiral rounds with no seam up the side. Four separate legs are knit apart as 2-stitch i-cord tubes, two long and two short, each carrying a shaping sequence that forms a knee bend. Nothing about the legs joins to the body until assembly, when yarn tails sew each one to the underside by its flat middle section.
Gauge is explicitly not critical here, so needle size and exact row tension can drift without consequence to the final ~2.4 in (6 cm) result. What does need care is the marker placement at each round change on the body, and the Dec-R/KFB pairing on the legs — miss either and the spiral drifts or the knee bend lands in the wrong place. Everything else in this build tolerates a loose hand.
This pattern is written in US knitting terminology, worked on double-pointed needles, with the stitch count given at the end of each round or row in parentheses — for example, (18).
Knit tightly and evenly to keep the small stitches close together and avoid visible gaps once stuffed. Stuff firmly but gradually — add small amounts as you go rather than packing everything in at the very end.
02 · The count run25 rounds across 2 parts, each with its count
US terms throughout. Every row below ends with the count that round finishes on.
| Part | Qty | Finishes on |
|---|---|---|
| Body (worked in one piece, tail to head) | 1 | - |
| Legs (make 4 — 2 long, 2 short) | 1 | - |
Cast on 6 stitches using your preferred method (a Turkish or figure-8 cast-on works well for small circular pieces; a crochet chain provisional cast-on is a fine substitute). Distribute stitches across your DPNs and place a marker for the beginning of the round.
| Round | Instruction | Count |
|---|---|---|
| Round 1 | K all sts. (6) | - |
| Round 2 | Inc-R in every st around. (12) | - |
| Round 3 | K all sts. (12) | - |
| Round 4 | *Inc-R, K1; repeat from * around. (18) | - |
| Rounds 5–10 | K all sts. (18) | - |
| Round 11 | *Dec-R, K1; repeat from * around. (12) | - |
| Round 12 | Dec-R in every pair around. (6) | - |
| Round 13 | K all sts. (6)Stuff the body firmly before continuing to the head. | - |
| Round 14 | K all sts. (6) | - |
| Round 15 | Inc-R in every st around. (12) | - |
| Rounds 16–18 | K all sts. (12) | - |
| Round 19 | Dec-R in every pair around. (6)Stuff the head firmly. Cut yarn, thread through remaining stitches with a tapestry needle, and pull tight to close. Weave in the end. | - |
Cast on 2 stitches using a standard cast-on. Work as 2-stitch i-cord: knit both stitches, then — without turning — slide the stitches to the opposite end of the double-pointed needle so the working yarn sits on the left. Knit both stitches again and repeat to form a narrow tube.
| Round | Instruction | Count |
|---|---|---|
| Rows 1–9 | K all sts. (2) | - |
| Row 10 | Dec-R. (1) | - |
| Row 11 | KFB. (2) | - |
| Rows 12–17 | K all sts. (2) | - |
| Row 18 | Dec-R. (1) | - |
| Row 19 | KFB. (2) | - |
| Rows 20–23 | K all sts. (2)This middle section is the part that gets sewn to the body or underside of the head. | - |
| Row 24 | Dec-R. (1) | - |
| Row 25 | KFB. (2) | - |
| Rows 26–31 | K all sts. (2) | - |
| Row 32 | Dec-R. (1) | - |
| Row 33 | KFB. (2) | - |
| Rows 34–42 | K all sts. (2)Cut yarn, thread through the last stitch, and pull to fasten off. Weave in both ends. | - |
For the 2 shorter (middle) legs, work only 7 rows instead of 9 for both the opening section (Rows 1–7) and the closing section (in place of Rows 34–42).
Techniques on this build
- Turkish or figure-8 cast-on
- Used to start the body's 6 stitches for continuous rounds; a crochet chain provisional cast-on substitutes if the small circular cast-on feels fiddly.
- Continuous spiral knitting on DPNs
- Runs the full 12 rounds of the body; keep the stitch marker moving with each round or the spiral shifts and the taper toward the head skews.
- 2-stitch i-cord
- Forms each leg tube by sliding stitches to the opposite needle end without turning; forgetting to slide produces flat knitting instead of a tube.
- Dec-R and KFB shaping pair
- Creates the leg's knee bend at rows 10–11; the decrease and increase cancel each other in count but not in shape, so the bend appears exactly where they're placed.
Final fit-up
- Weave in the cast-on tail and any leg tails not needed for sewing, running them through several stitches inside the work to lock them against the fiber.
- Stuff the body firmly through the final open rounds before the last decrease closes the head, working fill into the tail end first so the spiral holds its round shape.
- Cinch the final round closed with the tapestry needle, drawing the tail through the remaining live stitches and pulling snug at the head.
- Attach the four legs to the underside per the assembly order — first long leg near the head, both short legs beside it, second long leg near the body's start — sewing each at its flat middle section with the knee bend pointing up.
How the parts fit
- Round 2 works an Inc-R into every one of the 6 cast-on stitches, doubling to 12 in a single round; this establishes the wider base the spiral tapers from over the remaining 10 rounds.
- The legs are worked flat rather than in the round because a 2-stitch i-cord can't be joined in a circle without excess fabric on the back side; sliding the stitches to the opposite needle end each row substitutes for a round join.
- The Dec-R at row 10 paired with the KFB at row 11 restores the leg back to 2 stitches, but because the decrease and increase happen on different rows rather than canceling on the same one, the tube kinks at that point — this is the knee bend, not a tension fault.
Scaling the build
| Larger | Move to a heavier yarn (DK or worsted) with matching larger DPNs and keep the same round counts; this scales the whole spider up past the 2.4 in (6 cm) reference size. |
|---|---|
| Longer legs or body | Repeat one plain knit round within the body or an i-cord row within the legs before the shaping sequence begins; this elongates that section without changing any stated stitch count, so adjust stuffing to match. |
03 · Putting it togetherHow the pieces go together
- S1
Lay out your 4 finished legs: 2 long and 2 short.
- S2
Using the yarn tails, sew each leg to the underside of the body by its flat middle section (the segment worked between the second and third shaping sequences).
- S3
Attach the first long leg near the base of the head.
- S4
Attach both shorter legs next to it, spaced evenly along the underside.
- S5
Attach the second long leg near the start of the body, so the four legs sit in a balanced row.
- S6
Position each leg so its “knee” bend points upward, giving the spider a natural, crouched stance.
- S7
Weave in any remaining yarn tails through the body to hide them completely.
- S8
Steam or wet block the finished spider, then gently reshape the legs into your preferred pose as the piece dries.
04 · Snag listWhat went wrong on the bench, and the fix
Snag 1
Marker slips during round changes
Reseat the marker every time stitches redistribute across DPNs, especially right after round 2's increase; a dropped marker on a 12-round spiral is hard to relocate afterward.
Snag 2
Sequined strand splits from wool
Treat the sequined yarn and wool as one working strand and knit both together on every stitch; picking up only one mid-round leaves a visible gap in the sparkle.
Snag 3
I-cord knit without sliding stitches
Always push the stitches back to the same end of the DPN before working the next row; turning the work instead produces flat knitting, not a tube.
Snag 4
Legs sewn at the wrong segment
Sew at the flat section between the Dec-R and KFB shaping, not at the leg tip or cast-on end; mark this segment with a stitch marker before starting assembly.
05 · QueriesQuestions logged against this build
Can the sequined yarn be left out?
Yes — the sequined strand is held together with the wool purely for sparkle and carries no structural role. Plain fingering weight wool alone knits the same 12 body rounds without adjustment.
Can I crochet this spider pattern instead of knitting it?
This particular pattern is written for knitting needles and relies on knit, purl, and i-cord techniques rather than crochet stitches. It could be adapted to crochet amigurumi techniques, but the stitch counts and shaping instructions here are specific to knitting.
What size double-pointed needles do I need for this project?
US size 0 to 1 double-pointed needles, or 2 to 2.5 mm, work well with fingering weight wool for this pattern. A set of 4 to 5 needles gives you enough working needles for both the small-circumference body and the 2-stitch i-cord legs.
Why are the legs knit flat instead of in the round?
Two stitches can't form a proper round join, so the pattern uses i-cord: sliding the stitches to the opposite needle end each row keeps the tube closed without turning the work. This is called out directly in the pattern notes.
How do I keep the i-cord legs from twisting while I work them?
After knitting both stitches on a row, slide them to the opposite end of the double-pointed needle without turning your work, then knit again with the yarn pulled snugly from the back. Keeping consistent tension on that first stitch each row prevents the tube from spiraling unevenly.
Does gauge affect how big the spider turns out?
The pattern notes state gauge isn't critical, so exact tension is flexible. Expect roughly 2.4 in (6 cm) in fingering weight wool, but yarn and needle substitutions will shift that size up or down.
06 · Made byWho counted this one

Who writes Amigurumi Addict, how a build gets its number, and why every round on the site carries a stitch count.
07 · Next off the benchThree builds that sit near this one
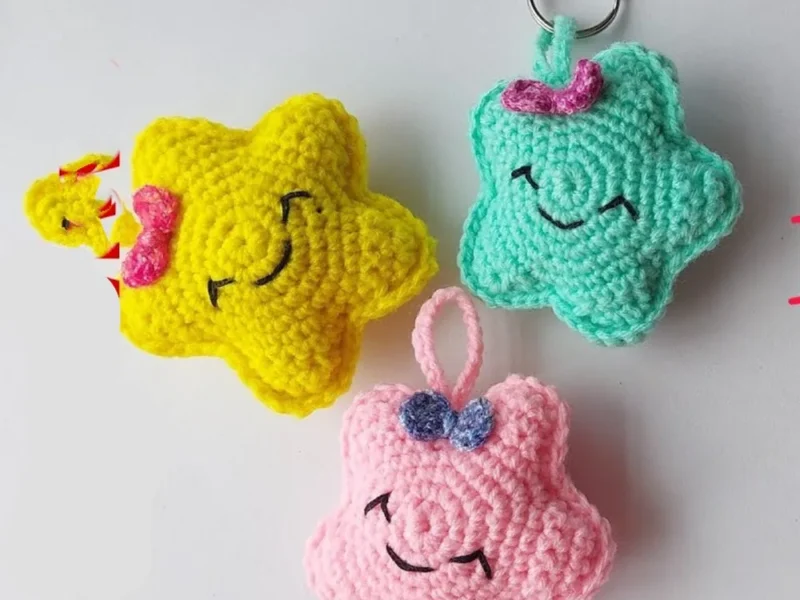
Mini and keychains
Star amigurumi keychain: a beginner’s build
How do you crochet a star amigurumi keychain? Crochet a five-pointed star from two pieces, sew and stuff them, add a
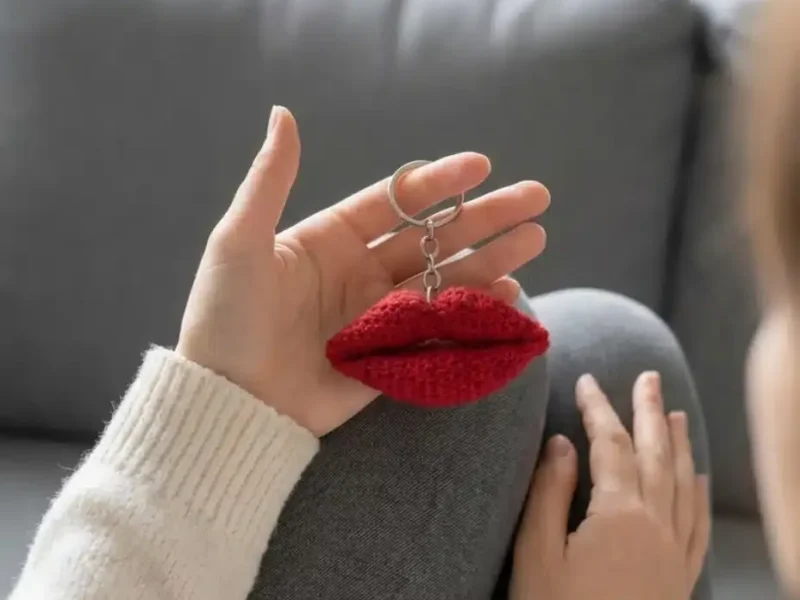
Mini and keychains
Crochet lips keychain: a two-piece amigurumi build
How do you crochet a lips keychain? Two lip pieces stuffed, closed, and seamed for a quick amigurumi gift.
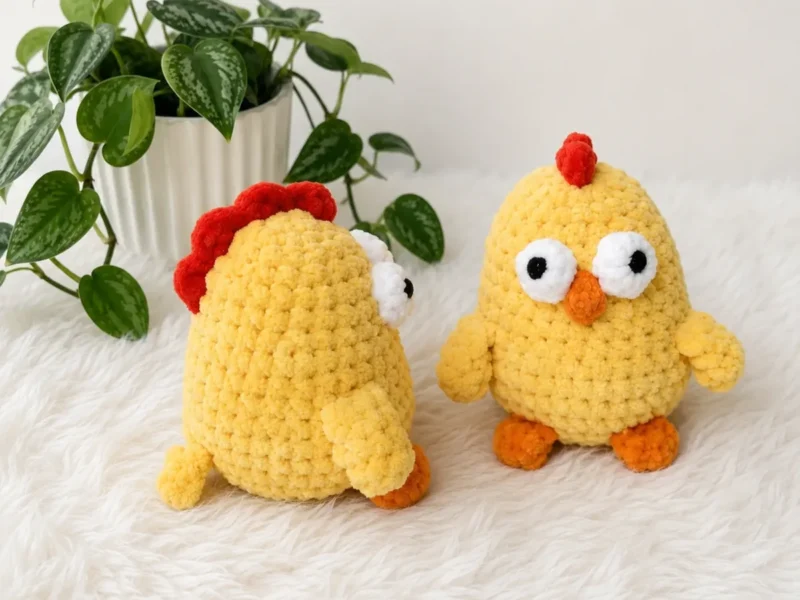
Mini and keychains
How to crochet a chick keychain amigurumi
How do you crochet a chick keychain? Shape the body-head, fold the legs flat, then attach eyes and beak.
Join the build log
One message when a build is issued
A drawing and its parts list, when one leaves the bench.