| Shelf | Level | Time | Hook | Yarn |
|---|---|---|---|---|
| Mini and keychains | Intermediate | 4-6 hours | 3.75 mm | Super Bulky |
How to crochet a chick keychain amigurumi
How do you crochet a chick keychain? Shape the body-head, fold the legs flat, then attach eyes and beak.
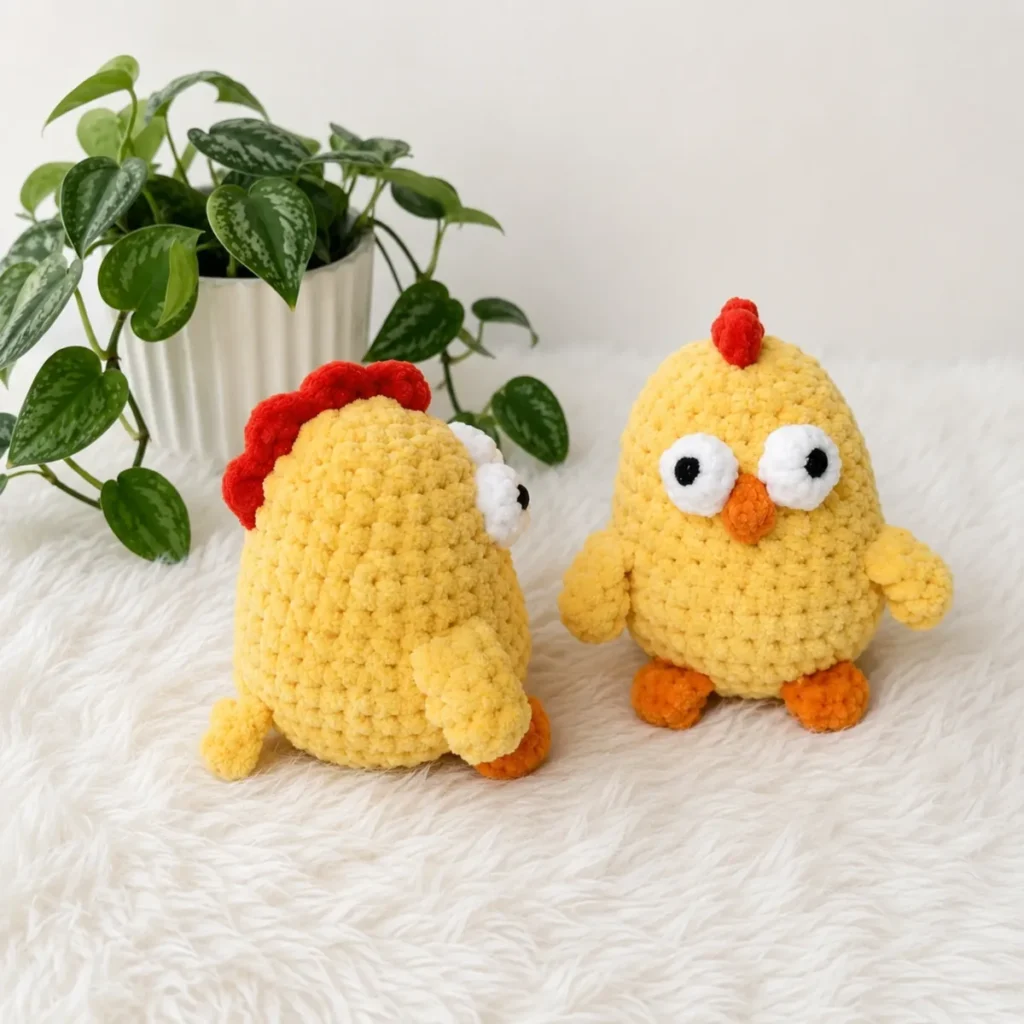
01 · The pieceWhat How to crochet a chick keychain amigurumi actually is
The Body–Head carries the whole build: one continuous 19-round spiral, stuffed firmly as it grows, with no seam to close along the way. Onto that base, six separate parts attach — Legs, Wings, Tail, Eyes, Beak, Crest — each crocheted flat or in the round on its own, then joined by whipstitch or by the method noted in the Beak section. Nothing about the finished chick is molded; every curve is stitch count, and every joint is a sewn edge holding chenille to chenille.
Precision matters at two points: the fold on Legs round 3, where 3 sc worked through both layers has to land evenly or the foot sits crooked, and the eye placement at Body–Head rounds 13–14, where 1–2 stitches of center spacing decides whether the face reads symmetrical. Elsewhere tension is forgiving — the pattern notes gauge isn't critical, and the bulky chenille pile hides minor stitch irregularity that a smooth worsted yarn would show.
This beginner-to-intermediate amigurumi pattern is written in US crochet terminology and produces a finished toy standing 4–4.5 inches tall. The body and head are one seamless piece, so there's no seaming at the neck, and the legs, wings, and tail are crocheted directly into the body as you work rather than sewn on afterward.
02 · The count run29 rounds across 7 parts, each with its count
US terms throughout. Every row below ends with the count that round finishes on.
| Part | Qty | Finishes on |
|---|---|---|
| Legs — Make 2 | 1 | - |
| Wings — Make 2 | 1 | - |
| Eyes — Make 2 | 1 | - |
| Body–Head | 1 | - |
| Tail | 1 | - |
| Beak | 1 | - |
| Crest | 1 | - |
Use orange yarn. Do not stuff.
| Round | Instruction | Count |
|---|---|---|
| Round 1 | 6 sc in MR. (6) | - |
| Round 2 | 6 sc. (6) | - |
| Round 3 | Fold piece flat; work 3 sc through both layers. (3)Fasten off. Leave a short tail. Set aside for joining. | - |
Use main color (yellow) yarn. Do not stuff.
| Round | Instruction | Count |
|---|---|---|
| Round 1 | 6 sc in MR. (6) | - |
| Round 2 | 6 sc. (6) | - |
| Round 3 | 6 sc. (6) | - |
| Round 4 | 6 sc. (6) | - |
| Round 5 | Fold piece flat; work 3 sc through both layers. (3)Fasten off. Leave a short tail. Set aside for joining. | - |
Use white yarn. Do not stuff.
| Round | Instruction | Count |
|---|---|---|
| Round 1 | 8 sc in MR. (8) | - |
| Round 2 | (2 sc, dec) × 2. (6)Fasten off, leaving a 15cm tail for sewing. Before fastening off completely, insert one 8mm safety eye through the center of the magic ring and secure on the inside. | - |
Use main color (yellow) yarn. Stuff firmly as you go. Work in continuous spiral rounds.
| Round | Instruction | Count |
|---|---|---|
| Round 1 | 6 sc in MR. (6) | - |
| Round 2 | inc in each st around. (12) | - |
| Round 3 | inc in each st around. (24) | - |
| Round 4 | (3 sc, inc) × 6. (30) | - |
Legs are joined in the next round.
| Round | Instruction | Count |
|---|---|---|
| Round 5 | 4 sc, inc, [3 sc worked through both the body and the first leg], 1 sc, inc, 1 sc, [3 sc worked through both the body and the second leg], inc, (4 sc, inc) × 3. (36) | - |
Tail is joined in the next round. Position the tail at the center back. Use slip stitch shifts before this round if needed to align placement.
| Round | Instruction | Count |
|---|---|---|
| Round 6 | 29 sc, [3 sc worked through both the body and the tail], 4 sc. (36) | - |
| Round 7 | 36 sc. (36) | - |
| Round 8 | 36 sc. (36) | - |
| Round 9 | (4 sc, dec) × 6. (30) | - |
Wings are joined in the next round.
| Round | Instruction | Count |
|---|---|---|
| Round 10 | 3 sc, [3 sc worked through both the body and the first wing], 9 sc, [3 sc worked through both the body and the second wing], 12 sc. (30) | - |
| Round 11 | 30 sc. (30) | - |
| Round 12 | 30 sc. (30) | - |
| Round 13 | (3 sc, dec) × 6. (24) | - |
| Round 14 | 24 sc. (24) | - |
| Round 15 | 24 sc. (24) | - |
| Round 16 | (2 sc, dec) × 6. (18) | - |
| Round 17 | 18 sc. (18) | - |
| Round 18 | (1 sc, dec) × 6. (12) | - |
| Round 19 | dec 6 times around. (6)Fasten off, leaving a tail. Pull tight to close the opening. Weave in end. | - |
Use main color (yellow) yarn.
Ch 5. Starting in 2nd ch from hook, work 4 sl st along the chain. (1 feather spine complete.)
Repeat the above combination 2 more times for a total of 3 feather spines.
Fasten off. Leave a short tail. Set aside for joining.
Use orange yarn. Two methods are provided — choose whichever suits your skill level.
Method A — Worked directly onto the body (intermediate):
Attach orange yarn at the center front of the head, between the eye positions. Ch 2. Work 3 unfinished dc into the same stitch; draw through all 4 loops on hook to complete the bobble. Fasten off. Thread both yarn ends through the fabric from opposite directions, knot on the inside, and weave in.
Method B — Worked separately and sewn on (beginner-friendly):
Leave a 10–15cm starting tail. Ch 3. Work 3 unfinished dc into the first chain; draw through all 4 loops on hook. (1 beak bobble.) Fasten off, leaving a 15cm sewing tail. Sew beak to the body at Rnds 12–13, centered, using the yarn tails. Weave in ends.
Use red yarn.
Mark the desired crest placement along the top center of the head with straight pins. Attach red yarn at the first pin.
(3 dc into one marked spot, sl st into the next row of the body) — repeat 4–5 times total, moving along the marked line with each repeat.
Fasten off. Weave in all ends securely.
Techniques on this build
- Magic ring start
- Opens round 1 on Legs, Eyes, and Body–Head; cinch it fully closed before the first stitch or it gaps once stuffing pushes against it.
- Continuous spiral with stitch marker
- Body–Head runs 19 rounds unjoined; move the marker each round or the round boundary drifts and the shaping sequence gets lost.
- Fold-and-close through both layers
- Legs round 3 flattens the tube and works 3 sc through both layers; keep the fold centered so the seam doesn't twist to one side.
- Whipstitch attachment
- Eyes and other pieces sew on around the outer edge with the fastening-off tail; pull firm enough to sit flat without flattening the chenille pile underneath.
Final fit-up
- Weave in the fastening-off tails on Legs, Eyes, Wings, and Tail before assembly, leaving the 15cm tail on each Eyes piece free for sewing rather than woven in.
- Stuff the Body–Head firmly as each round completes, rather than packing it after the fact, so the chenille surface stays smooth over the full 19 rounds.
- Close the final round of the Body–Head and secure the fastening-off, cinching the last opening so no stuffing shows at the top.
- Attach Legs, Wings, Tail, Beak, Crest, and both Eyes pieces to the finished Body–Head, positioning the Eyes at rounds 13–14 and the Beak centered directly below.
How the parts fit
- Body–Head rounds 1–4 double the stitch count at each step (6, 12, 24, then a partial increase to 30), the standard sc-sphere schedule for building a rounded base before the remaining rounds carry the shape upward.
- Legs work in the round for two rounds, then fold flat and close with 3 sc through both layers on round 3 — a tube converted to a flat-soled foot with no separate seam.
- Eyes decrease from 8 to 6 stitches over 2 rounds before the safety eye is inserted and secured inside; the crocheted piece functions as a backing disc rather than the visible eye itself.
Scaling the build
| Larger | Move up from the F-5/3.75mm hook while keeping the same bulky chenille yarn; the looser gauge enlarges every part proportionally without changing any round count. |
|---|---|
| Smaller | Drop to a smaller hook with the same yarn, or substitute a lighter non-bulky yarn at matching smaller hook; stitches tighten and the whole keychain scales down. |
| Taller body | Repeat one of the straight rounds in the Body–Head an extra time; this adds height to the torso only and leaves the shaping rounds at top and bottom unchanged. |
03 · Putting it togetherHow the pieces go together
- S1
Verify that safety eyes are installed inside both white eye pieces and secured on the reverse.
- S2
Position both eye pieces on the body at Rnds 13–14 , leaving 1–2 stitches of space between them at the center.
- S3
Thread the 15cm yarn tails through the tapestry needle and sew each eye piece to the body using whipstitch around the outer edge. Pull firmly so the piece sits flat against the surface.
- S4
Attach the beak using your chosen method (see Beak section above). Center it directly below and between the two eyes.
- S5
Work the crest directly onto the top of the head as described in the Crest section.
- S6
Weave in all remaining ends, drawing tails deep into the body to hide them.
- S7
Attach a keyring through the top of the crest or through a small chain loop added at the crown if a keychain function is desired.
04 · Snag listWhat went wrong on the bench, and the fix
Snag 1
Skipping the fold on Leg round 3
Flatten the tube before working the 3 sc through both layers, matching stitches evenly across the fold so the closure sits centered rather than twisted to one side.
Snag 2
Fastening off Eyes before inserting the safety eye
Insert the 8mm safety eye through the center of the magic ring and secure it on the inside before pulling the tail through completely, not after.
Snag 3
Losing the round start in the spiral
Body–Head has no join across 19 rounds, so drop the stitch marker at round 1 and move it up every round or the count drifts unnoticed.
Snag 4
Placing Eyes without counting rounds first
Count up to rounds 13–14 on both sides before pinning, then whipstitch with the piece held in place so the 1–2 stitch center gap stays even.
05 · QueriesQuestions logged against this build
Can I use a different yarn than the one listed?
Yes — any super bulky chenille or velvet-weight yarn will give you the same plush texture. Avoid substituting with a smooth worsted or DK weight without adjusting your hook size, as the finished toy will be significantly smaller and the fabric may look too open. The chenille texture is what gives the chick its characteristic softness.
My stitch counts are off in Rnd 5 where the legs are joined — what went wrong?
Rnd 5 is the trickiest round in this pattern because you are increasing and joining both legs at the same time. Count carefully as you go: the round should total 36 stitches. If you are off by 3, one leg join was likely missed or counted twice. It helps to place a stitch marker at the beginning of the round and count in sections rather than all at once.
Is this pattern safe for young children?
The safety eyes used in this pattern are 8mm half-sphere style, which require a secure backing applied from inside the piece. For children under 3, it is strongly recommended to embroider the eyes with yarn instead, as any attached hardware poses a choking hazard.
06 · Made byWho counted this one

Who writes Amigurumi Addict, how a build gets its number, and why every round on the site carries a stitch count.
07 · Next off the benchThree builds that sit near this one
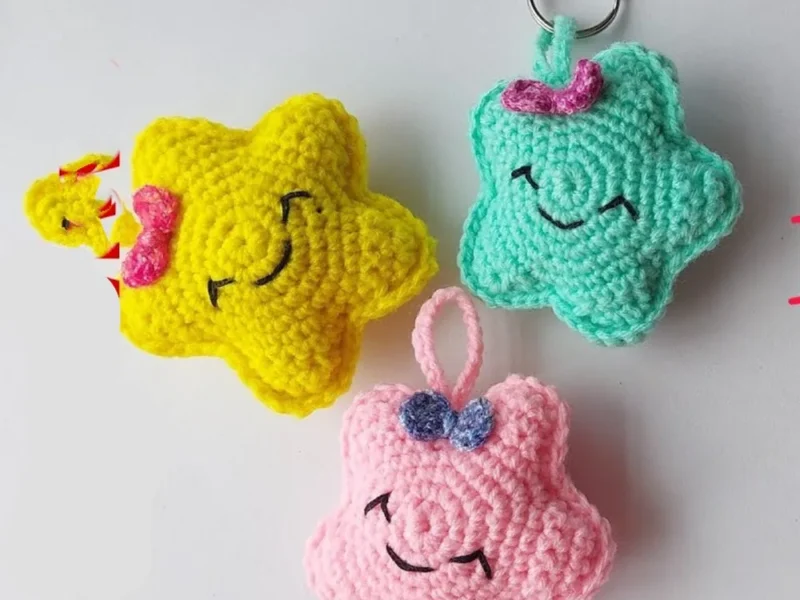
Mini and keychains
Star amigurumi keychain: a beginner’s build
How do you crochet a star amigurumi keychain? Crochet a five-pointed star from two pieces, sew and stuff them, add a
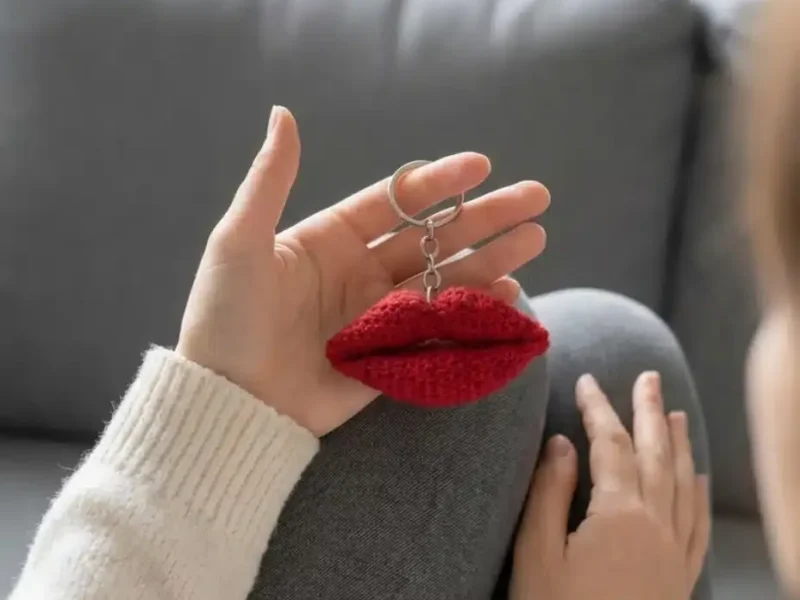
Mini and keychains
Crochet lips keychain: a two-piece amigurumi build
How do you crochet a lips keychain? Two lip pieces stuffed, closed, and seamed for a quick amigurumi gift.
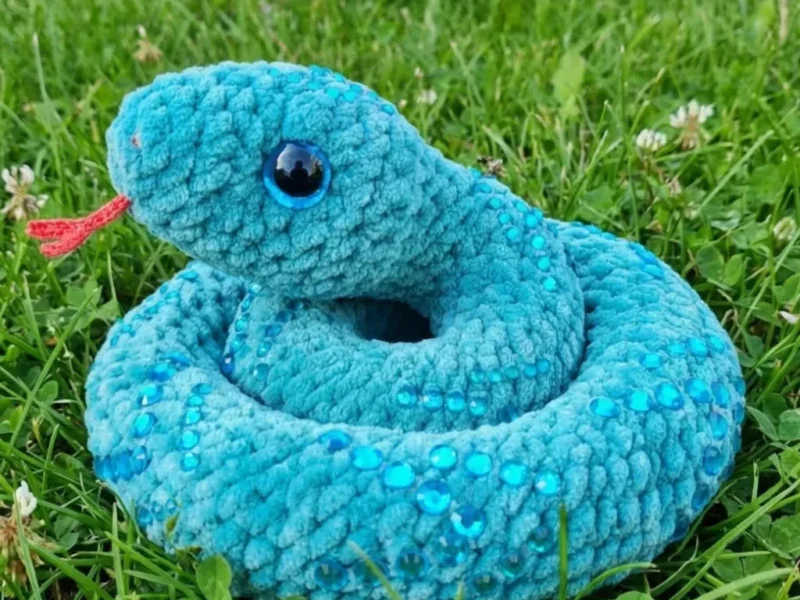
Mini and keychains
Crochet a mini snake amigurumi with a curved neck and tail
How do you crochet a mini snake amigurumi? Short rows curve the neck; decreases curl the tail.
Join the build log
One message when a build is issued
A drawing and its parts list, when one leaves the bench.