| Shelf | Level | Time | Hook | Yarn |
|---|---|---|---|---|
| Mini and keychains | Beginner | 2-3 hours | 2.5 mm | Worsted |
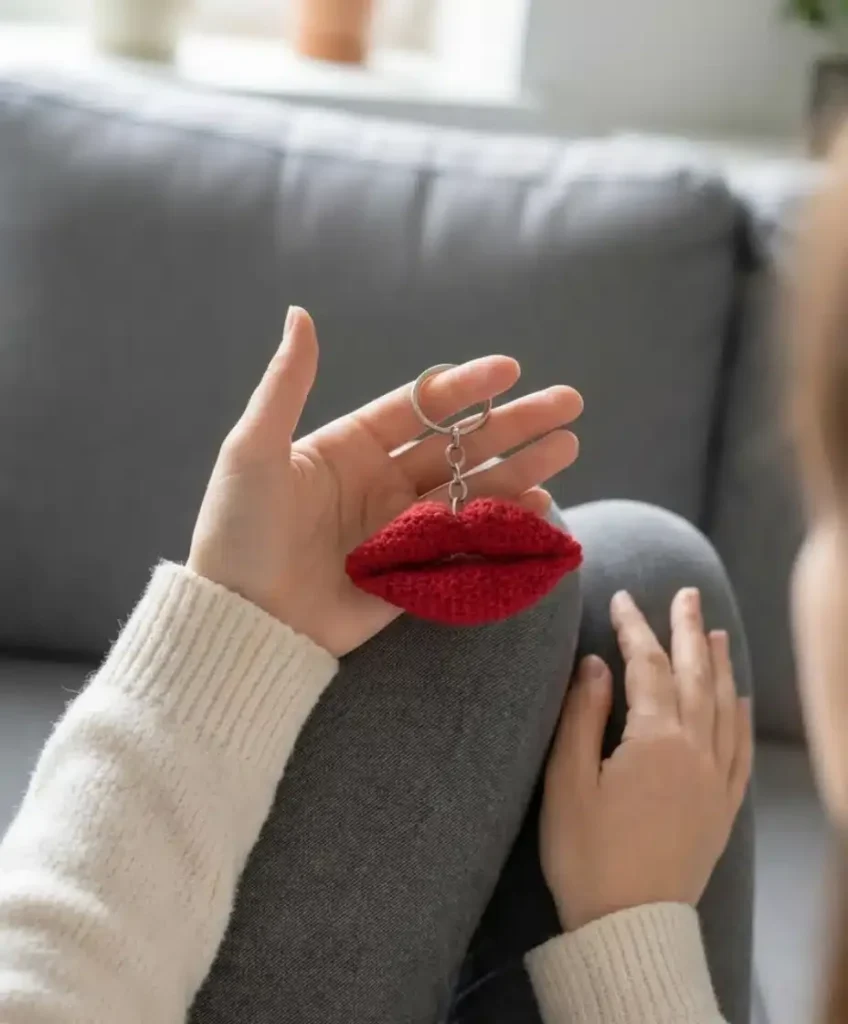
Crochet lips keychain: a two-piece amigurumi build
How do you crochet a lips keychain? Two lip pieces stuffed, closed, and seamed for a quick amigurumi gift.
01 · The pieceWhat Crochet lips keychain: a two-piece amigurumi build actually is
The keychain is a two-part build: Bottom Lip and Top Lip, each worked separately in continuous rounds from a magic ring, stuffed lightly, closed, then seamed together with matching yarn to form the mouth shape. A keychain finding attaches at the join. Nothing threads through both pieces during construction — each lip is a complete, closed unit before the two meet, so the seam is what carries the whole keychain together.
Stitch count precision matters most in the early increase rounds, where the 3-6-8 progression sets the curve of the lip; drift here shows up as a pucker or a lopsided bow shape. Stuffing amount is more forgiving — a light hand keeps each lip pliable rather than domed, and small variations round to round barely register once the piece is seamed shut. Tail length left for the join matters more than exact tension, since a short tail limits how cleanly the two lips whip-stitch together.
02 · The count run42 rounds across 2 parts, each with its count
US terms throughout. Every row below ends with the count that round finishes on.
| Part | Qty | Finishes on |
|---|---|---|
| Bottom Lip | 1 | (3) |
| Top Lip | 1 | (3) |
| Round | Instruction | Count |
|---|---|---|
| Round 1 | 3 sc in a magic ring [3] | (3) |
| Round 2 | 3 inc [6] | (6) |
| Round 3 | 6 sc [6] | (6) |
| Round 4 | (2 sc, inc) x 2 [8] | (8) |
| Round 5 | 8 sc [8] | (8) |
| Round 6 | (3 sc, inc) x 2 [10] | (10) |
| Round 7 | 10 sc [10] | (10) |
| Round 8 | (4 sc, inc) x 2 [12] | (12) |
| Round 9 | 12 sc [12] | (12) |
| Round 10 | (5 sc, inc) x 2 [14] | (14) |
| Rounds 11–12 | 14 sc [14] | (14) |
| Round 13 | (5 sc, dec) x 2 [12] | (12) |
| Round 14 | 12 sc [12] | (12) |
| Round 15 | (4 sc, dec) x 2 [10] | (10) |
| Round 16 | 10 sc [10] | (10) |
| Round 17 | (3 sc, dec) x 2 [8] | (8) |
| Round 18 | 8 sc [8] | (8) |
| Round 19 | (2 sc, dec) x 2 [6] | (6) |
| Round 20 | 6 sc [6] | (6) |
| Round 21 | 3 dec [3] | (3) |
| Round | Instruction | Count |
|---|---|---|
| Round 1 | 3 sc in a magic ring [3] | (3) |
| Round 2 | 3 inc [6] | (6) |
| Round 3 | 6 sc [6] | (6) |
| Round 4 | (2 sc, inc) x 2 [8] | (8) |
| Round 5 | 8 sc [8] | (8) |
| Round 6 | (3 sc, inc) x 2 [10] | (10) |
| Round 7 | 10 sc [10] | (10) |
| Round 8 | (4 sc, inc) x 2 [12] | (12) |
| Round 9 | 12 sc [12] | (12) |
| Round 10 | (5 sc, inc) x 2 [14] | (14) |
The distinctive cupid's bow shape is created in Rounds 11-14. The decreases in Rounds 11-12 create the dip in the center, while the increases in Rounds 13-14 form the curves on either side.
| Round | Instruction | Count |
|---|---|---|
| Round 11 | 2 sc, 5 dec, 2 sc [9] | (9) |
| Round 12 | 2 sc, dec, 1 sc, dec, 2 sc [7] | (7) |
| Round 13 | 2 sc, inc, 1 sc, inc, 2 sc [9] | (9) |
| Round 14 | 2 sc, 5 inc, 2 sc [14] | (14) |
| Round 15 | (5 sc, dec) x 2 [12] | (12) |
| Round 16 | 12 sc [12] | (12) |
| Round 17 | (4 sc, dec) x 2 [10] | (10) |
| Round 18 | (3 sc, dec) x 2 [8] | (8) |
| Round 19 | 8 sc [8] | (8) |
| Round 20 | (2 sc, dec) x 2 [6] | (6) |
| Round 21 | 6 sc [6] | (6) |
| Round 22 | 3 dec [3] | (3) |
Techniques on this build
- Magic ring start
- Opens Round 1 of both lips; cinch it fully closed or the center of the lip shows a gap once stuffed.
- Partial-round increases
- Rounds like (2 sc, inc) build the curve gradually rather than doubling every stitch; miscounting here throws off the lip's symmetry.
- Continuous single crochet in the round
- Runs through all rounds of both lips with no join or turn, working in continuous rounds unless otherwise specified; use a stitch marker to track the beginning of each round since there's no seam to mark it.
- Seaming two closed pieces
- Used in assembly to join Top Lip to Bottom Lip; keep tension even along the seam so the mouth line sits flat rather than puckered.
Final fit-up
- Weave in the yarn tail on each lip piece as it's completed, before either piece is closed.
- Add a small amount of fiberfill to each lip — enough for plumpness, not so much that the shape stiffens.
- Close the remaining opening on each piece by weaving through the last stitches with a yarn needle and pulling tight.
- Seam the Top Lip to the Bottom Lip with matching yarn, aligning them naturally, then attach the keychain finding at the join.
How the parts fit
- Round 1 opens at 3 sc rather than the usual 6, so the increase curve in Rounds 2-4 is gentler and produces a narrower starting point suited to a lip tip rather than a round base.
- Increases in Round 4 are spaced as (2 sc, inc) rather than worked every stitch, which slows the rate of growth and shapes a crescent instead of a dome.
- Each lip is worked and closed as a fully independent piece; the join between Top Lip and Bottom Lip is a seam added after both are stuffed, not a shared round, so the seam alone holds the two halves together.
Scaling the build
| Larger | Move up to a heavier worsted or DK-weight cotton with a larger hook; the same round count produces a bigger lip since each stitch takes up more space. |
|---|---|
| Smaller | Drop to a finer cotton with a smaller hook than the 2.5 mm called for; stitch counts stay as written but the finished lip shrinks proportionally. |
| Longer keychain | Repeat one of the even, non-increasing rounds an extra time on each piece before moving to the shaping rounds, which lengthens the lip without changing its width. |
03 · Putting it togetherHow the pieces go together
- S1
Once you’ve completed both the top and bottom lip pieces, it’s time to bring them together:
- S2
Stuff lightly: Before closing, add a small amount of fiberfill to each lip piece. Don’t overstuff – you want them to be slightly plump but not too firm.
- S3
Close the openings: Use your yarn needle to weave through the remaining stitches and pull tight to close each piece.
- S4
Join the lips: Position the top and bottom lips together, aligning them naturally. Use your yarn needle and matching yarn to whip stitch them together along the center seam.
- S5
Attach the keychain ring: Before fully closing, insert the keychain ring between the lips at the side. Secure it firmly with additional stitches.
- S6
Weave in ends: Carefully weave in all loose ends and trim excess yarn.
04 · Snag listWhat went wrong on the bench, and the fix
Snag 1
Loose magic ring at Round 1
Pull the tail tight before working Round 1 and check the center hole is fully closed, since it stays visible on the finished lip tip.
Snag 2
Miscounting spaced increase rounds
Count stitches after every round with a spaced pattern like (2 sc, inc) — a repeated stitch shifts the curve and makes the lip lopsided.
Snag 3
Overstuffing before closing
Add fiberfill lightly and check the piece still gives slightly when pressed; an overstuffed lip won't seam flat against its pair.
Snag 4
Closing gap left loose
Weave through the remaining stitches twice and pull firmly before securing, so no hole remains once the yarn is woven in.
05 · QueriesQuestions logged against this build
Can I use different yarn weight for this lips keychain pattern?
Yes, you can use different yarn weights, but you’ll need to adjust your hook size accordingly. Using thicker yarn will create a larger keychain, while thinner yarn will make a smaller one. Just make sure your stitches are tight enough to prevent stuffing from showing through.
How do I attach the keychain hardware?
The finding is attached at the same point where the Top Lip and Bottom Lip are seamed together, using the yarn needle and matching yarn already in hand for that join. No separate opening is needed.
What’s the best way to stuff the lips keychain?
Use small amounts of polyester fiberfill and stuff as you go, especially in the bottom lip. Don’t overstuff – the lips should be slightly plump but maintain their shape. Use a chopstick or crochet hook end to push stuffing into corners gently.
Can I make this pattern in different colors?
Absolutely! While classic red is popular for lips, you can make this keychain in any color you prefer. Pink, coral, burgundy, or even fun colors like purple or blue work great. You could also add a glossy finish by brushing on a thin layer of clear nail polish or gloss medium once complete.
06 · Made byWho counted this one

Who writes Amigurumi Addict, how a build gets its number, and why every round on the site carries a stitch count.
07 · Next off the benchThree builds that sit near this one
Mini and keychains
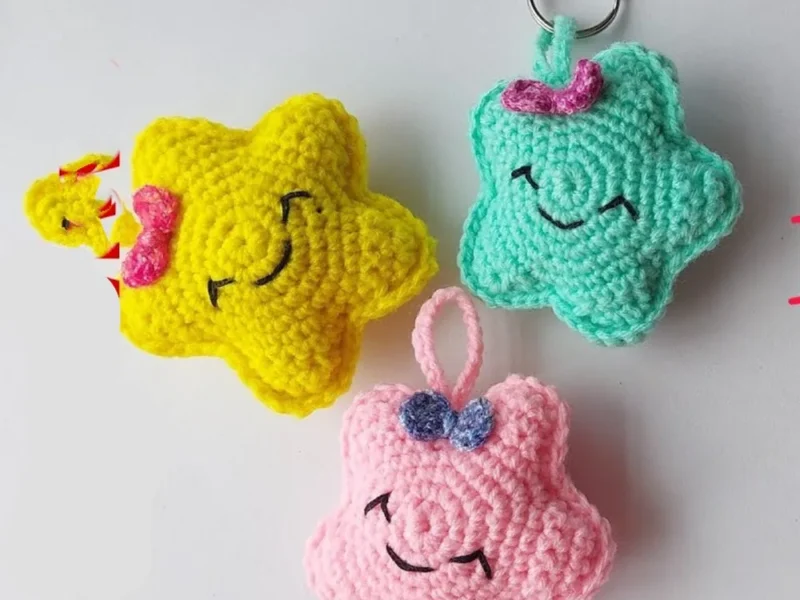
Star amigurumi keychain: a beginner’s build
How do you crochet a star amigurumi keychain? Crochet a five-pointed star from two pieces, sew and stuff them, add a
Mini and keychains
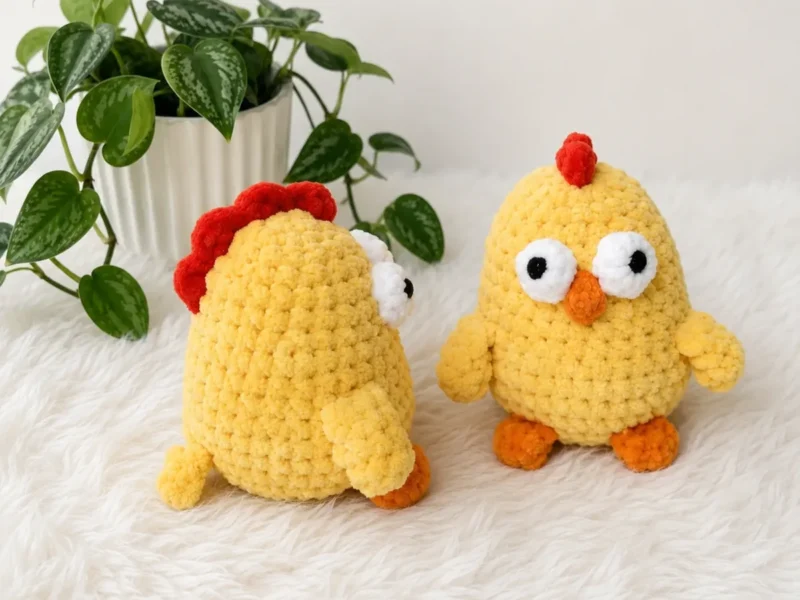
How to crochet a chick keychain amigurumi
How do you crochet a chick keychain? Shape the body-head, fold the legs flat, then attach eyes and beak.
Mini and keychains
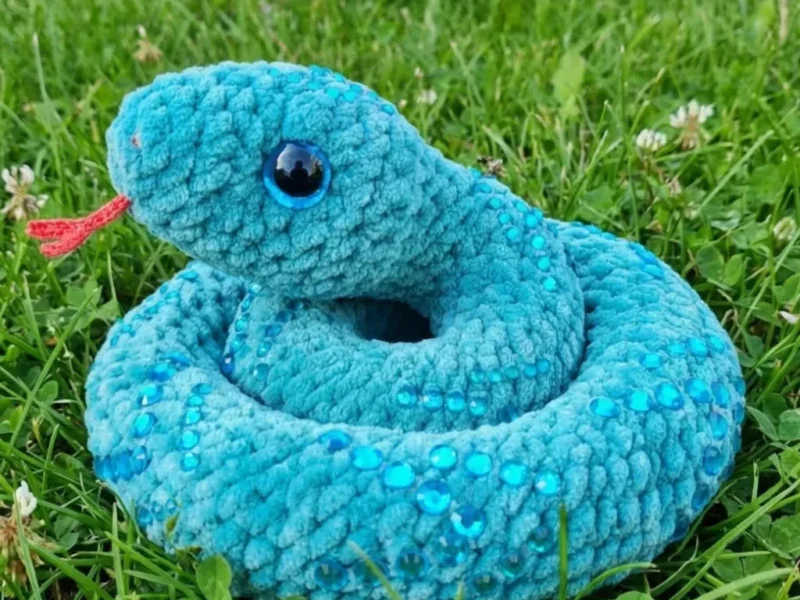
Crochet a mini snake amigurumi with a curved neck and tail
How do you crochet a mini snake amigurumi? Short rows curve the neck; decreases curl the tail.
Join the build log
One message when a build is issued
A drawing and its parts list, when one leaves the bench.