| Shelf | Level | Time | Hook | Yarn |
|---|---|---|---|---|
| Mini and keychains | Intermediate | 4-6 hours | 4 mm | DK |
Crochet a mini snake amigurumi with a curved neck and tail
How do you crochet a mini snake amigurumi? Short rows curve the neck; decreases curl the tail.
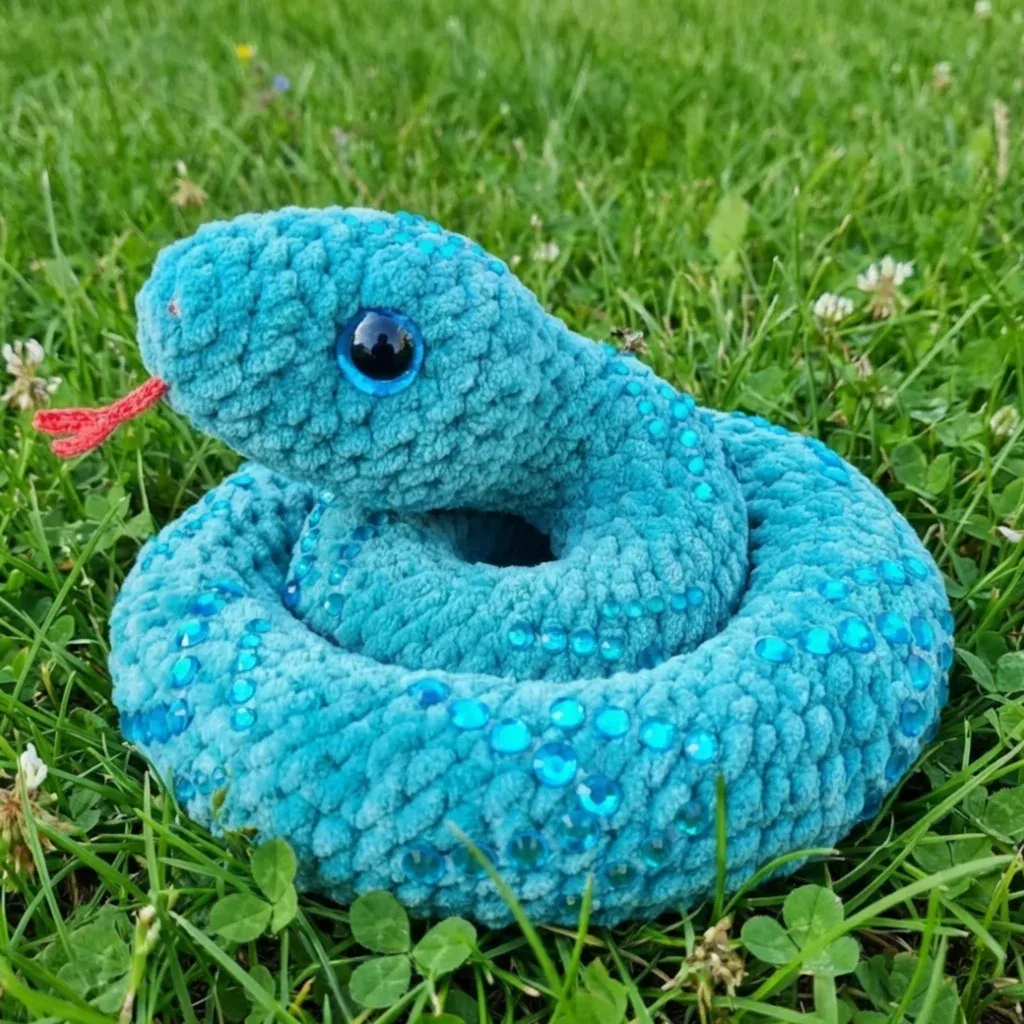
01 · The pieceWhat Crochet a mini snake amigurumi with a curved neck and tail actually is
The mini snake is built as one continuous spiral: a Head worked over 13 rounds from a ch-4 oval foundation, a Neck Curve of 3 rounds that layers short rows (SR) with BLO/FLO joins to bend the body forward, a Body section that carries the spiral onward without added shaping, and a Tail of 9 rounds where short rows and decreases taper the end and curl it upward. No seams join these parts — each round flows into the next, stitch count changing only where the pattern calls for inc, dec, or SR.
Precision matters at the stitch marker: it must sit at the top-center start-of-work line through Rnd 13, and drift calls for a corrective sh-st rather than a shrug. The Neck Curve's BLO/FLO selections and the eye-indentation Points (1 through 5) are exact — miss a loop or a point and the curve or the expression shifts. Elsewhere, tolerance is wide: exact stuffing density, the choice of decorative embroidery pattern, and whether to add rhinestones are left to the maker's judgment.
Finished size: worked up, this soft, squishy amigurumi measures approximately 70–80 cm (27–31 in.) long and curls into a compact 12–15 cm (5–6 in.) coil. It is a one-piece, frameless construction worked entirely in continuous spiral rounds from fluffy Himalaya Dolphin Baby yarn — no pieces to sew together.
02 · The count run25 rounds across 4 parts, each with its count
US terms throughout. Every row below ends with the count that round finishes on.
| Part | Qty | Finishes on |
|---|---|---|
| Head | 1 | - |
| Neck Curve | 1 | - |
| Tail | 1 | - |
| Body | 1 | - |
Use MC. Work in continuous spiral rounds. Stuff firmly as you work.
Foundation: Ch 4. Starting in the 2nd ch from hook:
| Round | Instruction | Count |
|---|---|---|
| Round 1 | Inc, 1 sc, 4 sc in last ch; working along opposite side of foundation ch: 1 sc, inc. (10)Place round marker here. | - |
Note: Through Rnd 13, the round marker must stay on the side of the head, aligned with the start-of-work line. Work sh-st as needed to maintain marker position.
| Round | Instruction | Count |
|---|---|---|
| Round 2 | (1 sc, inc) × 2, 2 sc, (inc, 1 sc) × 2. (14) | - |
| Round 3 | 14 sc. (14) | - |
| Round 4 | 1 sc, inc, 3 sc, inc, 2 sc, inc, 3 sc, inc, 1 sc. (18) | - |
| Round 5 | 18 sc. (18) | - |
| Round 6 | 18 sc, + 1 sh-st. (18) | - |
| Round 7 | 1 sc, (eye marker position) , 1 sc, 3 hdc in next st, 3 hdc, 3 hdc in next st, 1 sc, (eye marker position) , (3 sc, inc) × 2, 2 sc. (24) | - |
Note on Rnd 7: The eye marker positions mark where safety eyes will later be installed. Do not skip those stitches — simply place a small scrap of yarn between stitches as a reference point.
| Round | Instruction | Count |
|---|---|---|
| Round 8 | 24 sc. (24) | - |
| Round 9 | 24 sc. (24) | - |
| Round 10 | (1 hdc, hdc-dec) × 2, 2 sc, (hdc-dec, 1 hdc) × 2, 1 sc, dec, 4 sc, dec, 1 sc. (18) | - |
Install safety eyes now. Add fiberfill stuffing.
| Round | Instruction | Count |
|---|---|---|
| Round 11 | 18 sc. (18) | - |
| Round 12 | (dec, 1 sc) × 4, 6 sc. (14) | - |
| Round 13 | 14 sc, + 3 sh-st. (14) | - |
IMPORTANT: From this point forward through the end of the pattern, the round marker must be positioned at the top center of the back . Reposition with sh-st as needed.
Rnds 14–16 use short rows combined with loop-specific techniques to create maximum neck curvature. Follow the instructions carefully and stuff as you go.
| Round | Instruction | Count |
|---|---|---|
| Round 14 | 7 sc. [Leave loop open, place marker — begin SR]: Work SR of 7 sc back toward the open loop, catching float from WS. Close SR with 1 sc (catching the open marked loop). Then: 4 sc BLO (place additional markers at FLO of first and last of these 4 sts), 2 sc through both loops. (14) | - |
| Round 15 | 7 sc. [+ SR of 7 sc]. 1 sc BLO together with open loop (place marker at FLO), 4 sc through both loops, 1 sc BLO (place marker at FLO), 1 sc through both loops. (14) | - |
| Round 16 | 7 sc. [+ SR of 7 sc]. 1 sc together with open loop through FLO of stitch 1 rnd below , 4 sc through FLO of stitches 2 rnds below , 1 sc through FLO of stitch 1 rnd below , 1 sc. (14) | - |
Short rows now work from the bottom of the body rather than the outside. This directional shift causes the tail to naturally curve upward. For striped snakes, all remaining SRs are worked in MC only. Confirm the round marker is at the top center of the body before beginning.
| Round | Instruction | Count |
|---|---|---|
| Round 71 | 4 sc, dec, 2 sc, [+ SR of 5 sc], 3 sc. (10) | - |
| Round 72 | 7 sc, [+ SR of 5 sc], 3 sc. (10) | - |
| Round 73 | 4 sc, dec, 2 sc, [+ SR of 5 sc], 2 sc. (9) | - |
| Round 74 | 7 sc, [+ SR of 5 sc], 2 sc. (9) | - |
| Round 75 | 4 sc, dec, 1 sc, [+ SR of 4 sc], 2 sc. (8)Add fiberfill stuffing. | - |
| Round 76 | 8 sc. (8) | - |
| Round 77 | 4 sc, dec, 2 sc. (7) | - |
| Rounds 78–79 | (2 rnds): 7 sc. (7) | - |
| Round 80 | 3 sc, dec, 2 sc. (6)Fasten off. Pull closed, weave tail end inside the toy. | - |
From Rnd 17 onward, curvature is maintained purely through regular short rows. For the striped version, alternate CC and MC short rows as shown in the table. All short rows follow the same technique established in Rnd 14. Continue stuffing as you go.
Rounds 17–31 Remember to stuff firmly, especially through the curved sections.
Rounds 28–46 Check that your marker aligns with the top center of the back. Work additional sh-st as needed.
Rounds 47–70 Cut CC yarn and weave in the end securely. MC only from this point forward.
Techniques on this build
- Continuous spiral with marker tracking
- Runs through Head, Body, and Tail; watch the marker for rightward drift and correct with sh-st before it moves off the start-of-work line.
- Short rows (SR)
- Used in Neck Curve Rnds 14–16 and Tail Rnds 71–74; watch that each SR closes over the open marked loop rather than a plain stitch.
- BLO/FLO stitching
- Neck Curve Rnds 14–16 alternate through-both-loops, BLO, and FLO joins two rounds below; watch which loop is called for each stitch, not just each round.
- Surface embroidery and threading
- Nostrils in CC at Rnd 2, decorative CC motifs, and the optional eye-indentation thread through Points 1–5; watch tension so pulls stay subtle.
Final fit-up
- Stuff firmly as each part is finished, packing extra fiberfill through the Neck Curve and Tail where the short-row shaping leaves the fabric more open.
- Close the Tail's final round and secure the working yarn, then weave in every remaining end, including the eye-indentation and nostril threads.
- a more expressive face, gently pull the eyes inward with a simple threading technique using MC or a matching sturdy yarn. Point 1: underside of head, centered, at the level of Rnds 3–4. Points 2 & 3: beside the snake's right eye, snug against it, 1 stitch apart. Points 4 & 5: beside the left eye, mirroring Points 2 & 3 symmetrically. Step by step: thread a needle at Point 1, leaving a yarn tail; exit at Point 2, enter Point 3, exit Point 4, enter Point 5, exit exactly at Point 1; pull gently to create a subtle indentation; tie off; bury the knot inside the head without catching surface stitches; weave in all ends.
- Using CC yarn, embroider two small nostrils at Rnd 2, just above the foundation chain line, centered on the snout. For the solid-color version, you can also add decorative embroidery in chevrons, stripes, or heart shapes using CC yarn, or embellish with rhinestones and sequins. Eyelids and eye whites can be embroidered if desired.
- Use red Iris yarn and a 1.65 mm hook. Orient the snake so the head points away from you — this ensures the tongue extends upward when attached. Attach yarn with a sl st between Rnds 1 and 2 at the center front of the snout (this point sits below the foundation chain line when viewing the toy face-on). Step by step: Ch 11. Starting in the 2nd ch from hook: 5 sc. Ch 6. Starting in the 2nd ch from hook: 5 sc. Work 1 hdc into the stitch that received the last sc from the previous branch (the joining junction of both forks). Work 5 hdc back along the remaining foundation chain. Fasten off with sl st. Cut yarn. Tie the starting and finishing tails together and bury them inside the toy.
How the parts fit
- Rnd 1 of the Head builds outward from a ch-4 foundation, working inc, 1 sc, 4 sc in the last chain, then along the opposite side 1 sc, inc — an oval start (10 sts) rather than a standard 6-st ring, giving the head its elongated cross-section from the first round.
- Rnds 14–16 of the Neck Curve repeat the same 7-sc-before/7-sc-SR window each round while shifting from plain sc to BLO, then FLO-through-loops joins; the stitch count returns to 14 each round, so the curve comes from where the loops are caught, not from added or removed stitches.
- In the Tail, Rnd 71 and Rnd 73 each carry a dec while Rnd 72 and Rnd 74 hold steady, dropping the count from 10 to 9 in step with a change in SR direction — from working the outside of the body to working the bottom — which is what drives the upward curl.
03 · Snag listWhat went wrong on the bench, and the fix
Snag 1
Ignoring stitch-marker drift
Continuous spiral naturally pulls the marker rightward; if it strays from the top-center start-of-work line, work the extra sh-st called for instead of waiting several rounds to correct it.
Snag 2
Mixing up BLO and FLO in Neck Curve
Rnds 14–16 alternate through-both-loops, BLO, and FLO-through-loops-two-rounds-below; place the extra markers at each transition point so the correct loop is easy to find on the next round.
Snag 3
Closing a short row without the marked loop
Each SR must close by working into the open marked loop left at the start of the row; skipping it leaves a hole at the neck or tail that stuffing will push through.
Snag 4
Overtightening the eye-indentation thread
Pull the tail through Points 1–5 gently — a hard pull collapses the snout instead of creating a subtle dent — and check both sides for symmetry before tying off and burying the knot.
04 · QueriesQuestions logged against this build
Why does the stitch marker need to stay at the top center of the back?
Because the whole snake is worked in a continuous spiral, the marker is the only fixed reference for where each round starts; if it drifts, the Neck Curve and Tail shaping — which depend on counting stitches from that point — land in the wrong place. The sh-st correction exists specifically to keep it there through Rnd 13.
Can the eyes be adjusted after the head is finished?
Yes — thread a needle at Point 1 under the head and route it through Points 2 through 5 beside each eye, pulling gently to indent the socket before tying off inside the head. This is optional and separate from the trapezoidal 14 mm eyes themselves.
What yarn is best for crocheting this Mini Snake amigurumi?
The pattern is designed for Himalaya Dolphin Baby, a chunky plush yarn that gives the snake its soft, fluffy texture. You can substitute any bulky or super-bulky chenille or velvet-style yarn, but note that the finished size and overall look may differ from the original. Always check your gauge if size matters for your project.
What does a Short Row (SR) mean in this pattern, and why is it used?
A short row is an incomplete round that only works partway around the tube, then reverses back. In this pattern, short rows are repeated every round throughout the body to create the snake's natural spiral curl — no wire frame needed. The full technique is explained in the Abbreviations section.
05 · Made byWho counted this one

Who writes Amigurumi Addict, how a build gets its number, and why every round on the site carries a stitch count.
06 · Next off the benchThree builds that sit near this one
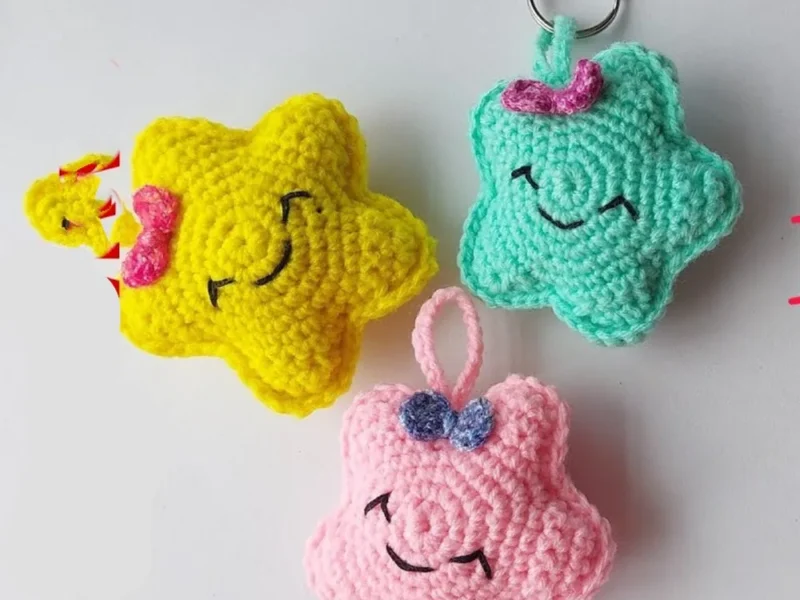
Mini and keychains
Star amigurumi keychain: a beginner’s build
How do you crochet a star amigurumi keychain? Crochet a five-pointed star from two pieces, sew and stuff them, add a
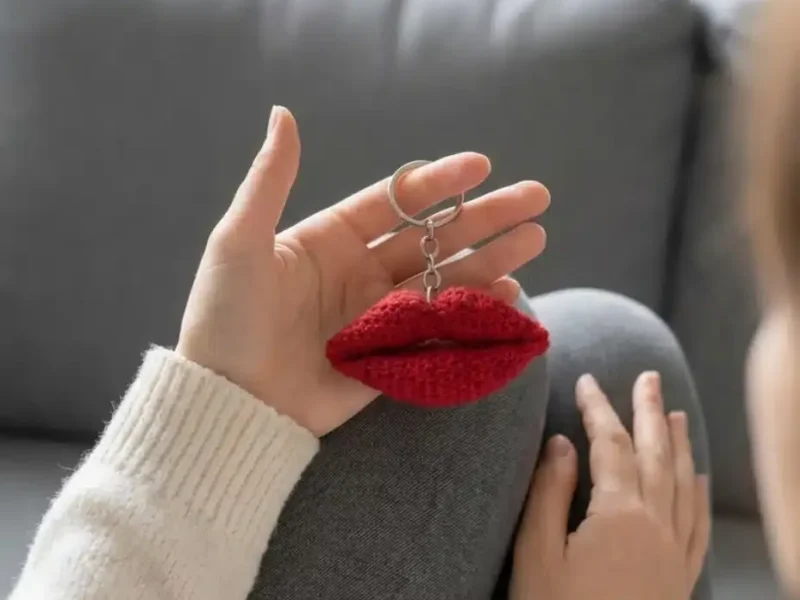
Mini and keychains
Crochet lips keychain: a two-piece amigurumi build
How do you crochet a lips keychain? Two lip pieces stuffed, closed, and seamed for a quick amigurumi gift.
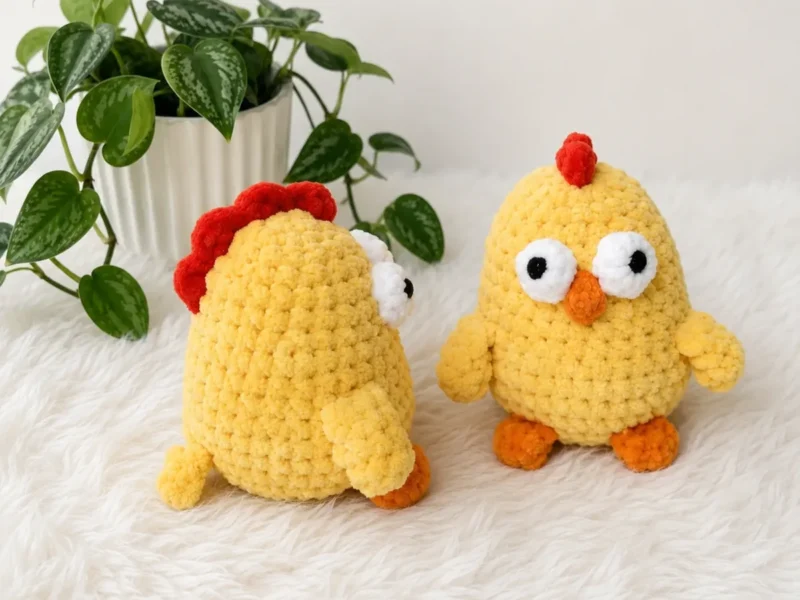
Mini and keychains
How to crochet a chick keychain amigurumi
How do you crochet a chick keychain? Shape the body-head, fold the legs flat, then attach eyes and beak.
Join the build log
One message when a build is issued
A drawing and its parts list, when one leaves the bench.