| Shelf | Level | Time | Hook | Yarn |
|---|---|---|---|---|
| Mini and keychains | Beginner | 2-3 hours | 2.5 mm | Fingering (4 ply) |
Star amigurumi keychain: a beginner’s build
How do you crochet a star amigurumi keychain? Crochet a five-pointed star from two pieces, sew and stuff them, add a
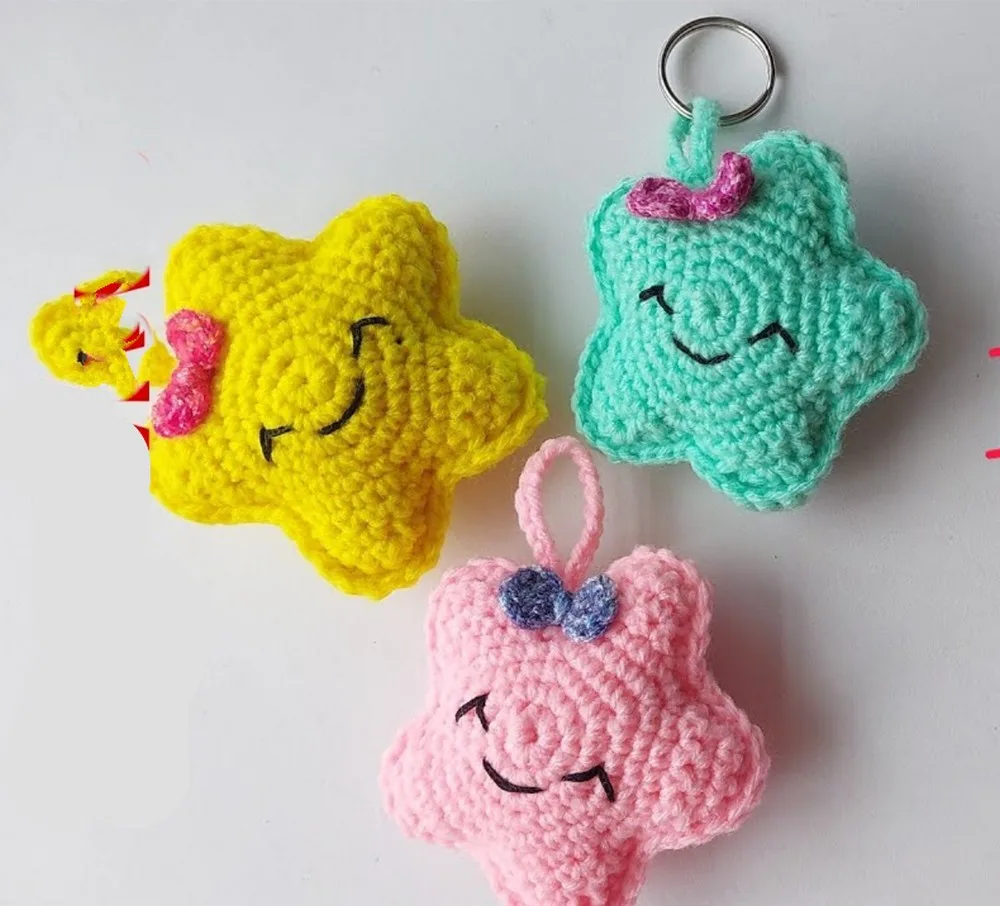
01 · The pieceWhat Star amigurumi keychain: a beginner’s build actually is
The star point is built over twelve rows from a magic ring: five rounds of six-stitch increases (6, 12, 18, 24, 30 stitches) shape the base, then turned rows of single crochet and decreases taper it to a point. That twelve-row point is worked five times to complete one star piece, and a second identical piece is made to back it. The two pieces are single crocheted together around the edge, stuffed before the seam fully closes, and finished with a twenty-chain loop for hanging. The bow is a separate build entirely: two mirrored loops of chain and double crochet, worked flat off a second magic ring, then pinched and tied at the center with the working yarn -- the only join in the whole piece that is a knot rather than a stitch.
Stitch count matters most through the early increase rounds, since that is where each point's shape is set; a skipped or doubled increase there reads immediately as an uneven edge once the piece is stuffed. Tension on every magic ring matters too -- each one needs to close tight enough that filling cannot push through the center hole. The bow tolerates far more drift: its two loops do not need to match stitch for stitch, and a chain-3 that runs slightly long or short barely shows once the center tie pulls everything together.
02 · The count run13 rounds across 2 parts, each with its count
US terms throughout. Every row below ends with the count that round finishes on.
| Part | Qty | Finishes on |
|---|---|---|
| Star | 1 | (30) |
| Bow | 1 | - |
| Round | Instruction | Count |
|---|---|---|
| Row 1 | Start with a magic ring. | - |
| Row 2 | Make 6 single crochets (sc) into the magic ring. | (6) |
| Row 3 | Make 2 sc in each stitch around (12 sc total). | (12) |
| Row 4 | 1 sc in the first stitch, then 2 sc in the next stitch. Repeat around (18 sc total). | (18) |
| Row 5 | 1 sc in the first two stitches, then 2 sc in the next stitch. Repeat around (24 sc total). | (24) |
| Row 6 | 1 sc in the first three stitches, then 2 sc in the fourth stitch. Repeat around (30 sc total). | (30) |
| Row 7 | 1 sc in the next six stitches. | - |
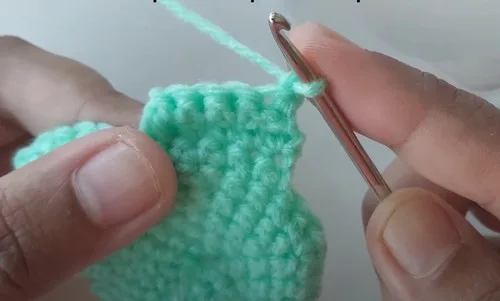
| Row 8 | Chain 1 and turn, 4 sc in the next four stitches, then decrease across the next two stitches. | - |
| Row 9 | Chain 1 and turn, 3 sc in the next three stitches, then decrease across the last two stitches. | - |
| Row 10 | Chain 1 and turn, 2 sc in the first two stitches, then decrease across the next two stitches. | - |
| Row 11 | Chain 1 and turn, 1 sc in the first stitch, then decrease across the next two stitches. | - |
| Row 12 | Make 5 sc across the line and move to where you started.Repeat the process to create five distinct edges for the star. | - |
| Loop | Make 20 chains from where you completed the star. Make a slip stitch into the same stitch where the chain started. Cut the yarn and use the tail to sew it closed. | - |
Start with a magic ring.
Chain 3, then make 2 double crochets into the magic ring.
Chain 3, make a slip stitch into the ring.
Repeat the process for the second half of the bow.
Cut the yarn and secure the bow, tying it in the center.
Techniques on this build
- Magic ring
- Starts each star piece and the bow; pull the tail fully closed before working the first round of stitches so no gap shows at the center.
- Single crochet increases
- Used through the star's increase rounds (6 to 12 to 18 to 24 to 30 stitches); keep increases evenly spaced around the round so the shape stays symmetrical.
- Chain-3 loops with double crochet
- Builds each half of the bow off the magic ring; keep the chain-3 count consistent between the two halves so the loops end up the same size.
- Slip stitch closure
- Closes each bow loop back into its own ring before the halves are tied; work it snug so the loop doesn't loosen before the center tie goes on.
Final fit-up
- Make two identical star pieces using the twelve-row point pattern worked five times each, and weave in the starting magic ring tail on both before joining them, so it stays buried under fill rather than on the visible surface.
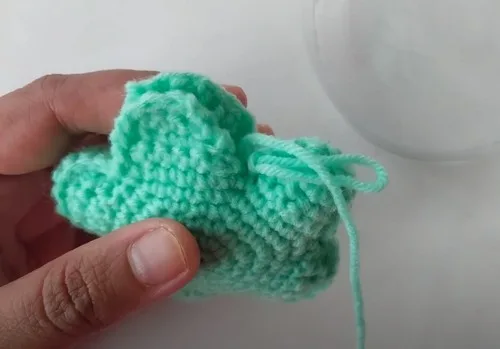
- Sew the back sides of both star pieces together by single crocheting around the edges, leaving a gap; stuff the star firmly through the gap, working fiber into the shaped points with the tapestry needle handle so they hold their form, then close the gap.
- Make 20 chains from where the star closed, slip stitch into the same stitch where the chain started, then cut the yarn and use the tail to sew the loop closed -- this becomes the hanging loop for the keychain.
- Tie the bow at its center using the cut end from the second loop, then tack the finished bow onto the star or its hanging loop with the tapestry needle.
- the mouth, position it between Rows 2 and 3, using a thread to create a smile over 4 stitches. For the eyes, space them one stitch apart from the mouth on the same rows.
How the parts fit
- The increase rounds add six stitches at a time (12, 18, 24, 30), the standard rate for a flat crocheted disc -- this is what keeps each point lying flat through the early rounds before later shaping takes over.
- The bow is worked flat rather than in continuous rounds because it is built from two separate chain-3-and-double-crochet loops instead of a spiral; working flat lets each loop be shaped and slip-stitched closed on its own before the two meet.
- The center tie is the only join on the whole piece that is a knot rather than a stitch, which is why the bow can be positioned and re-tightened after both loops are finished, instead of being fixed in place by the crochet itself.
Scaling the build
| Smaller | Drop to a finer yarn with a smaller hook than the 2.5 mm specified; stitch counts stay the same but the finished disc shrinks. |
|---|---|
| Larger (alternate method) | Repeat the stitch pattern of the last increase round one extra time before continuing; this adds another six-stitch increase to the point's diameter without changing the number of points. |
03 · Snag listWhat went wrong on the bench, and the fix
Snag 1
Loose magic ring center
Pull both tails on the star's starting ring firmly before working the first six single crochets; a loose ring leaves a visible hole even after stuffing.
Snag 2
Increases drifting off line
Mark the start of each increase round with a stitch marker so the increase points stay stacked from round to round; drifting increases blur a shaped edge into a rounder one.
Snag 3
Mismatched bow loops
Count the double crochets and chain-3 stitches in both bow halves before cutting the yarn; mismatched loops make the finished bow visibly lopsided once tied.
Snag 4
Overstuffing before closing
Stuff to the point where the star holds its shape but the seam gap still closes neatly; overstuffing stretches the stitches around the closing gap out of shape.
04 · QueriesQuestions logged against this build
Can the star and bow be made in different yarn weights?
Yes -- the pattern already calls for two different colored yarns for the star and bow, and there's no requirement that they match in weight. Just size the hook to whichever yarn is used for each part.
Why does the bow use chains and double crochet instead of single crochet like the star?
The bow is a flat, open shape rather than a stuffed body, so chain-3 loops with double crochet build height and openness quickly. The star's single crochet keeps its rounds dense enough to hold the filling.
Does stuffing alone hold the star's shape, or does the seam need closing?
Stuffing fills the body but does not close it. The two star pieces are single crocheted together around the edge, and that seam still needs to be fully closed after stuffing.
05 · Made byWho counted this one

Who writes Amigurumi Addict, how a build gets its number, and why every round on the site carries a stitch count.
06 · Next off the benchThree builds that sit near this one

Mini and keychains
Crochet lips keychain: a two-piece amigurumi build
How do you crochet a lips keychain? Two lip pieces stuffed, closed, and seamed for a quick amigurumi gift.
Mini and keychains
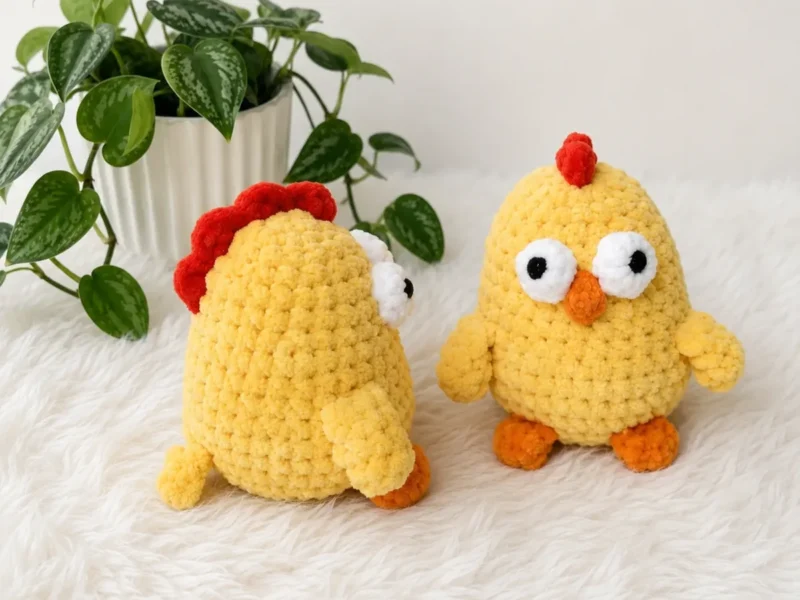
How to crochet a chick keychain amigurumi
How do you crochet a chick keychain? Shape the body-head, fold the legs flat, then attach eyes and beak.
Mini and keychains
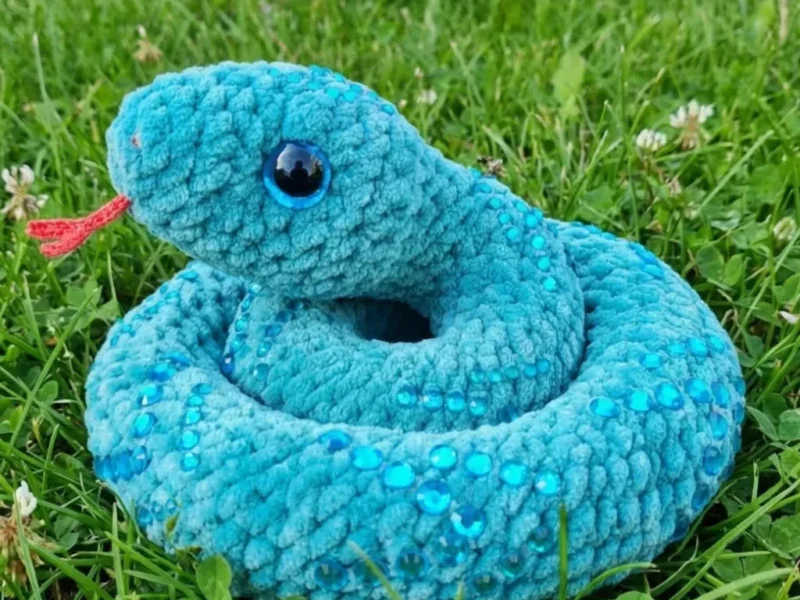
Crochet a mini snake amigurumi with a curved neck and tail
How do you crochet a mini snake amigurumi? Short rows curve the neck; decreases curl the tail.
Join the build log
One message when a build is issued
A drawing and its parts list, when one leaves the bench.