| Shelf | Level | Time | Hook | Yarn |
|---|---|---|---|---|
| Animals | Intermediate | 4-6 hours | 4.5 mm | Chunky (Size 6 Plush) |
Snoopy-style plush dog amigurumi pattern
How do you make a Snoopy-style amigurumi? Crochet Head & Body, Ears, Arms, and Legs in plush yarn, join as you go.
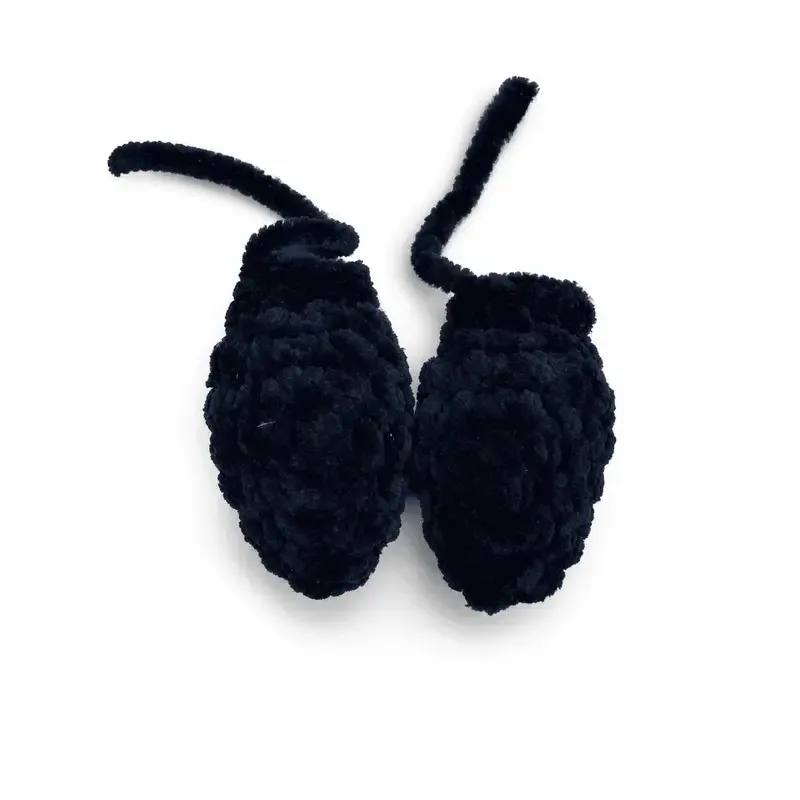
01 · The pieceWhat Snoopy-style plush dog amigurumi pattern actually is
The build runs on four parts: Head & Body worked as one continuous 43-round piece from nose to tail, Ears (8 rounds each, made twice), and Arms (11 rounds each, made twice) which double as the pattern for the Legs at one round shorter (10 rounds each, made twice). Black spots are embroidered rather than crocheted, so the part list shows zero rounds for them. Limbs and ears join into the body as the work progresses rather than being sewn on afterward, which is what keeps the finishing stage short.
Precision matters at the color changes on the Head & Body, where black transitions to white starting Round 3, and at eye placement between Rounds 8 and 9. It matters less in the exact stuffing amount per section, since size 6 plush yarn is forgiving and dense stitches hide minor unevenness. Where tension drifts most — and where a checkpoint is worth pausing for — is limb centering before the joining stitches lock each piece to the body.
02 · The count run53 rounds across 5 parts, each with its count
US terms throughout. Every row below ends with the count that round finishes on.
| Part | Qty | Finishes on |
|---|---|---|
| The Ears – Make 2 | 1 | - |
| Arms – Make 2 | 1 | - |
| Legs – Make 2 | 1 | - |
| Head & Body | 1 | - |
| Snoopy’s Spots | 1 | - |
Use black yarn
| Round | Instruction | Count |
|---|---|---|
| Round 1 | 6 SC into a MR (6) | - |
| Round 2 | (SC, INC)x3 (9) | - |
| Round 3 | SC around (9) | - |
| Round 4 | (2 SC, INC)x3 (12) | - |
| Rounds 5–6 | SC around (12) – 2 RNDS | - |
| Round 7 | (2 SC, DEC)x3 (9)Stuff ear lightly | - |
| Round 8 | (SC, DEC)x3 (6)Make 3 SC across the top to close and FO leaving a short tail. You will be crocheting the ears in later | - |
Use white yarn
| Round | Instruction | Count |
|---|---|---|
| Round 1 | 6 SC in a MR (6) | - |
| Round 2 | (INC)x6 (12) | - |
| Round 3 | BLO 3 SC, (BOB, 1 SC)x3, 3 SC (12) | - |
| Round 4 | SC around (12) | - |
| Round 5 | (DEC)x6 (6)Stuff the foot and then continue | - |
| Rounds 6–11 | SC around (6) – 6 RNDS Make 3 SC across the top to close. Ensure you are on the side of the foot when closing. FO and leave a short tail. You will be crocheting them in later. | - |
Use white yarn
Note*: the legs are essentially the same as the arms but just one round shorter
| Round | Instruction | Count |
|---|---|---|
| Round 1 | 6 SC in a MR (6) | - |
| Round 2 | (INC)x6 (12) | - |
| Round 3 | BLO 3 SC, (BOB, 1 SC)x3, 3 SC (12) | - |
| Round 4 | SC around (12) | - |
| Round 5 | (DEC)x6 (6)Stuff the foot and then continue | - |
| Rounds 6–10 | SC around (6) – 5 RNDSMake 3 SC across the top to close. Ensure you are on the side of the foot when closing. FO and leave a short tail. You will be crocheting them in later. | - |
Start with black yarn For the body you will be starting at the nose and working all the way to the end of the tail.
| Round | Instruction | Count |
|---|---|---|
| Round 1 | 4 SC into a MR (4) | - |
| Round 2 | SC around (4) | - |
CC to White
| Round | Instruction | Count |
|---|---|---|
| Round 3 | (3 SC into a ST)x4 (12) | - |
| Round 4 | (SC, INC)x6 (18) | - |
| Rounds 5–6 | SC around (18) – 2 RNDS | - |
| Round 7 | 6 SC, 6 INC, 6 SC (24) | - |
| Round 8 | 6 SC, (SC, INC)x6, 6 SC (30) | - |
| Rounds 9–13 | SC around (30) – 5 RNDS | - |
| Round 14 | 12 SC, 3 SC through an ear and body, 5 SC, 3 SC through an ear and body, 7 SC (30) | - |
Note*: You may need to adjust the placement of the ears. make sure the nose is in the middle Place safety eyes between RNDs 8 & 9 with about 7 visible sts apart.
| Round | Instruction | Count |
|---|---|---|
| Round 15 | (SC,DEC)x10 (20)Stuff the head and continue to stuff as you go | - |
| Round 16 | (DEC)x10 (10) | - |
CC to Red
| Round | Instruction | Count |
|---|---|---|
| Rounds 17–18 | SC around (10) – 2 RNDS CC to White | - |
| Rounds 19–20 | SC around (10) – 2 RNDS | - |
| Round 21 | (SC, INC)x5 (15) | - |
| Round 22 | SC around (15) | - |
| Round 23 | (2 SC, INC)x5 (20) | - |
| Round 24 | SC around (20)Stuff the neck and continue stuffing the body as you go | - |
When crocheting the legs in, make sure the toes are pointed away from you. When laying down, his toes should be pointed up.
The arms should be almost directly under the body while the legs should be more towards the side of the body – adjust if needed (varies based on tension)
| Round | Instruction | Count |
|---|---|---|
| Round 25 | 4 SC, 3 SC through arm & body, 3 SC, 3 SC through arm & body, 7 SC (20) | - |
| Round 26 | (3SC,INC)x5 (25) | - |
| Rounds 27–29 | SC around (25) – 3 RNDS | - |
| Round 30 | (4 SC, INC)x5 (30) | - |
| Round 31 | SC around (30) | - |
| Round 32 | 6 SC, 3 SC through leg & body, 10 SC, 3 SC through leg & body, 8 SC (30) | - |
| Round 33 | SC around (30) | - |
| Round 34 | (2 SC, DEC)x7, DEC (22) | - |
| Round 35 | (DEC)x11 (11) | - |
CC to Black
| Round | Instruction | Count |
|---|---|---|
| Round 36 | SC, (DEC)x5 (6) | - |
| Round 37 | SC around (6) | - |
Note*: You may need to adjust the placement of the arms and legs. They should both be centered on the bottom of the body.
CC to White and FO black
| Round | Instruction | Count |
|---|---|---|
| Round 38 | INC, 4 SC, INC (8) | - |
| Round 39 | 3 SC, DEC, 3 SC (7) | - |
Note*: For the tail, the INCS should all be at the top and the DECs should be at the bottom – continue to adjust as need throughout
| Round | Instruction | Count |
|---|---|---|
| Round 40 | SC around (7) | - |
| Round 41 | INC, 2 SC, DEC, SC, INC (8) | - |
| Round 42 | SC around (8)Stuff tail and then continue | - |
| Round 43 | (DEC)x4 (4) | - |
FO and leave a short tail to close hole.
Embroider one large spot and one small spot on snoopys back towards his tail.
Large spot: You should make 8-10 lines between the same two stitches. The stitches should be about 5-6 rows apart
Small spot: You should make 4-6 lines between the same two stitches. The stitches should be about 2-4 rows apart
When embroidering spots onto plushies, you will want to pull the yarn back and forth between 2 stitches. As you are going back and forth you will want to alternate which side you pull the yarn to in order to create an even circular shape.
Techniques on this build
- Bobble stitch
- Used on Round 3 of the Arms to form paw toes; push bobbles outward with a finger so they sit on the front face of the limb, not buried in the round.
- Invisible decrease
- Needed throughout the Head & Body shaping rounds; standard decreases leave gaps in chunky chenille that let stuffing show through.
- Color change (CC)
- First appears Round 2 to Round 3 on the Head & Body, black to white; carry the dropped color loosely inside the work to avoid puckering.
- Join-as-you-go assembly
- Applies to attaching Arms, Legs, and Ears to the Head & Body mid-pattern; recheck centering before completing the joining stitches, since tension shifts round endpoints.
Final fit-up
- Weave in ends left from the black-to-white color change and from each separately worked limb before joining.
- Stuff the Head & Body firmly through the neck section in particular, since underfilling there is what causes head flop later.
- Fold the top opening flat and single crochet through both layers to close, checking toe orientation before the seam is finished.
- Attach safety eyes between Rounds 8 and 9, spaced about 7 stitches apart, before the head is stuffed and sealed shut.
How the parts fit
- Round 1 of the Head & Body starts at only 4 SC into a Magic Ring rather than the usual 6, since this piece builds the nose tip first and needs a narrower starting point.
- The color change from black to white lands at Round 3, right where the stitch count jumps via (3 SC into a ST) x4 to 12 -- the increase round and the color break happen together, marking the shift from nose to head.
- Arms and legs share the same base pattern, with legs stopping one round short; this is why the part list separates them by round count rather than by shaping.
Scaling the build
| Larger | Move up from the 4.5mm hook to a larger size while keeping size 6 plush yarn; looser stitches produce a bigger, softer plush without changing any stitch counts. |
|---|---|
| Proportional tweak | Because legs are the Arms pattern minus one round, adding a round back in lengthens the legs relative to the Arms if a taller stance is wanted. |
03 · Putting it togetherHow the pieces go together
- S1
Fold the top opening flat and work single crochet stitches through both layers across the top . Make sure the toes are facing the correct direction before closing them .
04 · Snag listWhat went wrong on the bench, and the fix
Snag 1
Limbs joined off-center
Tension differences shift where rounds end, so lay each Arm, Ear, or leg against the body and check alignment before completing the joining stitches, not after.
Snag 2
Bobble toes hidden inside the round
After working each bobble on Round 3 of the Arms, push it outward with a finger so it sits on the front of the paw rather than folding into the fabric.
Snag 3
Neck stuffed too lightly
A soft neck lets the head tip forward once the body is finished; pack this section firmly before closing the top opening.
Snag 4
Visible gaps from standard decreases
Size 6 plush yarn shows holes at regular decrease points; use invisible decreases through all shaping rounds to keep the stuffing from peeking through.
05 · QueriesQuestions logged against this build
Why does the Head & Body start at 4 stitches instead of 6?
This piece begins at the nose tip, which needs a narrower opening than a typical amigurumi head. Round 2 holds steady at 4 SC before the first increase round widens it out.
Can I use worsted weight yarn instead of plush yarn?
Yes, pairing worsted weight with a smaller 3.5mm hook works, per the source notes. Expect a visibly smaller finished plushie than the chunky plush yarn version made with the 4.5mm hook.
Where exactly do the safety eyes go?
Place them between Rounds 8 and 9 on the Head & Body, spaced roughly 7 visible stitches apart. Attach them before stuffing that section so the backs seat properly against the fabric.
What hook size works best for this plushie?
A 4.5mm hook works wonderfully with size 6 plush yarn. It keeps the stitches nice and tight so the polyester stuffing does not poke through the fabric.
06 · Made byWho counted this one

Who writes Amigurumi Addict, how a build gets its number, and why every round on the site carries a stitch count.
07 · Next off the benchThree builds that sit near this one

Animals
Crochet a bunny or frog from one amigurumi base
How do you crochet a bunny and a frog from one base? Share Legs, Body, and Head; swap ears or eyes.

Animals
Crochet giraffe amigurumi pattern with horns and ears
How do you crochet a giraffe amigurumi? Shape head, body, legs, ears and horns in worsted yarn.

Animals
Amigurumi cat crochet pattern with oval muzzle and bow
How do you crochet an amigurumi cat with a flat muzzle? Shape it separately, pinch it, then sew it on.
Join the build log
One message when a build is issued
A drawing and its parts list, when one leaves the bench.