| Shelf | Level | Time | Hook | Yarn |
|---|---|---|---|---|
| Animals | Intermediate | 4-6 hours | 2.5 mm | Worsted |
Amigurumi cat crochet pattern with oval muzzle and bow
How do you crochet an amigurumi cat with a flat muzzle? Shape it separately, pinch it, then sew it on.
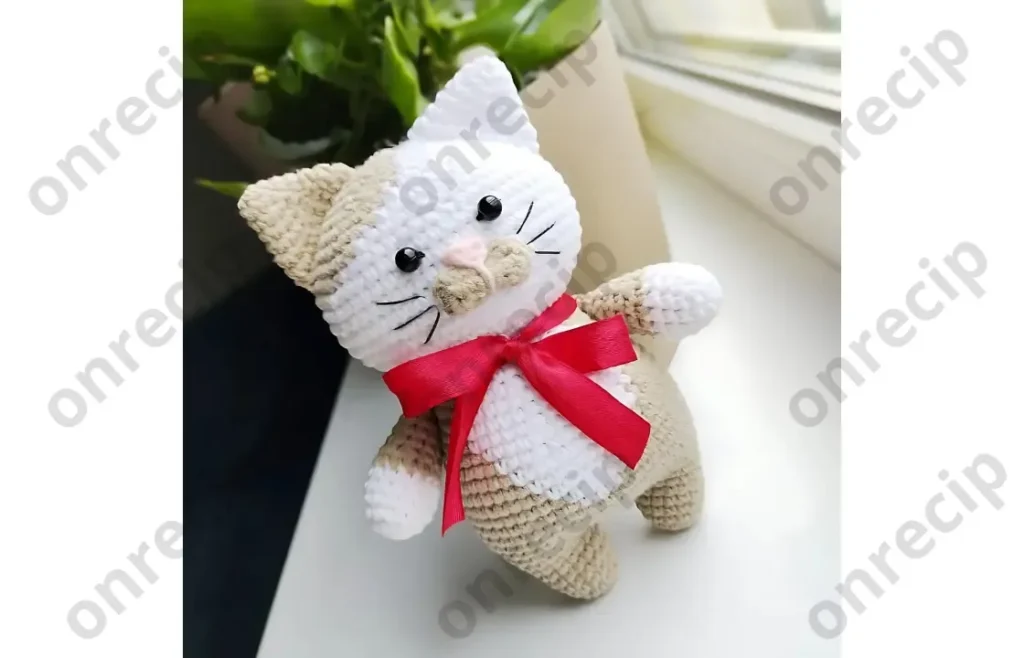
01 · The pieceWhat Amigurumi cat crochet pattern with oval muzzle and bow actually is
This cat comes together from four separate builds: a main body worked in continuous rounds up through R 8 and beyond, a flat oval Muzzle started from a 6-chain foundation, a tail worked as a long tube (R 2 into R 3, ten rows of 8 sc) that gets flattened and closed at the tip, and Ears worked on the smaller 2.5 mm hook. Nothing is joined as you go — each piece is finished, fastened off, then sewn to the body. Bead eyes and embroidered whiskers finish the face after assembly.
Stitch counts in the body rounds (the 42-stitch R 8, for instance) need to land exactly, since increases are staggered in pairs and a miscount shifts the whole round out of symmetry. The Muzzle and tail tolerate more slack: the Muzzle gets pulled into shape by hand before sewing regardless of exact tension, and the tail's ten straight rows of 8 sc forgive minor gauge drift since length is adjustable by eye.
02 · The count run7 rounds across 9 parts, each with its count
US terms throughout. Every row below ends with the count that round finishes on.
| Part | Qty | Finishes on |
|---|---|---|
| R 8 | 1 | - |
| Muzzle | 1 | - |
| R 2 | 1 | - |
| R 3 | 1 | - |
| R 11 | 1 | - |
| Ears (make 2) | 1 | - |
| R 6 | 1 | - |
| R 47 | 1 | - |
| Nose | 1 | - |
| Round | Instruction | Count |
|---|---|---|
| Round 1 | (15 sc, inc, 2 sc, inc)*2 (42) | - |
Make 6 ch.
Make an oval starting from the 2nd ch from hook, work on both sides of the chain.
| Round | Instruction | Count |
|---|---|---|
| Round 1 | From the 2nd ch from hook: 4 sc, 3 sc in last st, turn and crochet on the opposite side of the chain: 3 sc, inc (12) | - |
| Round 2 | inc, 3 sc, inc, 1 sc, inc, 3 sc, inc, 1 sc, sl st F.o. Pull off a little the muzzle in the center as a bow before sewing. | - |
| Round | Instruction | Count |
|---|---|---|
| Rounds 3–12 | 8 sc (10 rows) Stuff gently with fiberfill. Fold top of tail flat and sc through both sides across. | - |
F.o. and leave a long tail for sewing.
| Round | Instruction | Count |
|---|---|---|
| Rounds 4–6 | 15 sc (3 rows) F.o. Don’t cut the yarn when you’ll finish the second leg! From the second leg: 4 ch, join with the first leg.Continue crocheting the body in the round: Stuff as you go. | - |
| Round 7 | 15 sc on the 1st leg, 4 sc in 4 ch, 15 sc on the 2nd leg, 4 sc in 4 ch (opposite side) (38) | - |
| Round | Instruction | Count |
|---|---|---|
| Round 12 | 10 sc Fold top of arm flat and sc through both sides across. F.o. and leave a long tail for sewing. | - |
With 3.0 mm crochet hook:
Don’t stuff.
F.o. and leave a long tail for sewing.
Legs, body and head
F.o.
Make 2 ch, in the 2nd ch from hook: 2 sc.
F.o. and leave a long tail for sewing.
Assembly Sew on beads for the eyes.
Sew the muzzle, nose and ears to the head.
Sew the arms to the body on R 27.
Sew the tail to the body.
Embroider whiskers using black floss.
Designed and photos by @olesya_amitoys Translated by onrecip Enjoy!
Techniques on this build
- Paired increases in continuous rounds
- R 8 uses a repeated (15 sc, inc, 2 sc, inc) sequence — keep the increase points aligned with the row below or the round drifts off-center.
- Oval worked in the round from a chain
- The Muzzle starts from 6 ch and works both sides of the chain in a single round — mark the 2nd ch from hook so you don't lose track of which side you're on.
- Flattening and closing a tube
- The tail's final row folds the tube flat and single crochets through both layers together — keep tension even so the seam doesn't pucker.
Final fit-up
- Weave in all fastened-off ends on the Muzzle, tail, and Ears before attaching anything, working each tail through several stitches on the wrong side.
- Stuff the tail gently as instructed — firm enough to hold shape, soft enough to fold flat for the closing row.
- Close the tail tip by folding it flat and single crocheting through both sides in one pass, then fasten off with a tail long enough for sewing.
- Attach the Muzzle by pinching it slightly at the center like a bow before sewing it to the face, then position bead eyes and Ears around it, finishing with embroidered whiskers and a satin ribbon bow.
How the parts fit
- R 8's increase pattern (15 sc, inc, 2 sc, inc, repeated twice) places increases in matched pairs rather than spread evenly, which builds a rounder cross-section at that point in the body.
- The Muzzle is worked flat from a 6-chain oval instead of in continuous rounds because it's a separate small piece meant to be shaped by hand and sewn on, not integrated into the body's stitch count.
- The tail's closing row — folding the tube flat and single crocheting through both layers — replaces a decrease-to-a-point finish, giving a flat sewn tip instead of a rounded one.
Scaling the build
| Larger | Move up to a heavier weight than the YarnArt Jeans worsted-equivalent with a larger hook than the 2.5 mm/3.0 mm pair — stitch counts stay the same but each stitch takes up more space, scaling the whole cat up. |
|---|---|
| Smaller | Drop to a finer yarn and a smaller hook than 2.5 mm — the same round counts (R 8, R 11, and the ten tail rows) produce a more compact result. |
| Longer tail | Repeat the tail's straight round (8 sc) beyond the ten rows given — each added round lengthens the tail before the flatten-and-close finishing row. |
03 · Snag listWhat went wrong on the bench, and the fix
Snag 1
Losing track of chain sides in Muzzle
Place a stitch marker in the 2nd ch from hook before starting so you know exactly where the first side ends and the opposite side of the chain begins.
Snag 2
Miscounting paired increases in R 8
Count stitches after each bracketed repeat rather than waiting until the round's end — catching a slip early keeps the 42-stitch total accurate.
Snag 3
Overstuffing before the tail's final row
Stuff gently as directed; overstuffing makes the fold-and-close step at the tip bulky and hard to seam evenly.
Snag 4
Skipping the Muzzle pinch before sewing
Pull the Muzzle in slightly at the center as directed before attaching it — sewing it on flat loses the bow-shaped contour the pattern relies on.
04 · QueriesQuestions logged against this build
Why is the Muzzle worked separately instead of as part of the head?
It's built flat from a 6-chain oval so it can be pinched into a bow-like shape by hand before sewing. Working it into the head's continuous rounds would make that shaping step impossible.
Do the Ears need a different hook than the body?
Yes — the pattern calls for 3.0 mm for the Ears alongside the 2.5 mm used elsewhere. This produces a firmer, flatter fabric suited to a small shaped piece rather than a stuffed round one.
Can the tail's closing row be skipped?
No — folding the tube flat and single crocheting through both layers is what closes the tip and gives the tail its flattened profile. Without it, the tail stays open and unstuffed at the end.
05 · Made byWho counted this one

Who writes Amigurumi Addict, how a build gets its number, and why every round on the site carries a stitch count.
06 · Next off the benchThree builds that sit near this one

Animals
Crochet a bunny or frog from one amigurumi base
How do you crochet a bunny and a frog from one base? Share Legs, Body, and Head; swap ears or eyes.

Animals
Crochet giraffe amigurumi pattern with horns and ears
How do you crochet a giraffe amigurumi? Shape head, body, legs, ears and horns in worsted yarn.
Animals
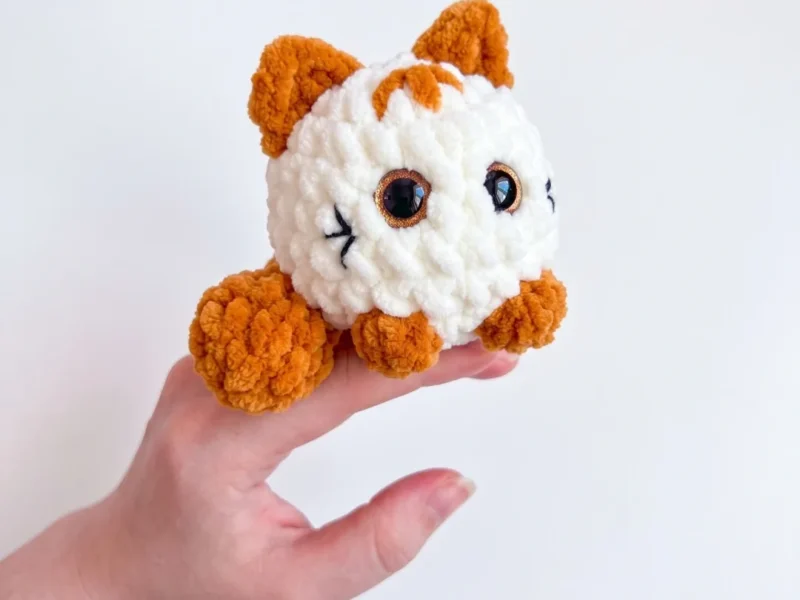
Chubby round cat amigurumi pattern with built-in ears
How do you crochet a chubby round cat amigurumi? Body, built-in ears, and tail assemble in one piece.
Join the build log
One message when a build is issued
A drawing and its parts list, when one leaves the bench.