| Shelf | Level | Time | Hook | Yarn |
|---|---|---|---|---|
| Sea friends | Intermediate | 4-6 Hours | 3.5 mm | Worsted |
Sea Turtle Amigurumi Pattern — Easy Crochet Tutorial
Crochet an adorable sea turtle amigurumi with this easy pattern featuring a plush shell, cute head, and simple joining techniques for beginners.
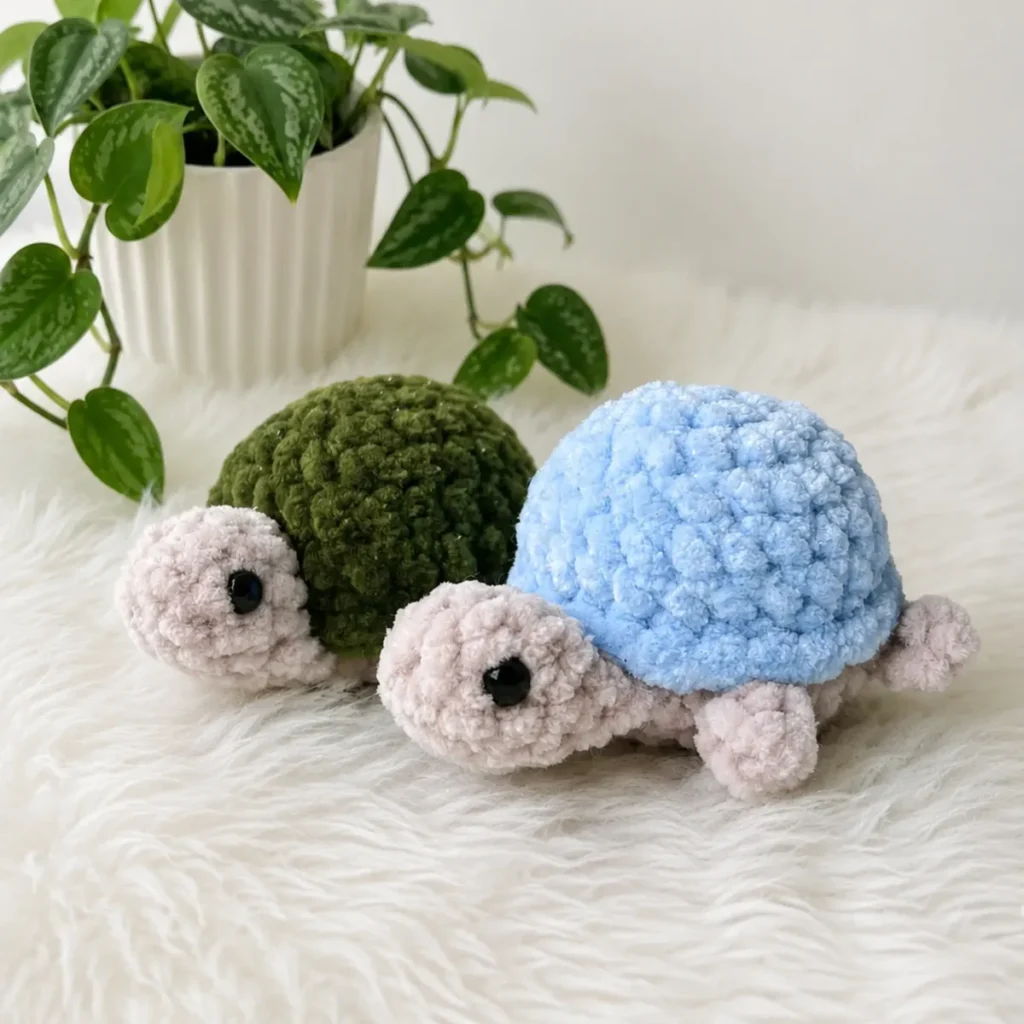
01 · The pieceWhat Sea Turtle Amigurumi Pattern — Easy Crochet Tutorial actually is
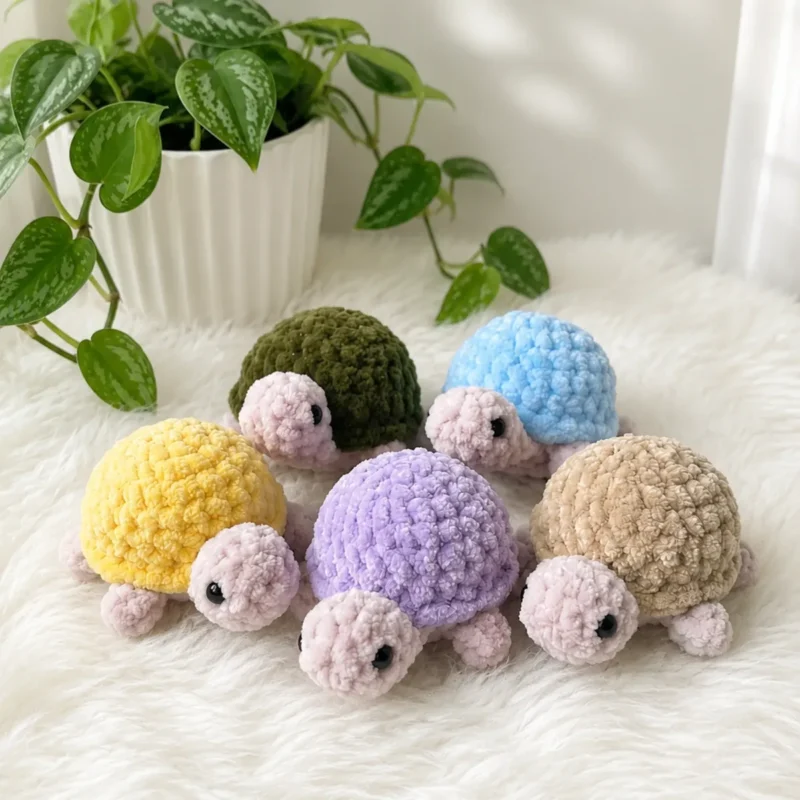
This Sea Turtle Amigurumi pattern brings a sweet little ocean friend to life using soft, plush chenille-style yarn that makes every stitch feel like a hug. With a light blue domed shell and a beige head, body, and limbs, this design captures that classic sea turtle silhouette in a compact, huggable form. It's an ideal project for anyone who loves ocean animals, wants a nursery-safe softie, or is looking for a charming handmade gift that stands out from the usual amigurumi bear or bunny.
You'll work the Head and Shell in continuous spiral rounds, so comfort with magic rings, single crochet increases, and invisible decreases will help things move smoothly. The joining round for the head, legs, and tail introduces a satisfying technique where separate pieces come together into one cohesive body, which is where the real amigurumi magic happens. Expect to spend somewhere in the 4-6 hour range total, making this a perfect weekend project you can pick up during a cozy afternoon or two.
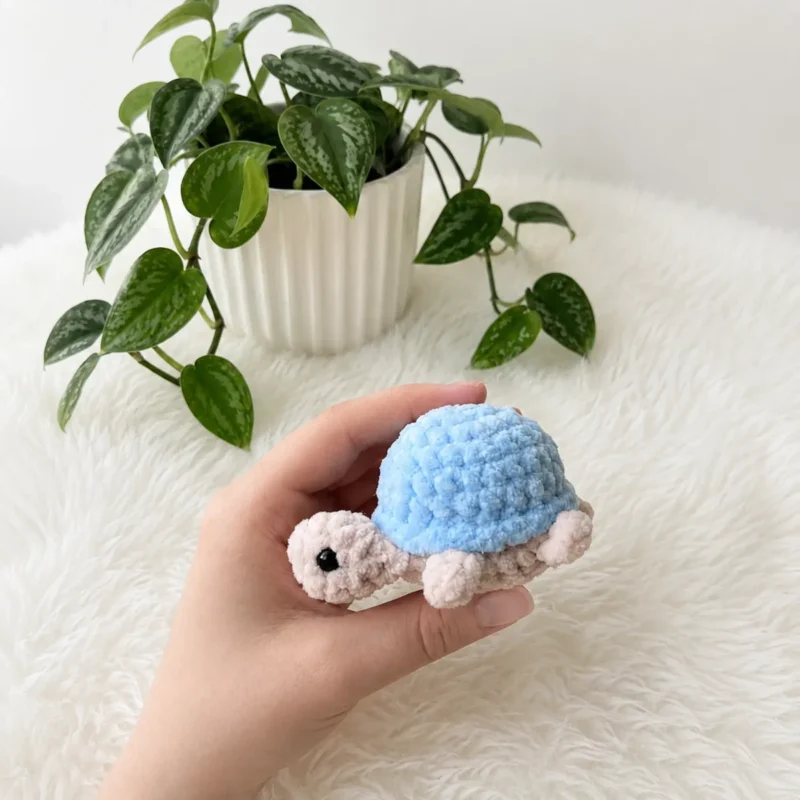
The finished turtle is a plump, palm-sized softie with a rounded plush shell that begs to be squeezed and a friendly little beaded-eye face. Its texture is irresistibly soft thanks to the chenille-style yarn, giving it a plush-toy feel rather than a typical scratchy amigurumi finish. Whether tucked into a beach-themed nursery, gifted to a turtle-loving friend, or added to your own amigurumi shelf, this little guy is guaranteed to earn cuddles.
- Start the Head by working a magic ring and building it up through increase and decrease rounds to shape a rounded form.
- Attach the 6mm safety eyes to the Head at the appropriate round before stuffing it firmly with fiberfill.
- Crochet the Shell separately in continuous spiral rounds, shaping its classic domed silhouette with increases.
- Stuff the Shell just enough to hold its shape without letting fiberfill show through the stitches.
- Use the Joining Round to bring the Head, legs, and tail together into one connected body in a single continuous step.
- Check the placement and symmetry of all limbs before finalizing the join so your turtle sits evenly.
- Weave in all loose yarn ends securely with a yarn needle for a clean, finished look.
- Assemble the Shell onto the joined body following the assembly steps to complete your huggable sea turtle.
02 · The count run15 rounds across 2 parts, each with its count
US terms throughout. Every row below ends with the count that round finishes on.
| Part | Qty | Finishes on |
|---|---|---|
| Head | 1 | - |
| Shell | 1 | - |
| Round | Instruction | Count |
|---|---|---|
| Round 1 | 6 sc in MR. (6) | - |
| Round 2 | inc in each st around. (12)Insert 6mm safety eyes now, placing them between Rnd 2 and Rnd 3. | - |
| Round 3 | sc in each st around. (12) | - |
| Round 4 | 2 sc, dec repeat around. (9) | - |
| Round 5 | sc in each st around. (9) | - |
| Round 6 | sc in each st around. (9) | - |
| Round 7 | Fold the piece flat and sc through both layers together across the opening. (4)Do not fasten off. Set the Head aside with the working loop still on the strand—you’ll use this same yarn to begin the Shell’s joining round later. | - |
| Round | Instruction | Count |
|---|---|---|
| Round 1 | 6 sc in MR. (6) | - |
| Round 2 | inc in each st around. (12) | - |
| Round 3 | 1 sc, inc repeat around. (18) | - |
| Round 4 | 2 sc, inc repeat around. (24) | - |
| Round 5 | sc in each st around. (24) | - |
| Round 6 | sc in each st around. (24) | - |
| Round 7 | sc in each st around. (24) | - |
Place one stitch marker in the front loop and one in the back loop of the first stitch of the next round, so you can find both loops easily in the following two rounds.
| Round | Instruction | Count |
|---|---|---|
| Round 8 | working in FLO only, sc in each st around. (24) | - |
03 · Putting it togetherHow the pieces go together
- S1
Confirm the Head is securely joined to the Shell from Round 9—since the head was worked into the joining round itself, no separate sewing is needed for this step.
- S2
Check that all four legs and the tail are sitting symmetrically around the base of the Shell; if any limb looks uneven, gently reshape it with your fingers while the stuffing is still soft.
- S3
Weave in the yarn tail left from Round 12 securely through several stitches on the inside of the piece.
- S4
Weave in any remaining tails from the safety eye installation or color changes, trimming excess yarn close to the surface.
04 · Before it goes to a childWhat has to be right, and what is allowed to drift
- 💡 Since this pattern uses continuous spiral rounds with no joining slip stitches, keep both of your stitch markers active at all times — one for the Head and one for the Shell if you're working them in tandem.
- 💡 Chenille-style plush yarn can be slightly stretchy, so stuff your pieces a bit more firmly than you would with standard worsted cotton to prevent sagging once the turtle is fully assembled.
- 💡 Attach your 6mm safety eyes before you finish stuffing the Head completely, since it's much easier to position and secure the washers while there's still room to reach inside.
- 💡 When working the Joining Round for the head, legs, and tail, keep your stitch markers on each individual piece until the very last moment so nothing shifts out of place during assembly.
- 💡 Weave in all your yarn tails securely with a yarn needle before final stuffing, since loose ends can work their way to the surface of plush yarn over time and time and time again with handling.
05 · Snag listWhat went wrong on the bench, and the fix
Snag 1
Losing track of the spiral round start point on the Head or Shell, causing rounds to drift and stitch counts to become inconsistent.
Always place a stitch marker in the first stitch of each new round and move it up as you go — this is non-negotiable in continuous spiral work since there's no chain or slip stitch to mark the boundary.
Snag 2
Stuffing too loosely, resulting in a floppy turtle where the fiberfill peeks through gaps between stitches.
Work your single crochets tightly enough that you can barely see through them, and stuff firmly in small pinches as you go rather than cramming it all in at the end — this keeps the shell's dome shape crisp and structured.
Snag 3
Rushing the joining round where the head, legs, and tail attach to the body, leading to misaligned or lopsided limb placement.
Before joining, lay all pieces out on your work surface to check spacing and symmetry, using stitch markers to hold each piece in place temporarily so you can adjust before committing to the final join.
Snag 4
Mismatching the beige and light blue yarn tension between the Head and Shell pieces, making them look like two different projects when assembled.
Keep the same hook size and similar tension throughout both pieces, and test a small swatch of each color first to confirm they behave the same way since chenille-style yarns can sometimes vary slightly between colors.
Snag 5
Skipping the invisible decrease technique in favor of a regular decrease, leaving small visible holes at the top of the Head or Shell.
Use the invisible decrease method by inserting your hook into the front loops of the next two stitches before pulling through, which creates a smoother, gap-free closure especially important on plush yarn where holes show more easily.
Snag 6
Attaching the 6mm safety eyes without double-checking spacing, resulting in a turtle with a cross-eyed or off-center expression.
Insert the eyes but don't secure the backs yet — hold the head up and view it from a few feet away to check symmetry and placement before locking them in permanently.
06 · VariantsOther ways to issue this one
I designed this Sea Turtle pattern because I wanted something that felt indulgently soft to work with — that chenille-style plush yarn just glides through your fingers and creates the coziest texture once stuffed. Working the Head and Shell in continuous spiral rounds means no visible seam lines, so your turtle looks polished and professional right off the hook. My favorite part is the joining round, where the head, legs, and tail all come together in one satisfying step instead of tedious individual sewing — it genuinely feels like watching your turtle come to life stitch by stitch. The contrast between the light blue shell and beige body gives it that authentic sea turtle look without needing complicated color work or intarsia. I also love how forgiving this pattern is: since gauge isn't critical, you just need your tension tight enough to keep the stuffing tucked in, which takes the pressure off perfectionism. It's the kind of project you can crochet while half-watching a show and still end up with something adorable. Plus, with only two stitch markers and simple abbreviations, it's approachable even if you're newer to amigurumi assembly techniques.
07 · QueriesQuestions logged against this build
What weight yarn works best for this Sea Turtle pattern?
This pattern is designed for light worsted weight plush or chenille-style yarn, which gives the turtle its signature soft, squishy texture. Standard worsted weight cotton yarn can also be substituted if you prefer a firmer, more traditional amigurumi finish.
Can I make this pattern without safety eyes?
Yes, you can substitute embroidered French knot eyes using black embroidery floss if you're making this for a very young child or prefer a no-hardware option. Just be sure to secure your stitches well on the inside so they don't pull loose with handling.
How do I keep my rounds from getting confused since there's no joining or chaining?
Since both the Head and Shell are worked in continuous spiral rounds, a stitch marker placed in the first stitch of each round is essential — move it up every round so you always know where you started. This small habit prevents miscounted rounds and keeps your stitch counts accurate throughout.
What's the best way to handle the Joining Round for the head, legs, and tail?
Lay out all your pieces first to check spacing and symmetry before you begin joining, since this round brings everything together into one body at once. Take it slow and use stitch markers to temporarily hold pieces in place if needed.
How much yarn do I need for the whole project?
The exact yardage will depend on your tension and stuffing firmness, but plan for one skein each of light blue and beige plush yarn to comfortably complete the Head and Shell with enough left over for the legs and tail. It's always smart to have a little extra on hand in case your gauge runs looser than expected.
Original pattern: https://amigurumicorner.com/sea-turtle-amigurumi-pattern/
08 · Made byWho counted this one

Who writes Amigurumi Addict, how a build gets its number, and why every round on the site carries a stitch count.
09 · Next off the benchThree builds that sit near this one
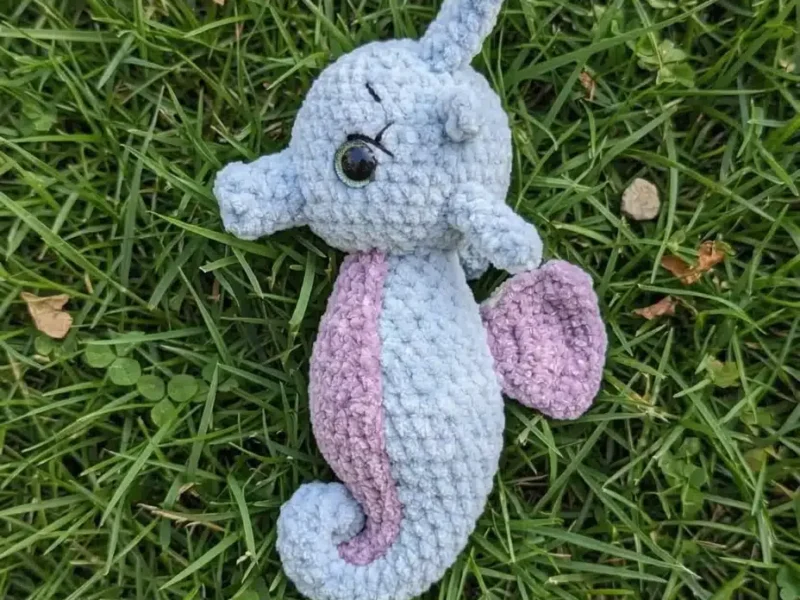
Sea friends
How to crochet a baby seahorse amigurumi
How do you crochet a baby seahorse amigurumi? Build the Body and Head, Nose, six Horns, Belly, and two Wings, then sew
Sea friends
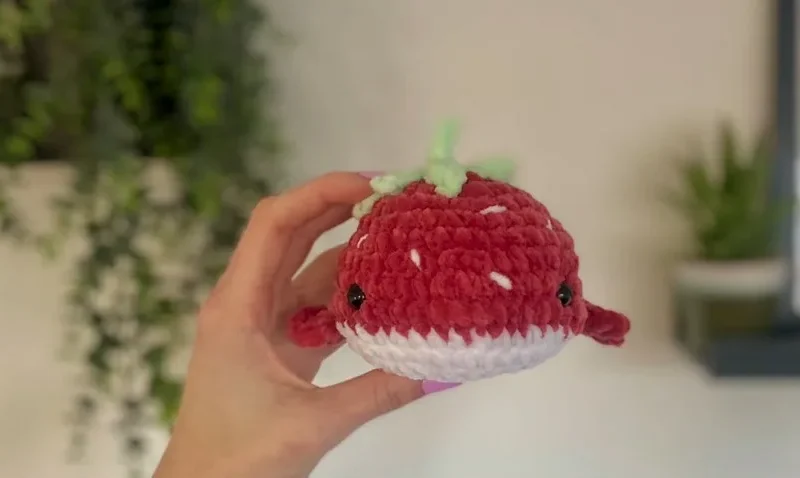
Crochet a strawberry whale plushie with leaf crown
How do you crochet a strawberry whale? Build a red sc body, add fins, tail, and a leaf-and-stem crown.
Sea friends
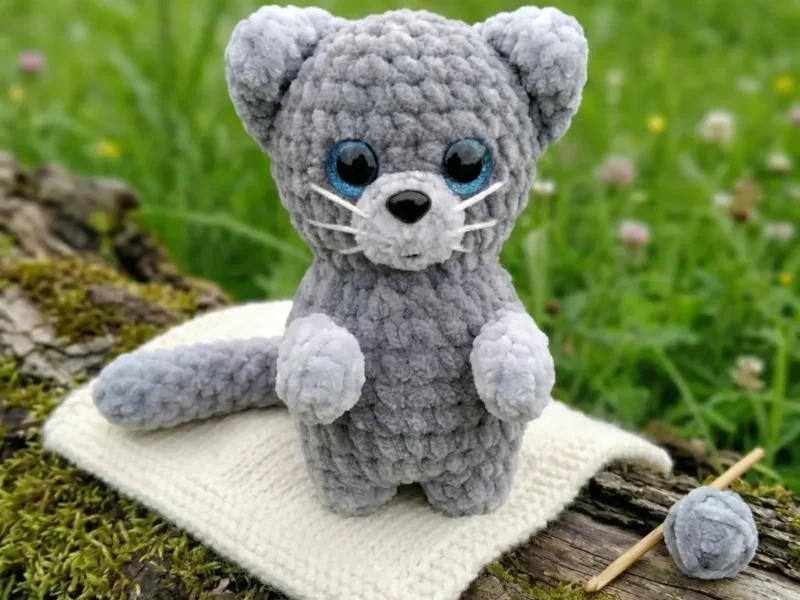
Little Kitty Amigurumi Crochet Pattern (Free & Beginner-Friendly)
Crochet an adorable Little Kitty amigurumi with this free pattern featuring continuous body-to-head construction and two cute ear options. Just 12-13 cm ta
Join the build log
One message when a build is issued
A drawing and its parts list, when one leaves the bench.