| Shelf | Level | Time | Hook | Yarn |
|---|---|---|---|---|
| Sea friends | Intermediate | 4-6 Hours | 4 mm | Fingering/Sport (Baby Yarn) |
Little Kitty Amigurumi Crochet Pattern (Free & Beginner-Friendly)
Crochet an adorable Little Kitty amigurumi with this free pattern featuring continuous body-to-head construction and two cute ear options. Just 12-13 cm ta
01 · The pieceWhat Little Kitty Amigurumi Crochet Pattern (Free & Beginner-Friendly) actually is
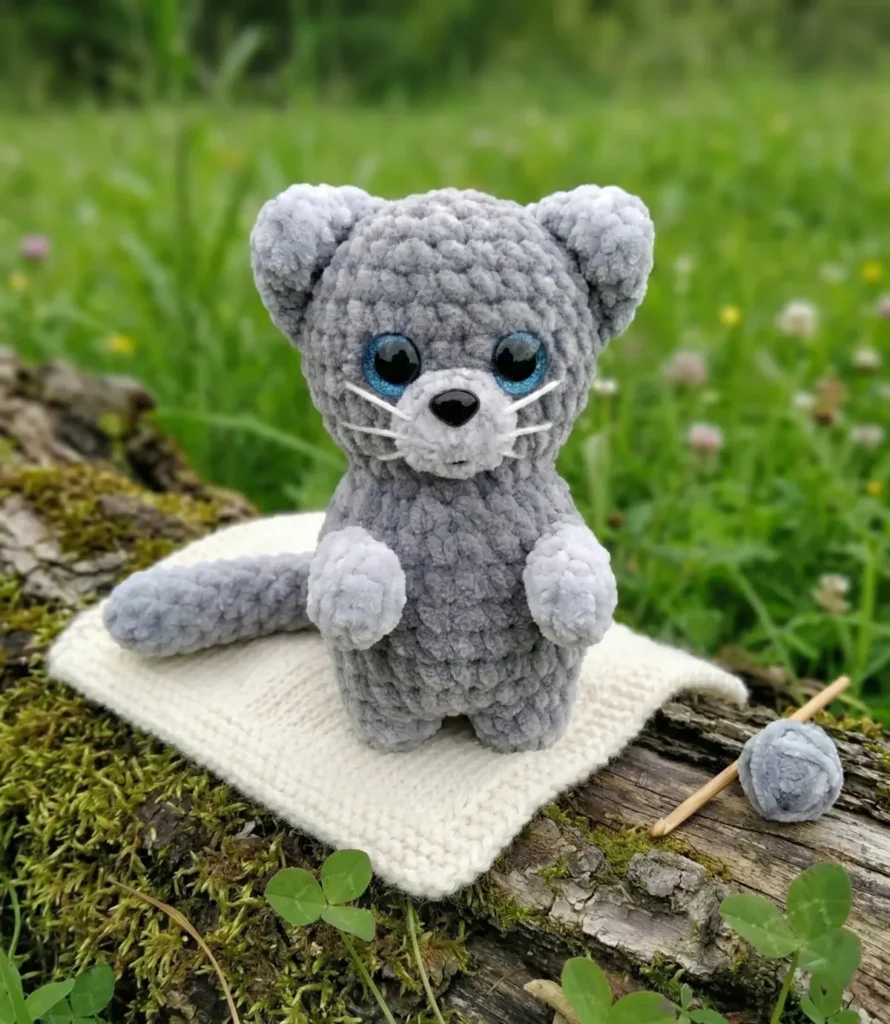
This Little Kitty amigurumi is a tiny, big-hearted project that turns less than half a skein of yarn into an irresistibly sweet stuffed cat. What makes it stand out is the clever construction: instead of crocheting the legs, body, and head as separate pieces to sew together later, you join the legs directly into the body and then keep right on going into the head — all in one continuous piece. It's ideal for crocheters who love amigurumi but don't want to spend a whole weekend on seaming.
You'll be working through the classic amigurumi toolkit here — magic rings to start each piece, single crochet increases and decreases to shape the rounded body and head, and a neat little muzzle worked separately and attached for that signature kitty face. The technique of joining legs into the body round takes a bit of care your first time, but once you've done it, it becomes second nature. Expect this pattern to take somewhere between 4 and 6 relaxed hours, spread over one or two sittings.
The finished kitty stands about 12-13 cm (4.75-5 in) tall, small enough to perch on a shelf or tuck into a gift bag, yet substantial enough to squeeze and cuddle. With safety eyes, a safety nose, and embroidered whiskers, the face has real personality, and your choice between pointed cone ears or soft folded ears lets you customize the look. It's a charming handmade gift for birthdays, baby showers, or simply treating yourself to something adorable.
- Crochet the two legs first, working them as small tubes ready to be joined into the body.
- Join both legs together at the top and continue working the body rounds directly from them in one piece.
- Shape the body with rounds of single crochet, stuffing firmly as the piece grows taller.
- Without breaking yarn, transition straight from the last body round into the first head round.
- Shape the head with increases and decreases, stuffing gradually so the face holds its rounded form.
- Work the muzzle separately as a small flat piece, then position and sew it onto the head.
- Choose your ear style — pointed cone ears or flattened folded ears — and crochet a matching pair.
- Attach the safety eyes, safety nose, ears, and embroidered whiskers to complete the kitty's expressive little face.
02 · The count run25 rounds across 9 parts, each with its count
US terms throughout. Every row below ends with the count that round finishes on.
| Part | Qty | Finishes on |
|---|---|---|
| Legs — Make 2 | 1 | - |
| Body | 1 | - |
| Head | 1 | - |
| Muzzle | 1 | - |
| Ears | 1 | - |
| Option 1 — Cone Ears | 1 | - |
| Option 2 — Folded Ears (Designer's Choice) | 1 | (6) |
| Arms — Make 2 | 1 | - |
| Tail | 1 | - |
| Round | Instruction | Count |
|---|---|---|
| Round 1 | 7 sc in magic ring. (7) | - |
| Round 2 | 7 sc, sl st. (7)Fasten off and weave in ends on the first leg only. | - |
| Round | Instruction | Count |
|---|---|---|
| Round 3 | Ch 1, join first leg, sc 7 across first leg, inc in ch-sp, sc 7 across second leg, inc in ch-sp. (18) | - |
| Round 4 | (2 sc, inc) × 6. (24) | - |
| Round 5-9 | Sc 24. [5 rounds] (24) | - |
| Round 10 | (2 sc, dec) × 6. (18) | - |
| Round 11 | (1 sc, dec) × 6. (12) | - |
Continue working directly from the body — do not fasten off.
| Round | Instruction | Count |
|---|---|---|
| Round 12 | 12 inc. (24) | - |
| Round 13 | (5 sc, inc) × 4. (28) | - |
| Round 14-18 | Sc 28. [5 rounds] (28) | - |
| Round 19 | (5 sc, dec) × 4. (24) | - |
Tip: Attach your 14 mm safety eyes between Rnds 15 and 16, leaving exactly 4 stitches between the two eye placements.
| Round | Instruction | Count |
|---|---|---|
| Round 20 | (2 sc, dec) × 6. (18)Stuff body and head firmly with fiberfill before continuing. | - |
| Round 21 | (1 sc, dec) × 6. (12) | - |
| Round 22 | 6 dec. (6)Add any remaining stuffing, close the opening, and fasten off. Weave in ends securely. | - |
The muzzle gives this kitty its irresistible face. The fluffy texture of Dolphin Baby yarn creates a naturally soft, rounded snout — just give it a gentle trim after assembly for a polished look.
| Round | Instruction | Count |
|---|---|---|
| Round 1 | 6 sc in magic ring. (6) | - |
| Round 2 | 1 sc, inc, 2 sc, inc, 1 sc, sl st. (8)Attach the 10 mm safety nose between Rnds 1 and 2, centered, with the increases falling on either side of the nose. | - |
Lightly trim the yarn fuzz on the muzzle for a neater finish.
Embroider whiskers and mouth using cotton thread.
Two ear styles are offered — both are simple to make. The designer uses Option 2 in the main finished photo.
| Round | Instruction | Count |
|---|---|---|
| Round 1 | 6 sc in magic ring. (6) | - |
| Round 2 | 6 sc. (6) | - |
| Round 3 | (inc, 1 sc) × 3. (9) | - |
| Round 4 | (inc, 2 sc) × 3, sl st. (12)Sew ears to the head so they stand upright in a cone shape. | - |
Work exactly the same as Option 1 through Rnd 4.
| Round | Instruction | Count |
|---|---|---|
| Closing Row | Fold the ear flat in half and sc 6 across the folded edge to close it.Sew the ears to the head through the loops. | (6) |
| Round | Instruction | Count |
|---|---|---|
| Round 1 | 6 sc in magic ring. (6) | - |
| Round 2-3 | 6 sc. [2 rounds] (6)Fold the arm flat and sc 3 across the opening to close. | - |
| Round | Instruction | Count |
|---|---|---|
| Round 1 | 6 sc in magic ring. (6) | - |
| Round 2-10 | 6 sc. [9 rounds] (6)Sew the tail to the back of the body at your preferred angle. | - |
03 · Putting it togetherHow the pieces go together
- S1
Once all pieces are complete, follow this order for the cleanest finish:
- S2
Sew both ears to the top of the head, evenly spaced
- S3
Attach the muzzle centered below the eyes
- S4
Embroider whiskers and mouth with cotton thread
- S5
Sew arms to the sides of the body, slightly forward
- S6
Attach the tail to the lower back
- S7
Weave in all remaining ends and give the toy a gentle squeeze to distribute stuffing evenly
04 · Before it goes to a childWhat has to be right, and what is allowed to drift
- 💡 Use a 3-4mm hook and keep your tension on the tighter side — amigurumi at this small scale looks best when stitches are snug enough to hide the fiberfill stuffing underneath.
- 💡 Since the body flows directly into the head with no break in yarn, keep a stitch marker on your working loop at all times so you never lose your place mid-round.
- 💡 Stuff the legs firmly before joining them into the body — it's your only real chance to add stuffing to them before they become part of the continuous piece.
- 💡 With less than half a skein of Himalaya Dolphin Baby needed, this is a great project for using up leftover baby-weight yarn from other projects.
- 💡 When attaching the 14mm safety eyes and 10mm safety nose, insert them before you finish stuffing the head completely — it's much easier to adjust placement on a slightly softer head.
- 💡 If working the folded ear variation, make sure your fold is centered before single crocheting the 6 stitches across, so the ear sits flat and even once sewn to the head.
- 💡 All pieces are worked in continuous spiral rounds unless otherwise noted — use a stitch marker to track the beginning of each round.
05 · Snag listWhat went wrong on the bench, and the fix
Snag 1
Losing track of the join when attaching
Place a stitch marker in the last stitch of each leg before you begin the join round, and count stitches carefully as you work across both legs — this keeps your stitch count accurate right from the start of the body.
Snag 2
Continuing straight from body into head
Since the head is worked continuously from the body with no break, drop a stitch marker or a small scrap of contrasting yarn at the first stitch of the head rounds so you always know exactly where each round begins.
Snag 3
Stuffing too loosely or too late in
Because the legs, body, and head are all connected, it's much easier to stuff the legs and lower body firmly as you go rather than trying to push stuffing up through a narrow neck after the head is finished.
Snag 4
Choosing cone ears when you meant
Both ear options are worked identically through Round 4 — the difference happens only at the end, so double check whether you're leaving the cone shape open or folding it flat and single crocheting 6 stitches across the fold before moving on.
Snag 5
Placing the muzzle, eyes, or nose without dry-fitting first.
Pin or hold the muzzle, 14mm safety eyes, and 10mm safety nose in place on the head before snapping anything closed permanently — with a face this small, even a millimeter shift changes the kitty's expression.
Snag 6
Sewing the ears on before checking
Lay the finished ears against the head and rotate them until the folded or cone edge angles naturally with the head's curve, then sew through the loops as directed so they sit securely and symmetrically.
06 · VariantsOther ways to issue this one
I adore this pattern because it proves you don't need a mountain of yarn or a week of stitching to make something truly special. Working the legs straight into the body, then flowing right into the head without breaking yarn, feels almost like magic the first time you do it — there's no pile of pieces to sew together at the end, just one continuous, satisfying build. I'm also a big fan of the two ear options included here: the Option 1 cone ears give a perky, alert look, while the folded ear technique (working the same first 4 rounds, then folding flat and single crocheting across to close) creates a softer, more relaxed silhouette. It's such a simple swap that completely changes the kitty's personality. The separately worked muzzle is another favorite detail of mine — it adds dimension to the face that flat features just can't match, and once you pop in those 14mm safety eyes and 10mm safety nose, the little face genuinely comes alive. This is the kind of project I reach for when I want a quick creative win that still feels thoughtfully designed.
07 · QueriesQuestions logged against this build
What yarn is best for this little kitty amigurumi pattern?
The pattern is designed specifically for Himalaya Dolphin Baby, a soft chenille-style yarn that gives the finished toy its fluffy, plush appearance. If you substitute another yarn, choose a similarly soft, bulky-ish chenille or velvet yarn and adjust your hook size accordingly to maintain a tight, stuffing-free fabric.
What crochet hook size should I use for this pattern?
The pattern recommends a 3–4 mm hook. For amigurumi, it's best to go slightly smaller than the yarn label suggests so that the stitches are tight enough to prevent stuffing from showing through. Start with a 3.5 mm hook and adjust if your gauge feels too loose or too tight.
How do I attach the safety eyes and nose securely?
Insert the safety eyes between Rnds 15 and 16, with exactly 4 stitches between them, before closing the head. Attach the safety nose between Rnds 1 and 2 of the muzzle piece, centered with increases on both sides. Always secure the washers firmly on the inside before stuffing, as they cannot be removed once the piece is closed.
Is this amigurumi pattern suitable for beginners?
Yes! This little kitty is an excellent beginner amigurumi project. It uses only basic stitches — single crochet, increases, and decreases — worked in continuous spiral rounds. The one-piece body construction (legs joined into body, head worked continuously) may feel slightly advanced, but the stitch counts are low and very manageable for anyone comfortable with basic amigurumi techniques.
Original pattern: https://amigurumicorner.com/how-to-crochet-a-little-kitty-amigurumi-free-pattern/
08 · Made byWho counted this one

Who writes Amigurumi Addict, how a build gets its number, and why every round on the site carries a stitch count.
09 · Next off the benchThree builds that sit near this one
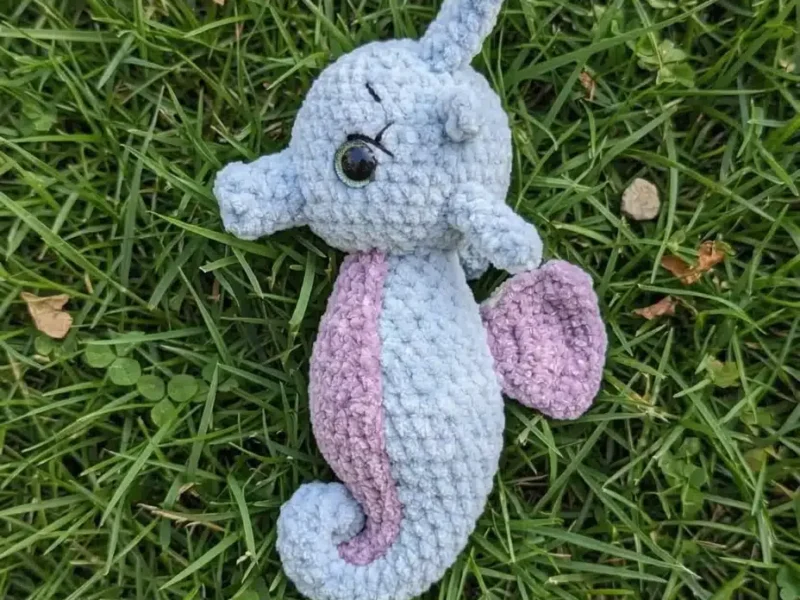
Sea friends
How to crochet a baby seahorse amigurumi
How do you crochet a baby seahorse amigurumi? Build the Body and Head, Nose, six Horns, Belly, and two Wings, then sew
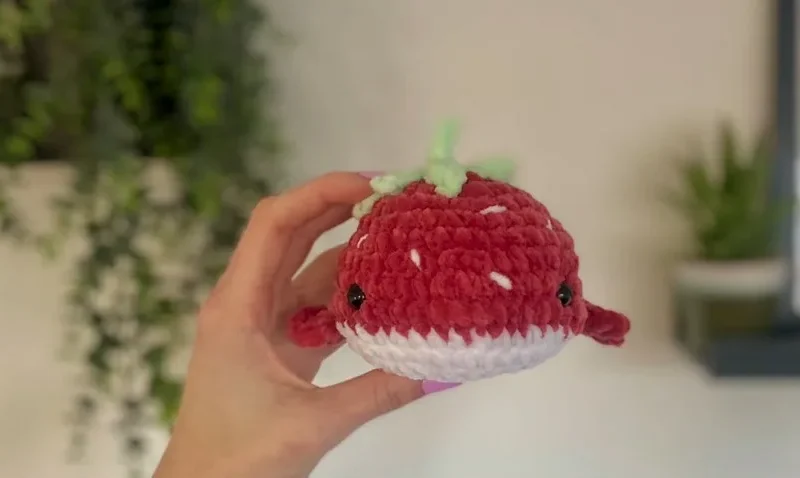
Sea friends
Crochet a strawberry whale plushie with leaf crown
How do you crochet a strawberry whale? Build a red sc body, add fins, tail, and a leaf-and-stem crown.
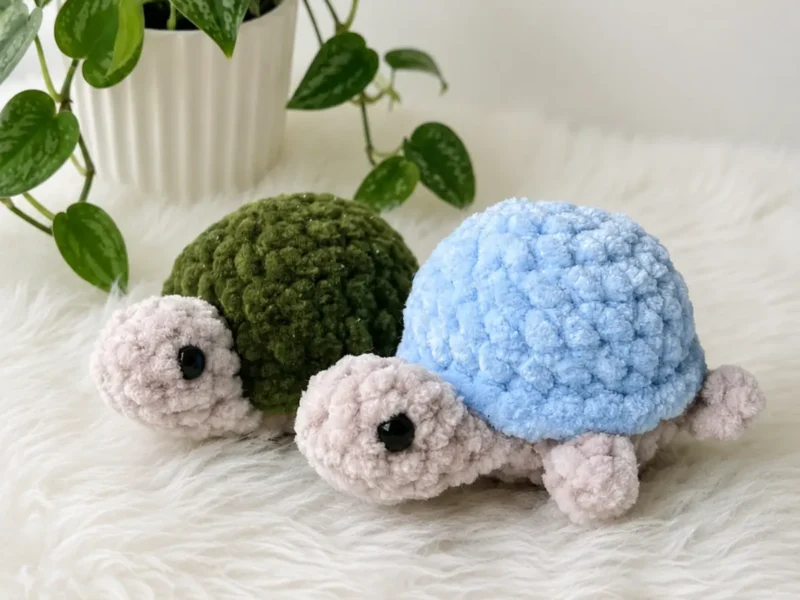
Sea friends
Sea Turtle Amigurumi Pattern — Easy Crochet Tutorial
Crochet an adorable sea turtle amigurumi with this easy pattern featuring a plush shell, cute head, and simple joining techniques for beginners.
Join the build log
One message when a build is issued
A drawing and its parts list, when one leaves the bench.