| Shelf | Level | Time | Hook | Yarn |
|---|---|---|---|---|
| Sea friends | Intermediate | 4-6 hours | 4 mm | Chunky |
Crochet a strawberry whale plushie with leaf crown
How do you crochet a strawberry whale? Build a red sc body, add fins, tail, and a leaf-and-stem crown.
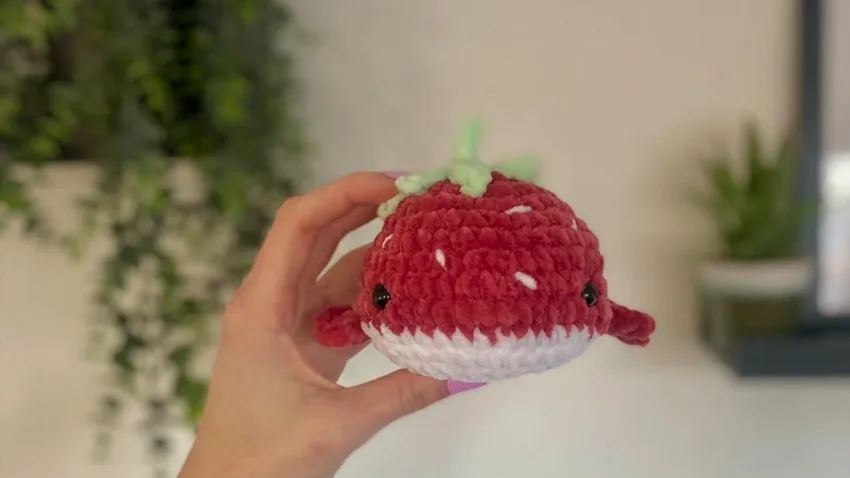
01 · The pieceWhat Crochet a strawberry whale plushie with leaf crown actually is
The Body is a single piece worked in the round over 17 rounds from a magic ring, shaped to hold its form without a seam down the middle. Two Fins and eight Leaves are worked separately, each starting from its own magic ring, then sewn on after stuffing. A crocheted Stem sits on top of the Leaves, and a Tail closes out the back. Nothing here is joined mid-round — every part is finished on its own and attached by hand with a yarn needle.
Stitch counts in the Body matter early: Rounds 1 through 5 build the increase base that sets the whale's width, and a stitch out of place there throws off every round after it. Placement of the safety eyes and the Fins is more forgiving — both are described as approximate (about 13 stitches apart, about 3 stitches from the eyes) because sewing position, not stitch precision, decides how the face reads. Seed embroidery and Leaf spacing are free-form by design.
Personalization: swap the red yarn for another color, such as orange, to make an orange whale plushie instead. Safety eyes can be replaced with embroidered eyes for a safer, child-friendly version, and a small embroidered mouth can be added for extra detail since the base pattern leaves it off.
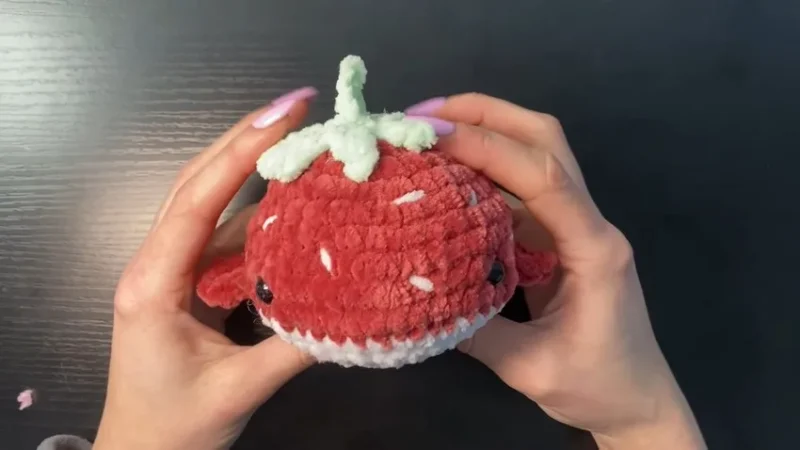
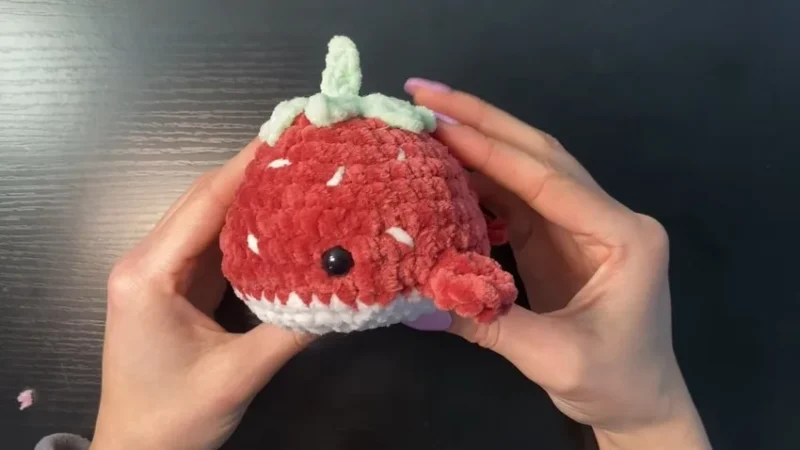
02 · The count run17 rounds across 5 parts, each with its count
US terms throughout. Every row below ends with the count that round finishes on.
| Part | Qty | Finishes on |
|---|---|---|
| Body (begin in red) | 1 | - |
| Fins (make 2, in red) | 1 | - |
| Leaves (make 8, in green) | 1 | - |
| Tail (in red) | 1 | - |
| Stem (in green) | 1 | - |
| Round | Instruction | Count |
|---|---|---|
| Round 1 | Make a magic ring. 6 sc in ring. (6) | - |
| Round 2 | Inc in each st. (12) | - |
| Round 3 | [ 1 sc, inc ] x 6 (18) | - |
| Round 4 | [ 2 sc, inc ] x 6 (24) | - |
| Round 5 | [ 3 sc, inc ] x 6 (30) | - |
| Round 6 | Sc in each st around. (30) | - |
| Round 7 | [ 4 sc, inc ] x 6 (36) | - |
| Round 8 | [ 5 sc, inc ] x 6 (42) | - |
| Rounds 9–11 | Sc in each st around. (42 per round) Color Change to White (Belly): On last sc of Round 11, switch to white by pulling white yarn through final stitch. | - |
| Round 12 | [ 5 sc, invdec ] x 6 (36) | - |
| Round 13 | [ 4 sc, invdec ] x 6 (30)Cut and secure red yarn, tuck tail. | - |
| Round 14 | [ 3 sc, invdec ] x 6 (24)Insert safety eyes now, between rounds 9 & 10, approx. 13 stitches apart. Secure backs. | - |
| Round 15 | [ 2 sc, invdec ] x 6 (18)Begin stuffing body evenly, taking care not to overstuff. | - |
| Round 16 | [ 1 sc, invdec ] x 6 (12) | - |
| Round 17 | invdec x 6 (6)Fasten off, leaving a tail to close the opening. | - |
| Round | Instruction | Count |
|---|---|---|
| Round 1 | Magic ring, 8 sc in ring. Sl st to first sc to close. Fasten off, leaving a tail for sewing. | - |
| Round | Instruction | Count |
|---|---|---|
| Round 1 | Magic ring, 8 sc in ring.Leaf Shape: Start at any sc on ring (repeat for each leaf:) | - |
Ch 5.
In 2nd ch from hook: sl st .
Next ch: sc .
Next ch: hdc .
Last ch: sl st .
Ch 5 again and repeat steps 2-5 for second half of tail.
Fasten off, leaving a tail for sewing.
Ch 4 In 2nd ch from hook: sl st Next ch: sc Last ch: sl st Fasten off, leaving a tail for sewing
Techniques on this build
- Magic ring
- Opens the Body, both Fins, and the Leaves ring — pull the tail firm before Round 1 closes or the center gapes.
- Standard increase (inc)
- Drives Rounds 2 through 5 of the Body; keep increases evenly spaced so the base doesn't cup or flare.
- Invisible decrease
- Used through front loops only on the two loops being joined — skipping the front-loop-only step leaves a visible ridge instead of a smooth decrease.
- Leaf Shape chaining
- Each of the 8 leaves works a ch 4 off the ring, then sc, hdc, sl st back down the chain — tension the chain evenly or leaves come out mismatched in length.
- Stitch marker use
- Keeps track of round starts across all 17 Body rounds plus the shorter Fin and Leaf rounds, so a color change or decrease round doesn't get skipped when you lose your place.
Final fit-up
- Weave in the starting and fastening-off tails on the Body, Fins, Leaves, Tail, and Stem before assembly begins.
- Stuff the Body firmly with polyester stuffing as the final rounds close in, working stuffing into the tail end so no soft spots form near the seam.
- Close the Body's last round and secure the safety eyes between Rounds 9 and 10 before any appendages go on.
- Pin and sew the Fins between Rounds 11 and 12, the Tail at the back over the same rounds to cover the color change, then the Leaves and Stem on the head, finishing with embroidered white seeds scattered over the red Body.
- Leave sewing tails long rather than short on every piece — Body, Fins, Tail, Leaves, and Stem — since it's easier to trim excess than to come up short when attaching parts.
How the parts fit
- Rounds 2 through 5 each add a flat six-stitch increase ([n sc, inc] x 6), the standard amigurumi curve that takes the Body from 6 to 30 stitches before the remaining rounds work even or decrease toward the top.
- The Fins and Leaves are each closed with a sl st to the first sc instead of worked continuous — a deliberate stop so the piece can be fastened off with a sewing tail rather than carried into another round.
- The Leaf Shape is worked flat off a ring rather than in the round: each ch-4 loop (sc, hdc, sl st) branches outward from a single sc anchor, which is why the 8 leaves form as separate points around one shared base.
Scaling the build
| Larger | Move to a bigger hook with the same chunky yarn — stitches open up and the Body grows without changing any round count. |
|---|---|
| Smaller | Drop to a finer yarn weight with a smaller hook (below the 4 mm called for) — the same 17 rounds produce a tighter, more compact Body. |
| Wider base only | Repeat one of the early increase rounds (Rounds 2 through 5) an extra time before continuing — this widens the Body's base circumference relative to its height. |
03 · Putting it togetherHow the pieces go together
- S1
Fins:
- S2
Pin and sew between rounds 11 & 12, approximately 3 stitches from the eyes on each side.
- S3
Tail:
- S4
Sew tail at the back between rounds 11–12, covering color change if possible.
- S5
Leaves:
- S6
Pin leaves on top of whale’s head; sew each in place.
- S7
Stem:
- S8
Sew stem on top of leaves.
- S9
Strawberry Seeds:
- S10
Using white yarn and a yarn needle, embroider small stitches (seeds) randomly over the red body, grouping them in clusters of three for a classic strawberry-seed effect.
04 · Snag listWhat went wrong on the bench, and the fix
Snag 1
Loose magic ring center
Pull the starting tail tight before the first round closes, especially on the Fins and Leaves rings where a gap shows once stuffed or fastened off.
Snag 2
Working decreases through both loops
The invisible decrease calls for front loops only on both stitches — go through both loops and the decrease shows as a visible bump instead of blending in.
Snag 3
Eyes or Fins placed too far apart
Recheck against the stated spacing — eyes about 13 stitches apart between Rounds 9 and 10, Fins about 3 stitches from the eyes — before sewing, since safety eyes can't be repositioned once backed.
Snag 4
Stitch count drifting mid-increase
Count after every increase round rather than at the end; per the pattern's own correction note, an off count almost always traces back to a missed increase or decrease round.
05 · QueriesQuestions logged against this build
Can the Fins and Leaves be made in a different color?
Yes — the Fins and Tail are worked in red to match the Body, and the Leaves and Stem in green, but both are separate pieces sewn on afterward, so any chunky yarn substitution works without affecting the Body pattern.
Why does the Body pattern run to 17 rounds?
Rounds 2 through 5 build the increase base from 6 up to 30 stitches, Rounds 6 through 11 work the sides even (with the color change to white on the last stitch of Round 11), and Rounds 12 through 17 decrease the top closed — all 17 rounds are needed to shape a rounded amigurumi body from a flat magic-ring start.
Do the safety eyes go on before or after stuffing?
Attach the safety eyes between Rounds 9 and 10 while the Body is still open enough to reach the backs from inside, then continue closing the remaining rounds and stuff as the top narrows.
06 · Made byWho counted this one

Who writes Amigurumi Addict, how a build gets its number, and why every round on the site carries a stitch count.
07 · Next off the benchThree builds that sit near this one
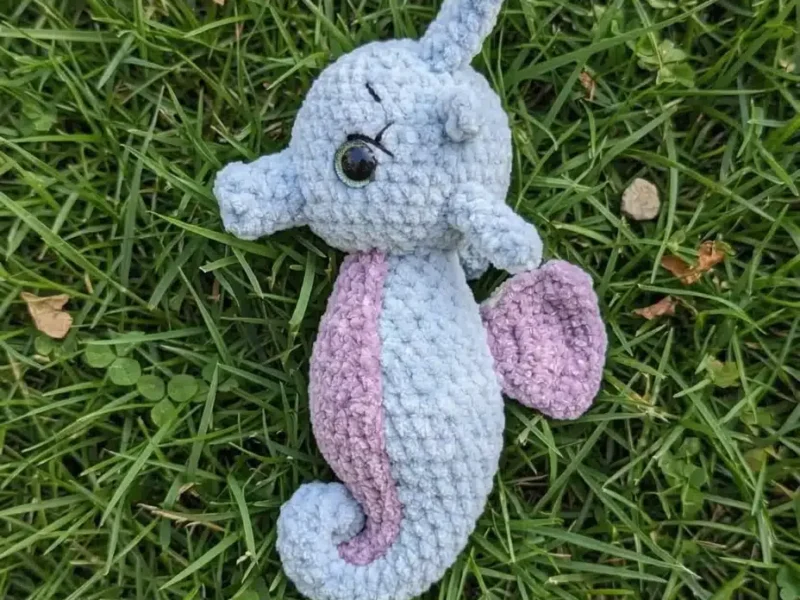
Sea friends
How to crochet a baby seahorse amigurumi
How do you crochet a baby seahorse amigurumi? Build the Body and Head, Nose, six Horns, Belly, and two Wings, then sew
Sea friends
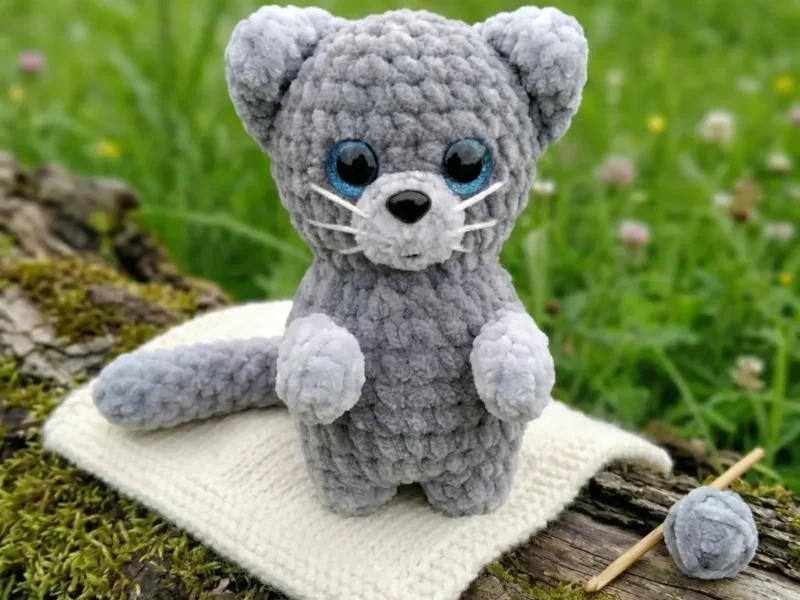
Little Kitty Amigurumi Crochet Pattern (Free & Beginner-Friendly)
Crochet an adorable Little Kitty amigurumi with this free pattern featuring continuous body-to-head construction and two cute ear options. Just 12-13 cm ta
Sea friends
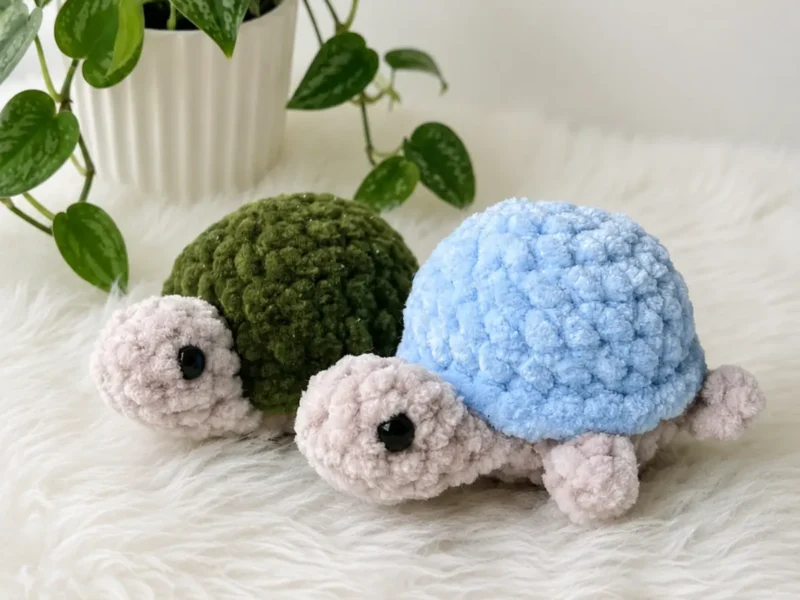
Sea Turtle Amigurumi Pattern — Easy Crochet Tutorial
Crochet an adorable sea turtle amigurumi with this easy pattern featuring a plush shell, cute head, and simple joining techniques for beginners.
Join the build log
One message when a build is issued
A drawing and its parts list, when one leaves the bench.