| Shelf | Level | Time | Hook | Yarn |
|---|---|---|---|---|
| Mini and keychains | Intermediate | 4-6 Hours | 2.0 mm | DK/Light Worsted |
Plankton Amigurumi Pattern – Crochet This Tiny Villain
Crochet the iconic Plankton amigurumi with this detailed pattern featuring a single giant eye, sassy eyebrow, and tiny antennae. Fun for fans of all ages!
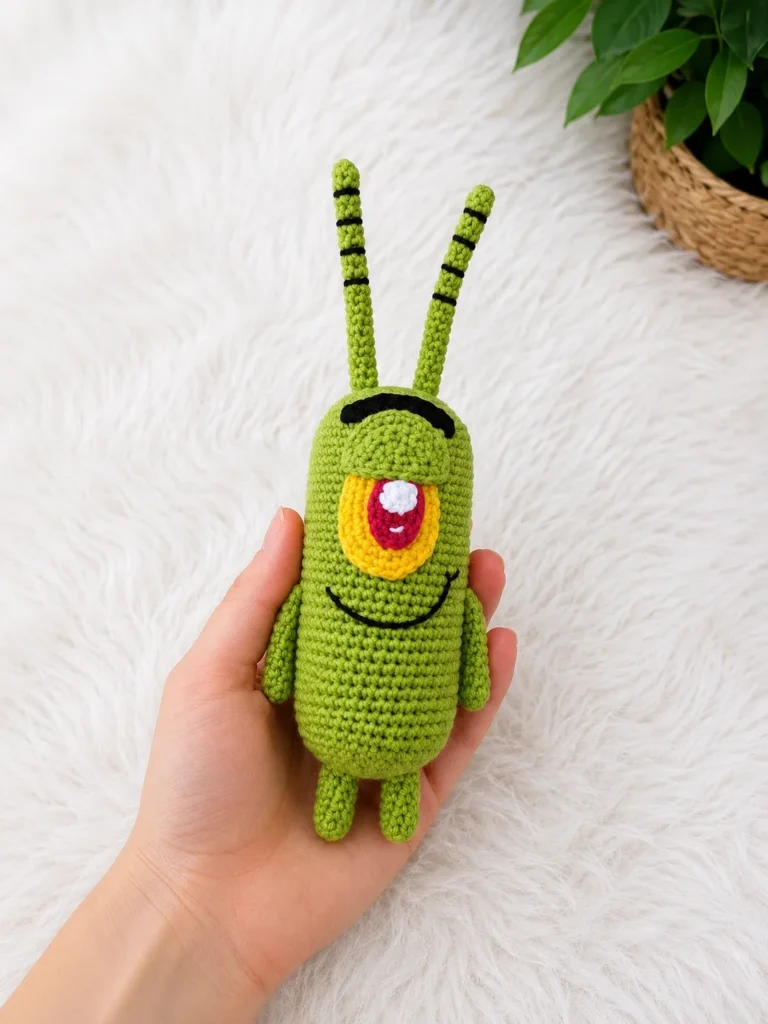
01 · The pieceWhat Plankton Amigurumi Pattern – Crochet This Tiny Villain actually is
This pattern turns a simple ball of green yarn into one of the most recognizable tiny troublemakers in cartoon history. What makes this design so special is how much personality gets packed into such a small form — a single oversized eye, a sharply arched eyebrow, and two spindly antennae do all the storytelling. It's perfect for fans who want a quirky desk buddy, a themed nursery accent, or a handmade gift that gets an instant laugh of recognition the moment it's unwrapped.
You'll work primarily in continuous spiral rounds for the body, eye layers, antennae, legs, and arms, with one fun departure — the eyelid is worked flat in back-and-forth rows before being edged to create that sly, half-closed expression. Expect to practice color changes between the yellow, red, and white eye pieces, along with standard amigurumi shaping through increases and decreases. This is a comfortable intermediate project, doable in a focused evening or spread across a relaxed weekend, roughly 4 to 6 hours start to finish.
When it's all sewn together, you'll have a compact character measuring about 16 cm tall without the antennae, or 24 cm with them fully extended — small enough to perch on a shelf, yet substantial enough to feel like a real plush. The layered eye construction gives it wonderful depth and dimension, while the firm stitch gauge keeps the fiberfill hidden and the shape crisp. It's a delightfully mischievous handmade gift for cartoon lovers, kids, or anyone who appreciates a good villain done in yarn.
- Begin with the green body, working continuous spiral rounds while shaping it through increases and decreases.
- Set the body aside and crochet the layered eye, starting with the yellow base and building up in rounds.
- Add the red pupil and white highlight as smaller rounds, then stack and sew all three eye layers together.
- Work the eyelid flat in back-and-forth rows, then finish its edge with a neat edging round.
- Crochet the single black eyebrow piece, which will later define the character's mischievous expression.
- Make the two coiled antennae and stitch legs in whatever quantity feels balanced for your finished shape.
- Crochet a matching pair of arms, then stuff and close all smaller pieces before assembly.
- Follow the assembly steps to attach the eye, eyelid, eyebrow, antennae, legs, and arms onto the stuffed green body.
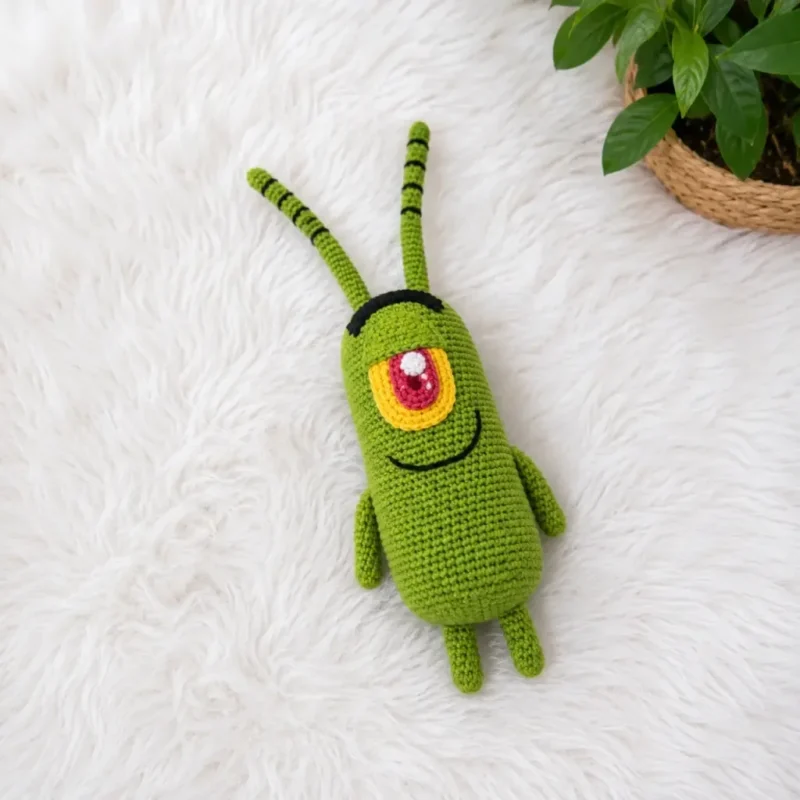
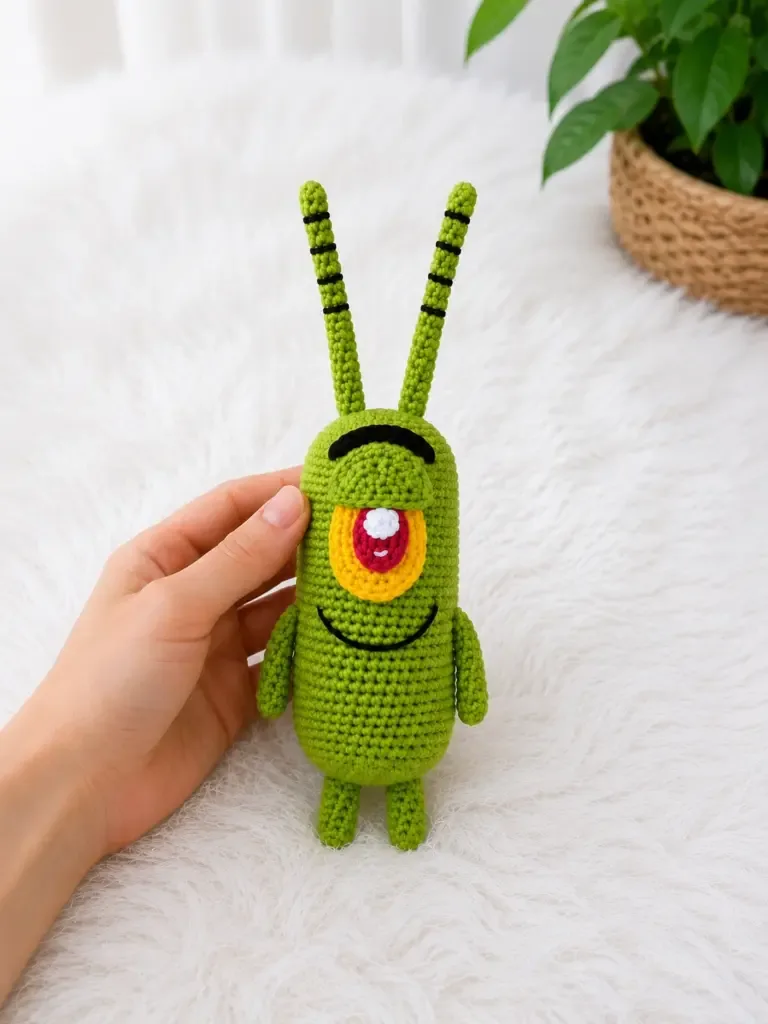
02 · The count run38 rounds across 9 parts, each with its count
US terms throughout. Every row below ends with the count that round finishes on.
| Part | Qty | Finishes on |
|---|---|---|
| Body (Green Yarn) | 1 | - |
| Eye (Yellow Yarn) | 1 | - |
| Pupil (Red Yarn) | 1 | - |
| Highlight (White Yarn) | 1 | - |
| Eyelid (Green Yarn — Worked in Rows, Then Edged) | 1 | - |
| Eyebrow (Black Yarn) | 1 | - |
| Antennae — Make 2 (Black Yarn) | 1 | - |
| Legs — Make as many as desired (Green Yarn) | 1 | - |
| Arms — Make 2 (Green Yarn) | 1 | - |
| Round | Instruction | Count |
|---|---|---|
| Round 1 | 6 sc in MR. (6) | - |
| Round 2 | inc in each st around. (12) | - |
| Round 3 | sc, inc repeat 6 times around. (18) | - |
| Round 4 | sc, inc, 2 sc, inc repeat 5 times, sc. (24) | - |
| Round 5 | 3 sc, inc repeat 6 times around. (30) | - |
| Round 6 | 2 sc, inc, 4 sc, inc repeat 5 times, 2 sc. (36) | - |
| Round 7 | 5 sc, inc repeat 6 times around. (42) | - |
| Round 8 | 3 sc, inc, 6 sc, inc repeat 5 times, 3 sc. (48) | - |
| Round 9 | 44 sc in each st around. (48) 36 rounds worked even. | - |
| Round 45 | 3 sc, dec, 6 sc, dec repeat 5 times, 3 sc. (42) | - |
| Round 46 | 5 sc, dec repeat 6 times around. (36) | - |
| Round 47 | 2 sc, dec, 4 sc, dec repeat 5 times, 2 sc. (30) | - |
| Round 48 | 3 sc, dec repeat 6 times around. (24) | - |
| Round 49 | sc, dec, 2 sc, dec repeat 5 times, sc. (18) | - |
| Round 50 | sc, dec repeat 6 times around. (12) | - |
| Round 51 | dec 6 times around. (6)Stuff the body firmly as you work through the decrease rounds. Once at 6 sts, use your yarn needle to cinch the opening closed. Fasten off and weave in the end. | - |
This piece is worked flat, starting from a foundation chain, then built outward oval-style.
| Round | Instruction | Count |
|---|---|---|
| Round 1 | Ch 7. Starting in the 2nd ch from hook: 5 sc across, 3 sc in the last ch (working around the corner), then 4 sc back along the opposite side of the chain, 2 sc in the first ch (the starting end). (14) | - |
| Round 2 | inc, 4 sc, inc 3 times, 4 sc, inc 2 times. (20) Wait — the source count states (18). Follow the source: inc, 4 sc, inc 3 times, 4 sc, inc 2 times. (18) | - |
| Round 3 | sc, inc, 4 sc, sc, inc repeat 3 times, 4 sc, sc, inc repeat 2 times. (26) (Wait — source states 26 — preserved exactly.) | - |
| Round 4 | 2 sc, inc, 4 sc, 2 sc, inc repeat 3 times, 4 sc, 2 sc, inc repeat 2 times. (32)Fasten off with a sl st. Leave a long yarn tail for sewing. Sew the eye onto the body between rounds 11 and 24. | - |
Worked flat from a foundation chain, oval-shaped.
| Round | Instruction | Count |
|---|---|---|
| Round 1 | Ch 5. Starting in the 2nd ch from hook: 3 sc across, 3 sc in the last ch (corner), 2 sc back along the opposite side of the chain, 2 sc in the first ch. (10) | - |
| Round 2 | inc, 2 sc, inc 3 times, 2 sc, inc 2 times. (16)Fasten off with a sl st. Leave a long yarn tail for sewing. Sew the pupil onto the yellow eye in a position you find most expressive. | - |
| Round | Instruction | Count |
|---|---|---|
| Round 1 | 6 sc in MR. Fasten off with a sl st. Leave a long yarn tail for sewing. Sew the white highlight onto the pupil. | - |
| Round | Instruction | Count |
|---|---|---|
| Round 1 | 5 sc in MR. Turn. (You will now work back-and-forth rows.) | - |
| Round 2 | sc, inc, sc, inc, sc. (7) | - |
| Round 3 | 2 sc, inc, sc, inc, 2 sc. (9) | - |
| Round 4 | inc, 2 sc, inc 3 times, 2 sc, inc. (14) | - |
| Round 5 | (edging): Work sc evenly around the entire piece. Join with sl st. Leave a long yarn tail for sewing. Sew the eyelid on top of the yellow eye, positioned at the upper edge. | - |
| Round | Instruction | Count |
|---|---|---|
| Round 1 | Ch 12. Starting in the 2nd ch from hook: 5 hdc, 3 hdc increase in the next ch (3 hdc in same st), 5 hdc to end.Leave a long yarn tail for sewing. Attach the eyebrow above the eyelid in whichever position gives the expression you want — angled inward for villainous, level for neutral. | - |
| Round | Instruction | Count |
|---|---|---|
| Round 1 | 5 sc in MR. (5) | - |
| Round 2-12 | sc in each st around. (5) 11 rounds worked even. | - |
| Round 13 | 2 sc, inc, 2 sc. (6) | - |
| Round 14-25 | sc in each st around. (6) 12 rounds worked even. Leave a long yarn tail for sewing. Attach both antennae to the top of the head, spaced 1–2 stitches apart. | - |
| Round | Instruction | Count |
|---|---|---|
| Round 1 | 7 sc in MR. (7) | - |
| Round 2-7 | sc in each st around. (7) 6 rounds worked even. Fasten off with a sl st. Stuff each leg firmly. Leave a long yarn tail for sewing. Sew the legs to the underside of the body, spacing them 2–4 stitches apart. | - |
| Round | Instruction | Count |
|---|---|---|
| Round 1 | 6 sc in MR. (6) | - |
| Round 2 | sc, inc repeat 3 times. (9) | - |
| Round 3-10 | sc in each st around. (9) 8 rounds worked even.Finishing: Flatten the arm so the sides meet. Working through both layers, sc across the 4 stitches to close the opening (you will join approximately 4 pairs of stitches together). Fasten off, leaving a long yarn tail for sewing. | - |
03 · Putting it togetherHow the pieces go together
- S1
Lay out all finished components: body, eye (assembled with pupil and highlight), eyelid, eyebrow, both antennae, legs, and both arms.
- S2
Sew the yellow eye onto the body, centered between rounds 11 and 24, using the yarn tail and a whipstitch around the edge.
- S3
Sew the red pupil onto the yellow eye in your preferred position — slightly off-center gives the most character.
- S4
Sew the white highlight onto the pupil, positioned toward the upper edge.
- S5
Sew the eyelid over the upper portion of the yellow eye.
- S6
Sew the eyebrow above the eyelid at your preferred angle.
- S7
Using black yarn and your tapestry needle, embroider the mouth and any additional antenna detail lines directly onto the body surface.
- S8
Sew both antennae to the top of the head, 1–2 stitches apart.
- S9
Sew all legs to the bottom of the body, evenly spaced 2–4 stitches apart.
- S10
Sew both arms to the sides of the body between rounds 30 and 31.
- S11
Weave in all remaining yarn ends.
04 · Before it goes to a childWhat has to be right, and what is allowed to drift
- 💡 Keep a small stitch marker handy at all times — since nearly every part is worked in continuous spiral rounds, it's your only reliable way to track where each round begins and ends.
- 💡 Snip and weave in yarn tails from each color change (yellow, red, white, black) as you go rather than leaving them all for the end — it keeps the small eye pieces neat and prevents tangled ends inside such a tiny assembly.
- 💡 When working the eyelid in rows, don't skip the final edging round — it's what gives the piece a clean, finished curve that will lay smoothly against the eye once sewn on.
- 💡 Stuff the body in stages as you crochet upward rather than waiting until the very end — it's much easier to distribute fiberfill evenly through a smaller opening than through a nearly closed one.
- 💡 Since the leg count is up to you, decide on symmetry before you start — an even number spaced evenly around the base will look more balanced than an odd number.
- 💡 A US B-1 (2.0-2.25mm) hook keeps stitches tight enough to hide stuffing, but if your tension runs loose naturally, sizing down slightly will give you a firmer, more polished finished piece.
05 · Snag listWhat went wrong on the bench, and the fix
Snag 1
Losing count during the spiral rounds on the body, especially through the increase and decrease sections.
Place a stitch marker in the first stitch of every round and move it up as you go — this is essential since there's no slip stitch to mark round ends in continuous spiral work.
Snag 2
Sewing the eye layers (yellow eye, red pupil, white highlight) on without checking placement first.
Pin or loosely tack each layer in place and step back to check the expression before stitching permanently — small shifts in position dramatically change Plankton's signature sly look.
Snag 3
Overstuffing or understuffing the body, causing visible lumps or a floppy shape.
Stuff firmly but gradually in small pinches as you close each section, checking that the green stitches stay taut without stretching or showing gaps of white fiberfill.
Snag 4
Making tension too loose, which lets stuffing peek through between stitches.
Since gauge isn't critical here, prioritize tightness over exact size — if you can see fiberfill through your fabric, drop to a smaller hook size until the stitches close up properly.
Snag 5
Attaching the antennae, legs, or arms without matching them symmetrically.
Lay all matching pieces (both antennae, both arms) side by side before sewing to confirm identical length and shape, and mark mirrored placement points on the body with pins first.
06 · VariantsOther ways to issue this one
Once you've got the basic Plankton shape down, there's so much room to play. For a color swap, try working the body in a deeper forest green or even a teal-green blend using Vanna's Choice or Scheepjes Stone Washed for a different underwater vibe — or go bright neon green for a more toy-like, high-contrast look. If you want a chunkier, huggable version, size up to a US H-8 (5mm) hook and a worsted or aran weight cotton-blend yarn like Bernat Blanket Cotton, which will naturally increase your finished size well beyond the original 16-24 cm range without changing a single round count. Going the mini route? Drop down to a 1.5mm steel hook with embroidery thread or crochet thread for a keychain-sized villain, perfect for bag charms or party favors. For themed variations, imagine a 'evil scientist' edit with a tiny crocheted lab coat draped over the arms, or add a matching computer-wife sidekick worked in a simple rectangular shape with a screen face embroidered on. Swap the black eyebrow and antennae yarn for a metallic or glow-in-the-dark black for a fun nighttime display piece. You could also experiment with safety eyes instead of the crocheted eye assembly if you want a faster version, though you'll lose some of that signature layered depth. Finally, consider making a whole set with different eyebrow shapes and eye colors to create a family of tiny cartoon villains, each with its own comedic expression — a wonderful way to reuse this pattern's core body and legs while giving every character its own personality through the details.
I adore how this pattern proves that amigurumi doesn't need to be complicated to be full of character. The magic is really in the eye — stacking the yellow eye, red pupil, and white highlight in their own tiny spiral rounds gives it genuine depth, and there's something so satisfying about watching those layers stack up into that unmistakable stare. Then there's the eyelid, worked flat in rows instead of the usual spiral, which was such a fun change of pace and gives the finished face that perfectly sly, half-lidded expression. Sewing on the black eyebrow at the end is the moment this project truly comes alive — it's wild how one small arched piece completely transforms the personality of the head. I also love that the leg count is totally up to you, so you can make him as scrawny or as sturdy-legged as you like. Every part, from the coiled antennae to the little arms, feels purposeful and quick to finish, which makes this a project where you're constantly rewarded with visible progress.
07 · QueriesQuestions logged against this build
What yarn weight works best for this Plankton pattern?
A DK or light worsted weight cotton-blend like Yarn Art Jeans is ideal, since it gives crisp stitch definition at the small B-1/2.0mm hook size. Any similar cotton-blend yarn in that weight range will work just as well.
How many legs should I make for Plankton?
The pattern leaves this up to you, so it's really a style choice — fewer legs gives a more minimalist cartoon look, while more legs adds stability and a fuller silhouette. Try laying out a few options against the body before committing to a final count.
Why is the eyelid worked differently from the rest of the pattern?
The eyelid is worked flat in back-and-forth rows instead of continuous spiral rounds because that flat shape curves more naturally over the round eye. It's then finished with an edging round to smooth out the edges before attaching.
How big will my finished Plankton be?
Using the recommended yarn and hook, you can expect approximately 16 cm (6.3 in) tall without the antennae, or about 24 cm (9.4 in) with them extended. Sizing may vary slightly depending on your personal tension.
Can I use safety eyes instead of crocheting the eye layers?
You could substitute a large safety eye for speed, but the crocheted yellow, red, and white layers are what give Plankton his signature depth and cartoon-accurate look. If character accuracy matters to you, it's worth taking the extra time to crochet the full eye assembly.
Original pattern: https://amistitch.com/crochet-plankton-amigurumi-tiny-villain-pattern/
08 · Made byWho counted this one

Who writes Amigurumi Addict, how a build gets its number, and why every round on the site carries a stitch count.
09 · Next off the benchThree builds that sit near this one
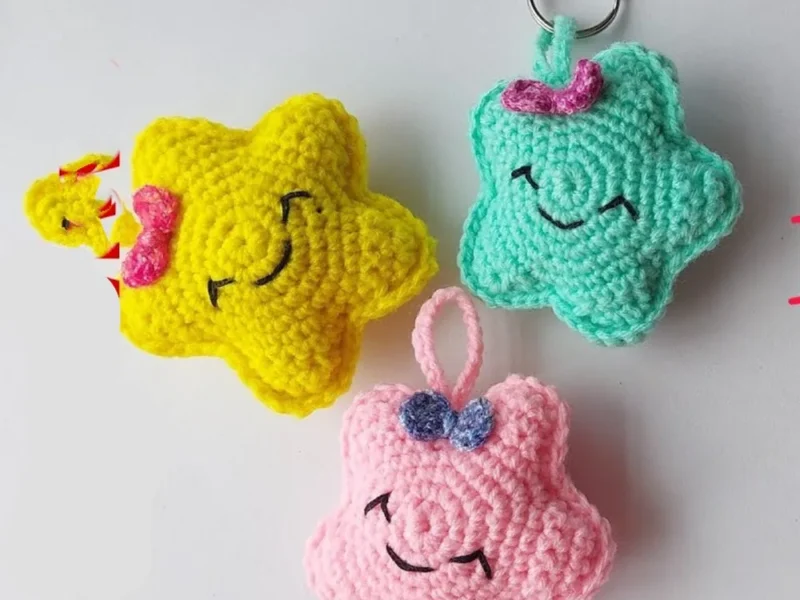
Mini and keychains
Star amigurumi keychain: a beginner’s build
How do you crochet a star amigurumi keychain? Crochet a five-pointed star from two pieces, sew and stuff them, add a
Mini and keychains
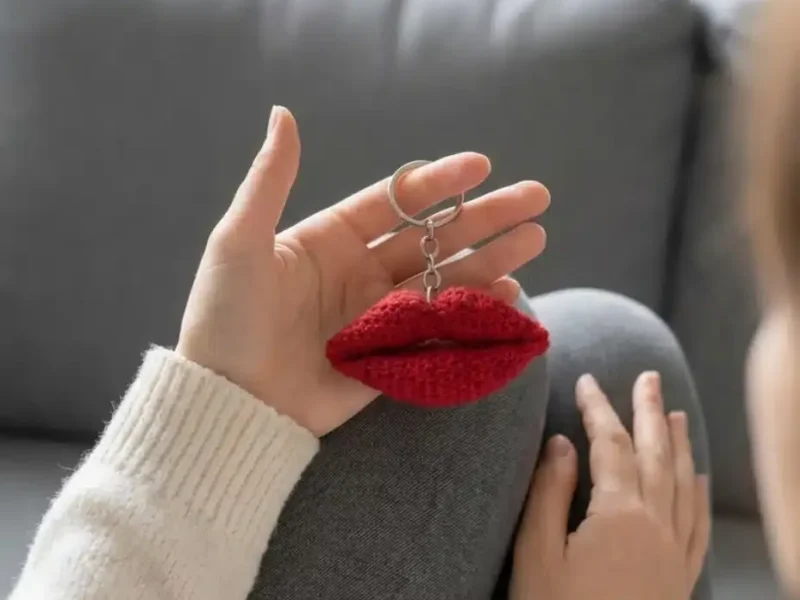
Crochet lips keychain: a two-piece amigurumi build
How do you crochet a lips keychain? Two lip pieces stuffed, closed, and seamed for a quick amigurumi gift.
Mini and keychains
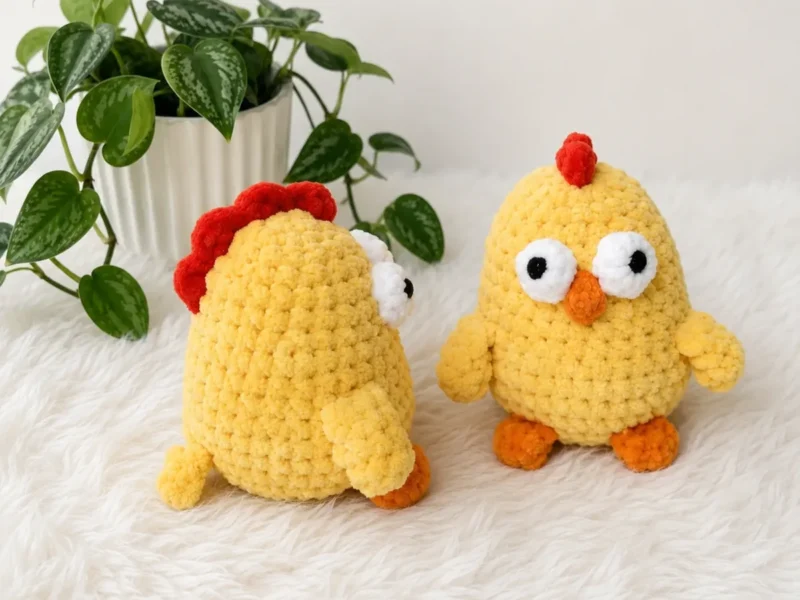
How to crochet a chick keychain amigurumi
How do you crochet a chick keychain? Shape the body-head, fold the legs flat, then attach eyes and beak.
Join the build log
One message when a build is issued
A drawing and its parts list, when one leaves the bench.