| Shelf | Level | Time | Yarn |
|---|---|---|---|
| Garden and food | Beginner | About 1 Hour | Chenille / Bulky |
No-Sew Crochet Watermelon Amigurumi: A Free 1-Hour Pattern
Make a no-sew crochet watermelon amigurumi in about an hour with chenille yarn, easy rounds, a crocheted-on green rind and embroidered seeds. Free beginner-friendly pattern.
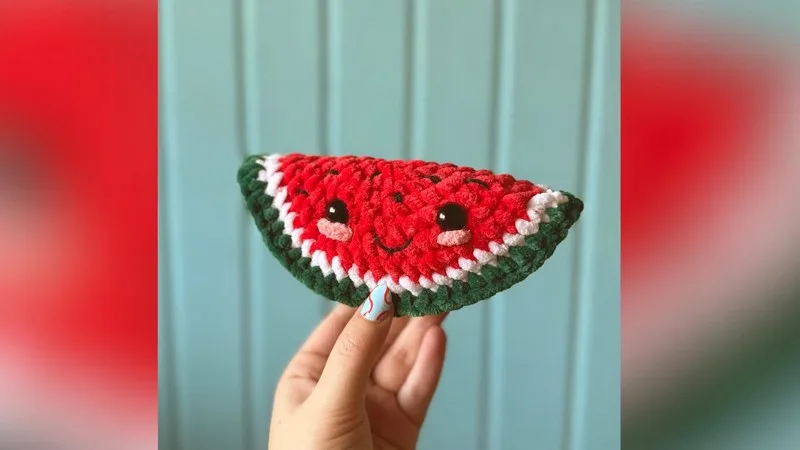
01 · The pieceWhat No-Sew Crochet Watermelon Amigurumi: A Free 1-Hour Pattern actually is
This pattern turns a few yards of red, white and green yarn into a cheerful watermelon slice you can finish in a single sitting. The red and white body is worked in continuous rounds, and the green rind is crocheted separately from a chain of 27 and then attached with single crochets, so there is no sewing anywhere in the construction. It is a perfect make for anyone who wants a quick summer decoration, a soft photo prop, or a small handmade gift that instantly reads as fun, bright and friendly the moment someone picks it up.
You will be working in continuous rounds with a stitch marker, shaping the wedge with simple increases across seven rounds in red, then attaching white yarn and carrying on in the same stitch pattern for the pale stripe. The rind comes last: chain 27, work a run of single, half double and double crochets so the strip curves, then join it to the white edge as you stuff the slice. Nothing here goes beyond basic amigurumi shaping, which makes it a genuinely good confidence builder for advanced beginners. Most crocheters finish the slice, the light stuffing and the scattered seeds in roughly an hour, and faster hands often shave that down considerably.
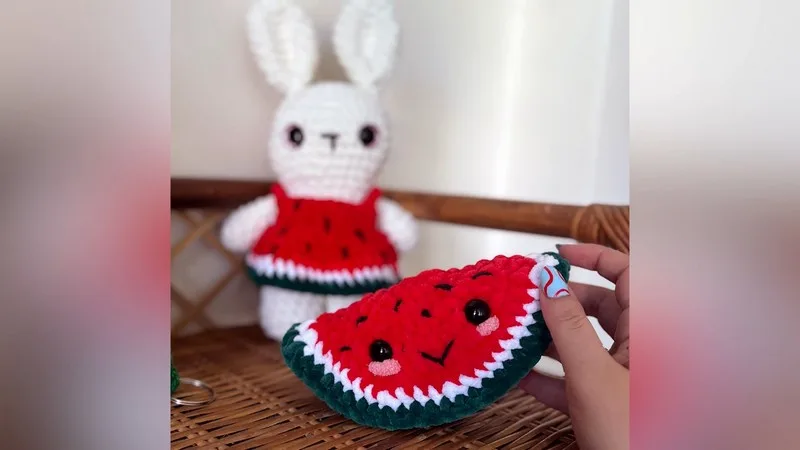
The finished slice is soft, slightly squishy and pleasantly flat rather than ball-shaped, thanks to the deliberately light stuffing. Chenille yarn gives it a velvety pile that begs to be squeezed, and the black seeds scattered across the red section make it recognizable from clear across the room. Add the optional safety eyes and a small embroidered smile and the fruit becomes a character. Prop it on a shelf, tuck it into a gift basket, or hand it to a child who will carry it everywhere.
- Begin the watermelon slice in red chenille yarn with a magic ring, placing a stitch marker so you can keep track of each round.
- Work Rounds 1 to 7 in continuous rounds, increasing as directed until the piece spreads into a wide wedge shape.
- Attach white chenille and carry on in the same stitch pattern for the thin pale stripe between the red fruit and the rind.
- Add the optional safety eyes now, between Rounds 5 and 6 and about six stitches apart, while you can still reach inside.
- Make the green rind separately: chain 27, then work the graduated run of sc, hdc and dc so the strip curves.
- Join the rind to the white edge with single crochets, stuffing lightly with polyfill or scrap yarn as you close the round.
- Embroider black yarn seeds randomly across the red area, and sew a smile if you are adding a face.
- Secure all ends, weave in the loose tails so nothing peeks through the chenille pile, and snip the remaining yarn.
02 · The count run10 rounds across 6 parts, each with its count
US terms throughout. Every row below ends with the count that round finishes on.
| Part | Qty | Finishes on |
|---|---|---|
| Creating the Watermelon Slice | 1 | - |
| Switching to White Yarn | 1 | - |
| Creating the Face (Optional) | 1 | - |
| Creating the Rind with Green Yarn | 1 | - |
| Joining the Rind | 1 | - |
| Adding the Seeds | 1 | - |
Starting with Red Yarn: Start by creating a magic ring.
| Round | Instruction | Count |
|---|---|---|
| Round 1 | Single crochet (sc) 7 into the magic ring. Close the ring tightly. | - |
| Round 2 | Increase in each stitch (2 sc in each stitch) around, making 14 stitches. | - |
| Round 3 | Increase, sc 1 . Repeat around, ending with 21 stitches. | - |
| Round 4 | Sc 1, increase, sc 2 . Repeat around for a total of 35 stitches. | - |
| Round 5 | Sc 3, then increase, sc 3 . Repeat around, ending with 35 stitches. | - |
| Round 6 | Sc 4, increase. Repeat until 2 stitches remain, then sc 1 in each of the last two stitches. | - |
| Round 7 | Sc 5, increase . Repeat around, ending with 49 stitches. | - |
Change color to white yarn.
Step by step: Attach white yarn and proceed in the same stitch pattern, adjusting as needed for color transition.
Placement for safety eyes between Rounds 5 and 6, approximately six stitches apart.
Sew a smile with black yarn.
The rind is worked separately in green yarn as a flat strip, then joined to the white edge of the slice with single crochets.
| Round | Instruction | Count |
|---|---|---|
| Foundation | Chain 27. | - |
| Row 1 | Starting from the second chain, work one single crochet, then four more (5 sc total), five half double crochets (hdc), and eight double crochets (dc). Repeat the pattern in reverse once reaching the end: 5 hdc and finish with 5 sc.Step by step: The stitches step up in height and then back down again, so the strip curves: 5 sc, then 5 hdc, then 8 dc, then 5 hdc, then 5 sc to finish. | - |
| Round | Instruction | Count |
|---|---|---|
| Joining | Work single crochets to join the rind to the white part of the watermelon, ensuring that the stitches align properly.Step by step: Fill with polyfill or scrap yarn as you close the round. | - |
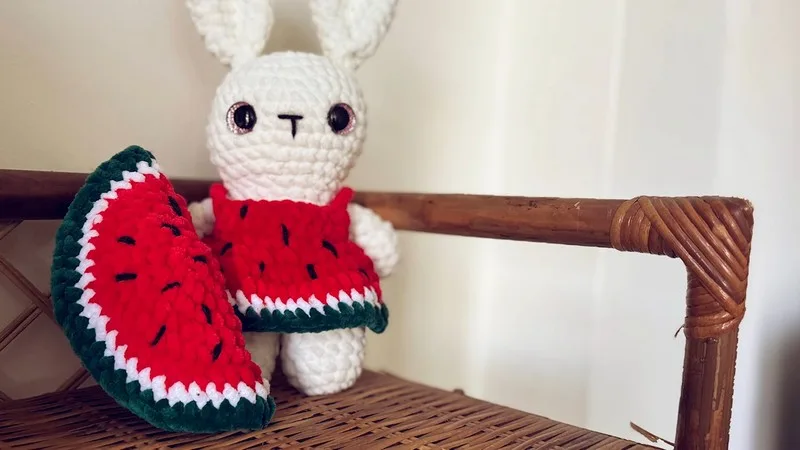
Use black yarn to sew on seeds randomly over the red part of the watermelon slice.
03 · Putting it togetherHow the pieces go together
- S1
Secure all ends, weave in any loose tails, and snip the remaining yarn.
04 · Before it goes to a childWhat has to be right, and what is allowed to drift
- 💡 The materials list simply says hook, so match it to your yarn rather than a fixed number. Most bulky chenille behaves beautifully on a 5.0 mm or 6.0 mm hook, which is a size or two smaller than the label suggests. The goal is a tight, gap-free fabric that holds its wedge shape.
- 💡 Use a locking stitch marker, not a loop of contrast yarn. Chenille pile grips loose yarn markers oddly and hides the stitch underneath, so a clip you can see at a glance saves you from unpicking rounds you cannot actually count.
- 💡 Prepare your color changes before you need them. Cut the red with a generous tail when you move to white, and do not carry the unused color up behind the work. Chenille is thick and any strand carried along the inside will show as a dark shadow through the pale stripe.
- 💡 Scrap yarn genuinely works as filling here and is listed for a reason. Tease the scraps apart into a loose cloud first so they do not form lumps, and pack them in gradually as you join the rind and close the round. It is a good way to use up chenille offcuts from the red and white rounds.
- 💡 The face is optional, and it should be for anyone under three. Skip the safety eyes entirely for baby gifts and embroider two small black dots with the same yarn you use for the seeds and the smile. It looks just as sweet and there is nothing to work loose.
- 💡 Plan your seed placement before you stitch. Lay the finished slice flat, arrange the black yarn seeds loosely on the red section until the spacing looks natural, then stitch them down one at a time. Keep them clear of the white stripe so the fruit still reads as a watermelon at a glance.
- 💡 Count the rind chain carefully before you start working into it. The strip is built on a chain of 27 and steps up in stitch height — 5 sc, 5 hdc, 8 dc — before mirroring back down with 5 hdc and 5 sc, and those graduated heights are exactly what makes the rind curve around the white edge. Lay the strip against the slice before joining and adjust the chain length if your tension makes it run short or long.
05 · Snag listWhat went wrong on the bench, and the fix
Snag 1
Losing your place in the continuous
Use a locking stitch marker rather than a scrap of yarn, and move it into the first stitch of every new round before you work anything else. Chenille pile swallows the V of each stitch, so you cannot count your way back if the marker falls out. If you do lose your place, count from the last color change instead of the starting ring.
Snag 2
Overstuffing the slice so it puffs
Add stuffing in small pinches as you join the rind and close the round, pressing the piece flat between your palms as you go. A watermelon slice should read as a thick wedge, not a sphere, so you want noticeably less filling than a standard amigurumi ball. If it has already gone round, pull some fiberfill back out through the opening before you finish closing it.
Snag 3
Changing from red to white mid-stitch
Complete the last red stitch only up to the final yarn over, then draw the white through to finish it. That way the very next stitch is fully the new shade and the boundary between the fruit and the pale stripe stays crisp instead of blurring across two rounds. Use the same care when you attach the green rind so the join sits cleanly against the white.
Snag 4
Working at a loose tension so white
Go down a hook size or two from whatever the chenille label recommends, since amigurumi needs a denser fabric than a blanket does. If gaps still appear, use scrap yarn as filling instead of polyfill, as suggested in the materials, and choose scraps in a matching red so anything peeking through disappears.
Snag 5
Inserting the optional safety eyes
Safety eye backs have to be pushed on from inside, so they must go in while the opening is still wide and empty. The pattern places them between Rounds 5 and 6, roughly six stitches apart, so mark the spot, step back and check they look level, then click the washers on firmly before adding any filling. Once the slice is closed, embroidery is your only remaining option.
Snag 6
Weaving the seed tails and color-change
Chenille has almost no grip, so run each tail through the stuffing in three different directions before trimming, and give the fabric a gentle stretch to bury the end. For the black seeds, anchor the first stitch with a small knot hidden inside the slice, and pull the finishing tail deep into the stuffing rather than along the surface.
06 · VariantsOther ways to issue this one
The three-color structure of this slice is basically a template for the entire fruit bowl, so start swapping. Trade the red chenille for soft orange and you have a cantaloupe wedge. Use pale pink instead of red for a sherbet-sweet melon that looks lovely in a nursery. For a kiwi, work the body in bright lime, keep the white center exactly as written, use a fuzzy brown for the rind, and arrange the black seeds in a tidy ring around the middle instead of scattering them. Dragon fruit is the showstopper: white body, hot pink rind, and black seeds sprinkled generously across the whole face. For a lemon or lime slice, use yellow or green, keep the thin white stripe, skip the seeds entirely and embroider straight white lines fanning out from the center to suggest segments. Size is easy to play with too. Work one extra increase round before the first color change, following the same shaping logic, and you get a jumbo slice, remembering to lengthen the rind chain to match the wider edge. Stop one increase round early instead, with a shorter chain, and you have a mini charm for a keychain or a garland. On yarn, Bernat Blanket, Premier Parfait Chunky and Loops and Threads Sweet Snuggles all give that plush chenille finish, while Vanna's Choice or Paintbox Simply Aran make a smaller, firmer slice with sharper stitch definition. Glue a magnet to the flat back for the fridge, or string five mini slices onto twine for a summer bunting.
07 · QueriesQuestions logged against this build
Can I make this watermelon without chenille yarn?
Absolutely, and worsted weight acrylic is the most common substitute. Your slice will come out noticeably smaller and firmer, with much crisper stitch definition instead of the velvety pile. Just drop a hook size or two so the fabric stays dense enough to hide the stuffing.
Is it truly no-sew, or is there hidden assembly?
Nothing is stitched together with a needle. The red and white body is worked in continuous rounds, and the green rind, although made separately on a chain of 27, is attached with single crochets rather than sewn on. The only needle work is embroidering the black seeds, the optional smile, and weaving in your ends.
How big will the finished slice be?
That depends entirely on your yarn and hook, since the pattern is written by stitch count rather than measurement. Bulky chenille on a smaller hook gives a comfortable hand-sized wedge, while worsted yarn produces a distinctly smaller ornament-scale slice. Work a couple of rounds and check the scale before committing.
Do I have to add safety eyes and a face?
Not at all. The face section is marked optional, and a plain seeded slice looks realistic and lovely on its own. Add the eyes between Rounds 5 and 6 if you want a friendly character, or embroider them with black yarn if the slice is going to a baby or a very young child.
Can I wash the finished watermelon?
Most chenille yarns are acrylic and handle a gentle cycle inside a mesh laundry bag, then air drying flat. Check your specific yarn band first, and note that polyfill stuffing dries much faster than scrap yarn filling. Give the pile a light brush once it is dry to fluff it back up.
Original pattern: https://redagapeblog.com/make-your-own-no-sew-crochet-watermelon-amigurumi-in-1-hour/
08 · Made byWho counted this one

Who writes Amigurumi Addict, how a build gets its number, and why every round on the site carries a stitch count.
09 · Next off the benchThree builds that sit near this one
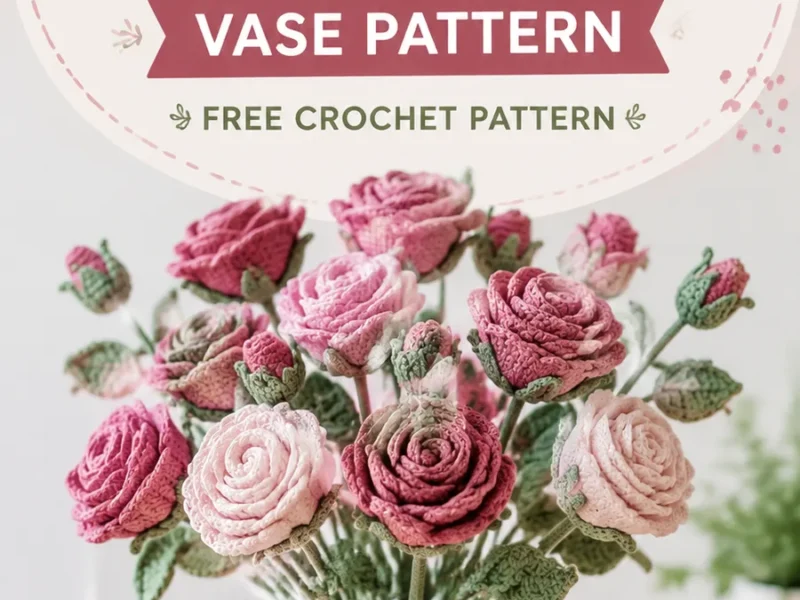
Garden and food
How to Crochet a Rose Bouquet in a Vase
How do you crochet a rose bouquet vase? Roll spiral roses, stuff a round vase, and sew the bouquet together.
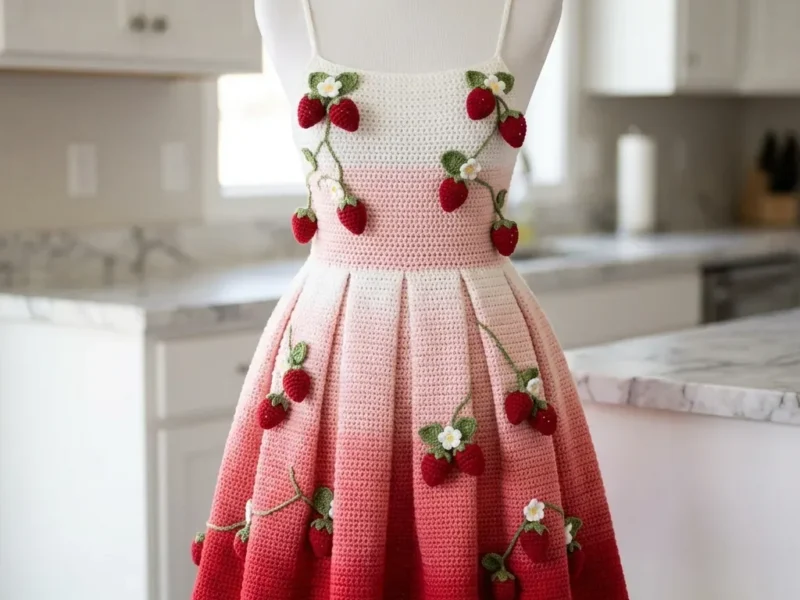
Garden and food
Strawberry vine sundress with pleated skirt crochet pattern
How do you crochet a strawberry sundress? Seamless bodice, pleated skirt, sewn appliques in DK cotton.
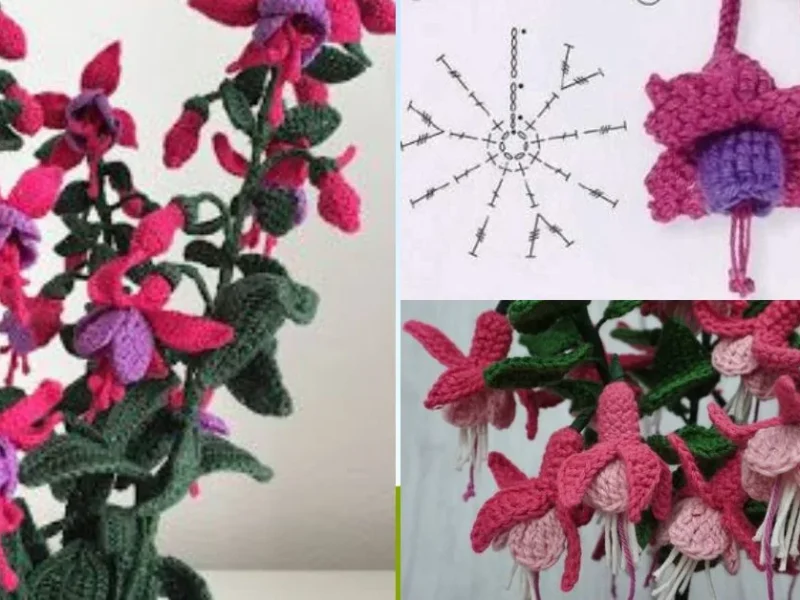
Garden and food
How to crochet a fuchsia flower with leaves
How do you crochet a fuchsia flower? Build a 12-sc center, fan the petals, then add leaves.
Join the build log
One message when a build is issued
A drawing and its parts list, when one leaves the bench.