| Shelf | Level | Time | Yarn |
|---|---|---|---|
| Garden and food | Beginner | 1-2 hours | Worsted |
How to crochet a fuchsia flower with leaves
How do you crochet a fuchsia flower? Build a 12-sc center, fan the petals, then add leaves.
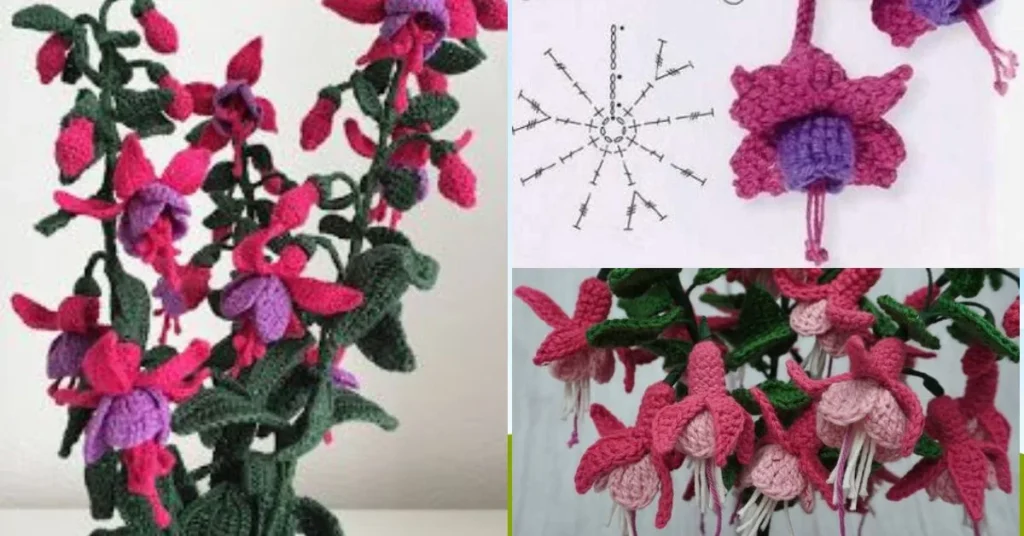
01 · The pieceWhat How to crochet a fuchsia flower with leaves actually is
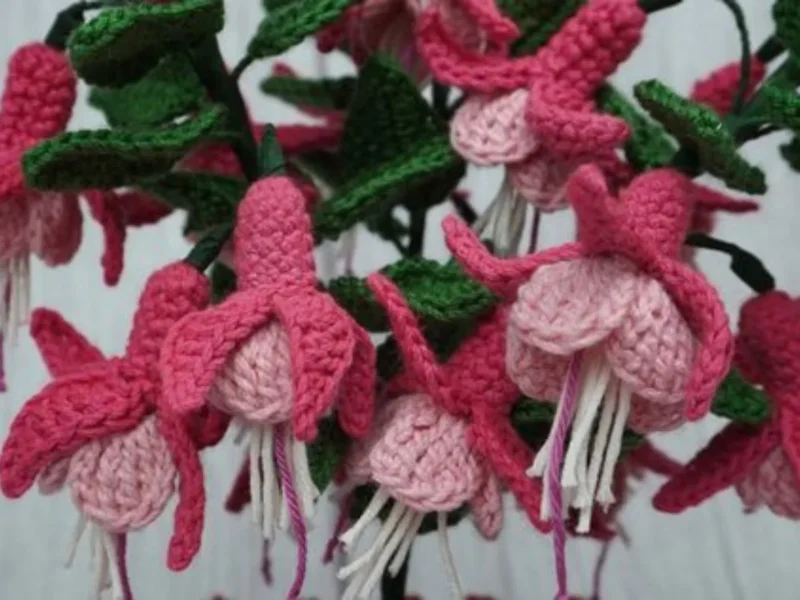
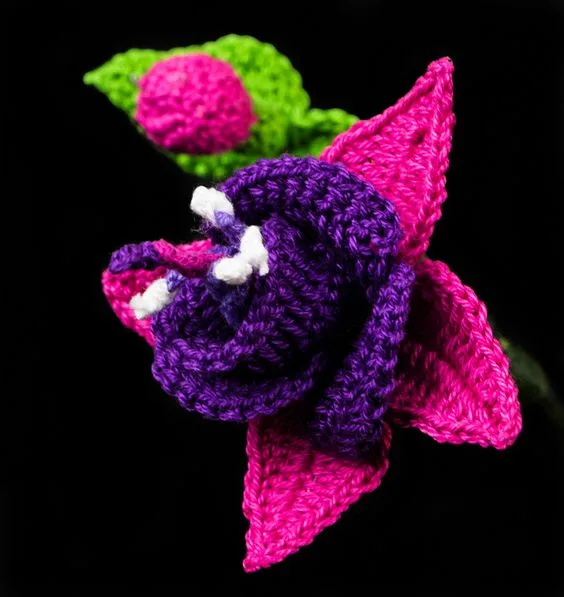
The flower builds from a single foundation ring worked with 12 single crochets, the platform every later round depends on. Round 2 turns each of those 12 stitches into a petal — a chain-3, two double crochets, and a chain-2 tip closed with a slip stitch back into the same stitch, fanning outward rather than joining forward. A third round adds texture over that base, and separate green leaves are worked flat and tacked in afterward, in the gaps left between petals.
Precision matters at the ring: a loose cinch leaves a visible hole at the flower's center that no later round hides. The 12-stitch count in Round 1 is not negotiable either, since it fixes the petal count directly. Past that, the piece is forgiving — petal chains can vary a hair in tension without distorting the fan shape, and leaf placement between petals is decorative, not structural, so exact spacing is not required.
02 · The count run4 rounds across 4 parts, each with its count
US terms throughout. Every row below ends with the count that round finishes on.
| Part | Qty | Finishes on |
|---|---|---|
| Step 1: Create the Flower Center | 1 | - |
| Step 2: Form the Petals | 1 | (12) |
| Step 3: Add More Texture with Additional Rounds | 1 | - |
| Step 4: Crocheting Leaves | 1 | - |
Foundation Ring : Start with a magic ring or chain 5 and join to form a ring.
Ch 5 , join with a sl st to form a ring.
First Round : Work 12 single crochets (sc) into the ring.
| Round | Instruction | Count |
|---|---|---|
| Round 1 | Sc in each stitch around. (12 sc ) | - |
Begin Petal Formation : In the next round, you will create the petals.
| Round | Instruction | Count |
|---|---|---|
| Round 2 | *Ch 3 (counts as first dc), work 2 dc in the same stitch, ch 2 , sl st in the same stitch; repeat from * around.* ( 12 petals) | (12) |
Create a Full Bloom : The next round will create additional texture and fullness to the flower.
| Round | Instruction | Count |
|---|---|---|
| Round 3 | In each ch -2 space from the previous round , work * 3 dc, ch 2 , 3 dc* to form a petal. | - |
Begin Leaf Formation : For the leaves, use green yarn.
| Round | Instruction | Count |
|---|---|---|
| Round 1 | Attach green yarn in the space between petals, ch 4 , sc in the 2 nd ch from the hook, hdc in the next, dc in the last ch. Repeat for each leaf. | - |
Techniques on this build
- Foundation ring (magic ring or chain-5 join)
- Opens Step 1; keep the tail cinched tight so the center of the flower doesn't gape once petals are added.
- Single crochet round
- Round 1 places 12 sc evenly into the ring — this count carries forward as the petal count in Round 2.
- Petal shaping with chain-2 picot tip
- Round 2's ch-3, 2-dc, ch-2, sl-st sequence must land back in the same stitch it started in, not the next one, or the fan collapses into a spiral.
- Graduated stitch leaf (sc, hdc, dc in one chain)
- Step 4 works sc, hdc, and dc into successive chains of a ch-4 to taper the leaf to a point; stitch heights out of order flatten the taper.
Final fit-up
- Fasten off the petal round and weave the tail through the back of two or three petal bases to anchor it without showing on the front.
- Fasten off each leaf separately and weave its tail along the leaf's spine so the green yarn disappears into the stitch line.
- Block the flower lightly, pressing petals flat and open, since the piece has no stuffing to hold its shape on its own.
- Attach the finished flower to the target project — bag, hat, or garment — stitching through the center round so the join sits under the petals.
How the parts fit
- Round 1's 12 single crochets set the petal count directly: Round 2 works one full petal (ch-3, 2 dc, ch-2, sl st) into each of those 12 stitches, so the ring's stitch count and the flower's petal count are the same number.
- Each petal closes with a slip stitch back into its own starting stitch rather than the next stitch along, which is why the petals stand apart as individual fans instead of forming a continuous joined round.
- The leaves are worked flat off a separate chain-4 and attached afterward in the gaps between petals, keeping the leaf shaping (sc, hdc, dc for a tapered tip) independent of the round-based petal and center construction.
Scaling the build
| Smaller | Use a finer yarn with a smaller hook to shrink the flower for use on hair clips or small embellishments, keeping all stitch counts unchanged. |
|---|---|
| Fuller | Repeat Step 3's additional texture round a second time to build a layered flower with more depth, without altering the base 12-petal count. |
03 · Putting it togetherHow the pieces go together
- S1
Bind Off :
- S2
Cut the yarn and pull through the last stitch to secure it.
- S3
Weave in Ends :
- S4
Use a yarn needle to weave in any loose ends for a neat finish.
- S5
Depending on your skill level and the complexity of the pattern, it typically takes about 1-2 hours to complete. The crochet fuchsia flower is a great project for beginners looking to practice their skills.
- S6
You can use the crocheted flower as an embellishment on various projects.
04 · Snag listWhat went wrong on the bench, and the fix
Snag 1
Loose foundation ring
Pull the starting tail firmly before working Round 1 so no gap shows at the flower's center once petals are attached.
Snag 2
Petal closing into wrong stitch
Check that the ch-2 and closing slip stitch of each petal land in the same stitch as its opening chain-3, not the next stitch around.
Snag 3
Leaf stitches worked out of order
Keep sc, hdc, then dc in that sequence along the ch-4 so the leaf tapers to a point instead of coming out uniform width.
Snag 4
Skipping tension match on the texture round
Work Step 3's additional round at the same tension as Round 2 so the flower lies flat instead of cupping or curling at the edges.
05 · QueriesQuestions logged against this build
Can I skip the magic ring and just chain?
Yes, the foundation ring can be made either way: a magic ring or a chain-5 joined with a slip stitch. Both give the same 12-stitch base for Round 1.
Does the flower need stuffing?
No. The fuchsia flower is a flat piece built from rounds of petals and a texture layer, with no cavity to fill.
Where exactly do the leaves attach?
Green yarn is attached in the space between two petals, as set out in Step 4, and the leaf chain is worked from that point outward.
06 · Made byWho counted this one

Who writes Amigurumi Addict, how a build gets its number, and why every round on the site carries a stitch count.
07 · Next off the benchThree builds that sit near this one
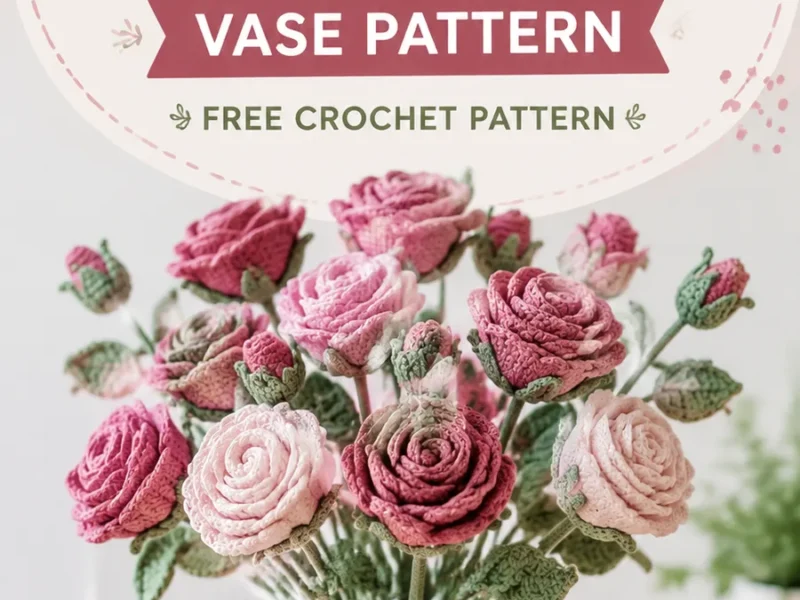
Garden and food
How to Crochet a Rose Bouquet in a Vase
How do you crochet a rose bouquet vase? Roll spiral roses, stuff a round vase, and sew the bouquet together.
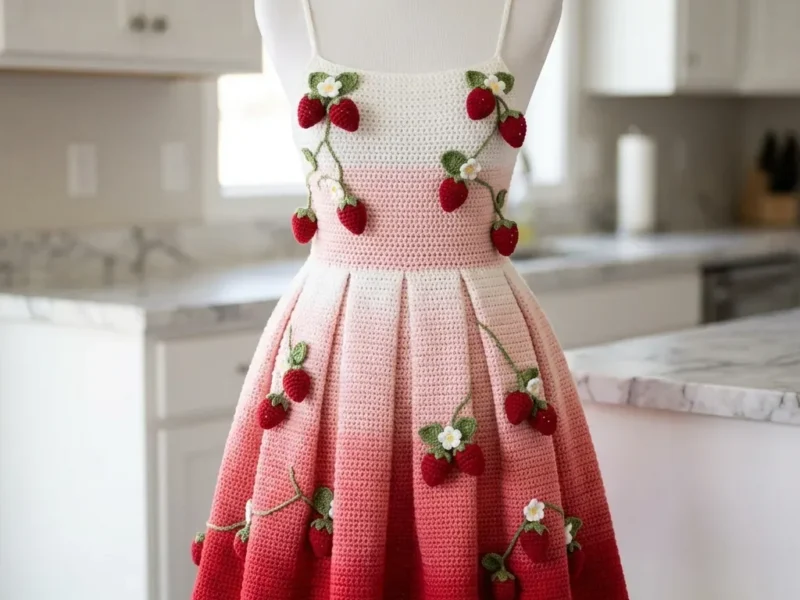
Garden and food
Strawberry vine sundress with pleated skirt crochet pattern
How do you crochet a strawberry sundress? Seamless bodice, pleated skirt, sewn appliques in DK cotton.
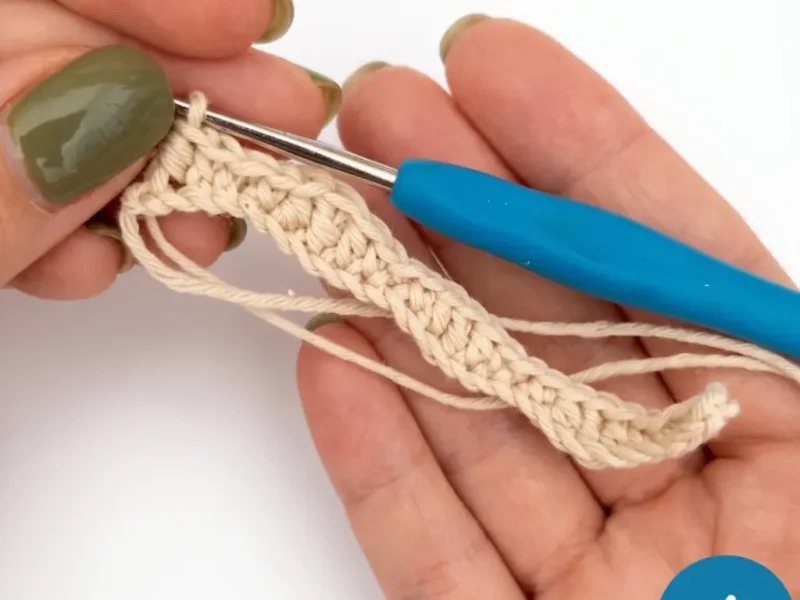
Garden and food
Little Pumpkin Amigurumi Crochet Pattern
Crochet a cozy Little Pumpkin amigurumi with ribbed BLO texture, spiral stem, and easy edgings. A charming autumn project for cotton yarn lovers.
Join the build log
One message when a build is issued
A drawing and its parts list, when one leaves the bench.