| Shelf | Level | Time | Hook | Yarn |
|---|---|---|---|---|
| Garden and food | Intermediate | 4-6 Hours | 2.0 mm | Sport / Light DK |
Little Pumpkin Amigurumi Crochet Pattern
Crochet a cozy Little Pumpkin amigurumi with ribbed BLO texture, spiral stem, and easy edgings. A charming autumn project for cotton yarn lovers.
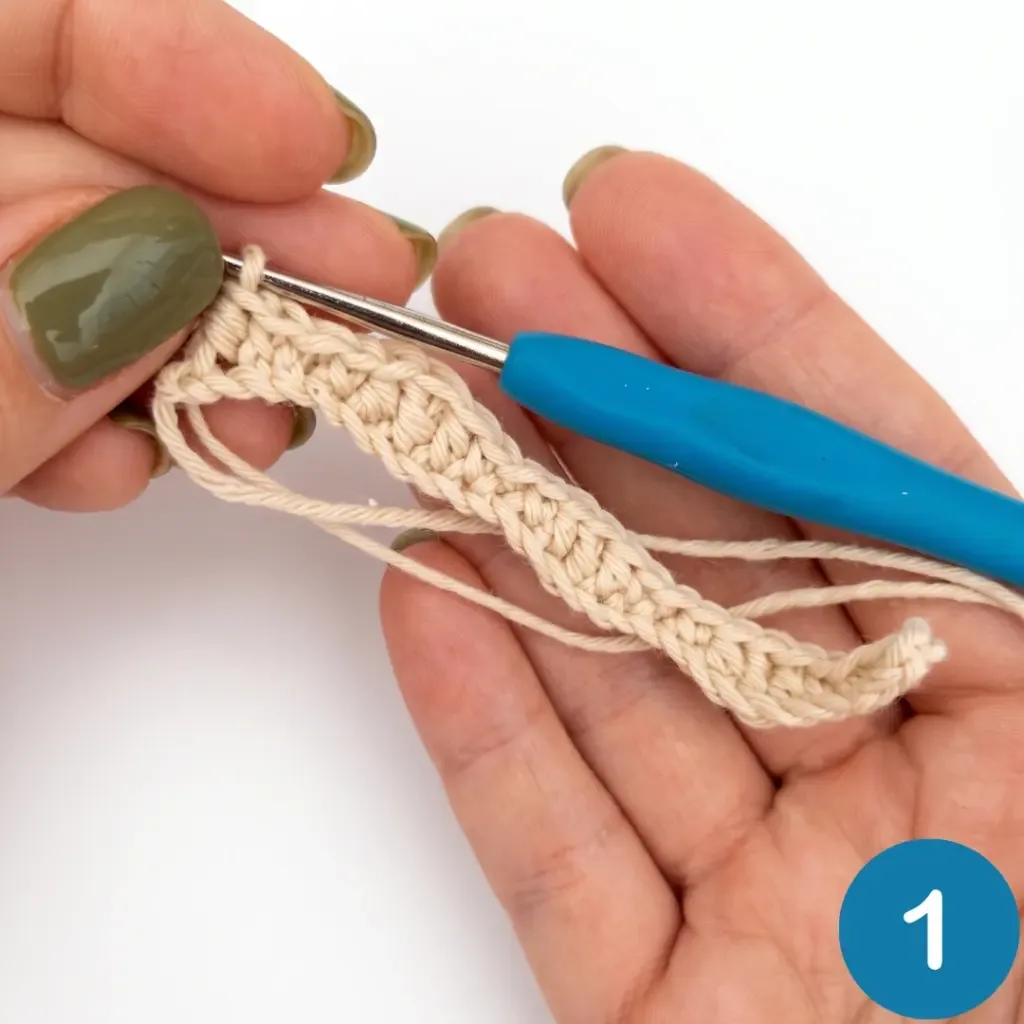
01 · The pieceWhat Little Pumpkin Amigurumi Crochet Pattern actually is
This Little Pumpkin amigurumi turns simple cotton yarn into a squishy, ribbed autumn favorite that looks like it rolled straight out of a fairy tale patch. What makes it special is the flat-worked base that curls into a perfectly fluted pumpkin shape once seamed, giving it that classic segmented look without any complicated shaping. It's ideal for crocheters who love fall décor, tiered farmhouse displays, or want a quick handmade gift that doesn't require a huge yarn stash.
The star technique here is working the entire pumpkin base in Back Loop Only (BLO) rows, which creates the raised ridges that give this pumpkin its signature texture. You'll also join edgings in rounds after seaming and finish with a stem worked in a continuous spiral, so you'll practice both flat and in-the-round amigurumi skills. Expect an intermediate-friendly project, roughly 4-6 hours including stuffing and assembly, perfect for a cozy weekend session.
The finished pumpkin is a compact, huggable little accent piece with a nubby ribbed body, neatly finished top and bottom edges, and a charming khaki stem sitting proudly on top. It has that soft, tactile quality only cotton amigurumi can offer, making it lovely for a windowsill, a harvest table, or tucked into a gift basket. Whether made in cream and terracotta or a warm three-color blend, it's a small project with big seasonal charm.
- Crochet the pumpkin body flat in Back Loop Only rows to build its signature ribbed texture.
- Seam the flat piece into a tube shape, lining up the rows evenly along the edge.
- Join yarn and work the first edging in rounds around one open end of the tube.
- Stuff the pumpkin body firmly while it's still accessible from the unfinished side.
- Repeat the same edging rounds on the opposite end to close and shape the pumpkin.
- Work the stem separately in a continuous spiral without joining any rounds.
- Stuff the stem lightly, then stitch it securely onto the center top of the pumpkin.
- Weave in all remaining yarn tails to complete your finished Little Pumpkin amigurumi.
02 · The count run17 rounds across 3 parts, each with its count
US terms throughout. Every row below ends with the count that round finishes on.
| Part | Qty | Finishes on |
|---|---|---|
| Pumpkin Base | 1 | - |
| Top and Bottom Edgings (worked identically on both ends) | 1 | - |
| Stem | 1 | - |
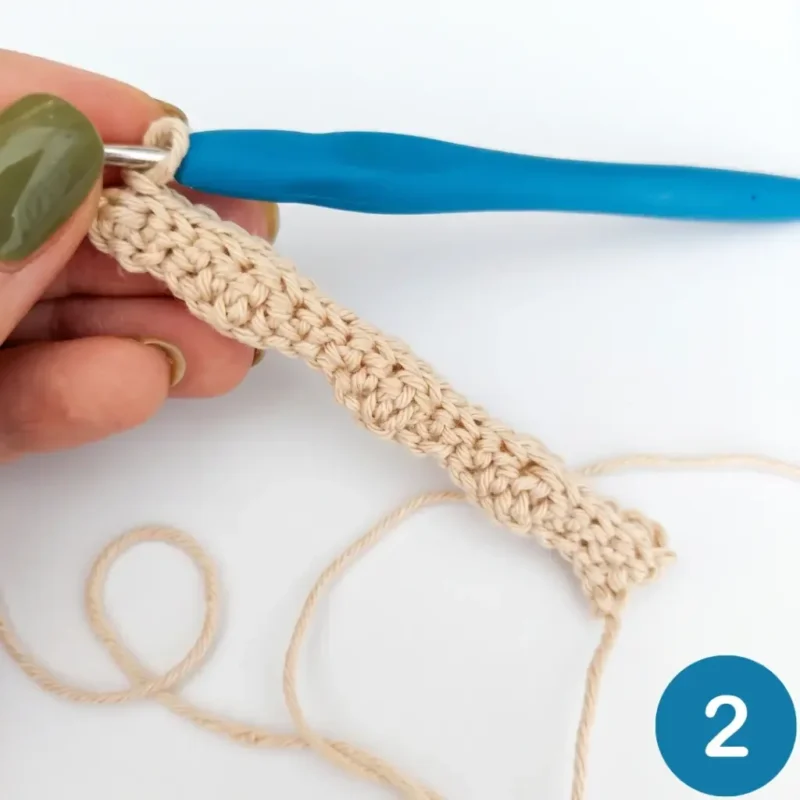
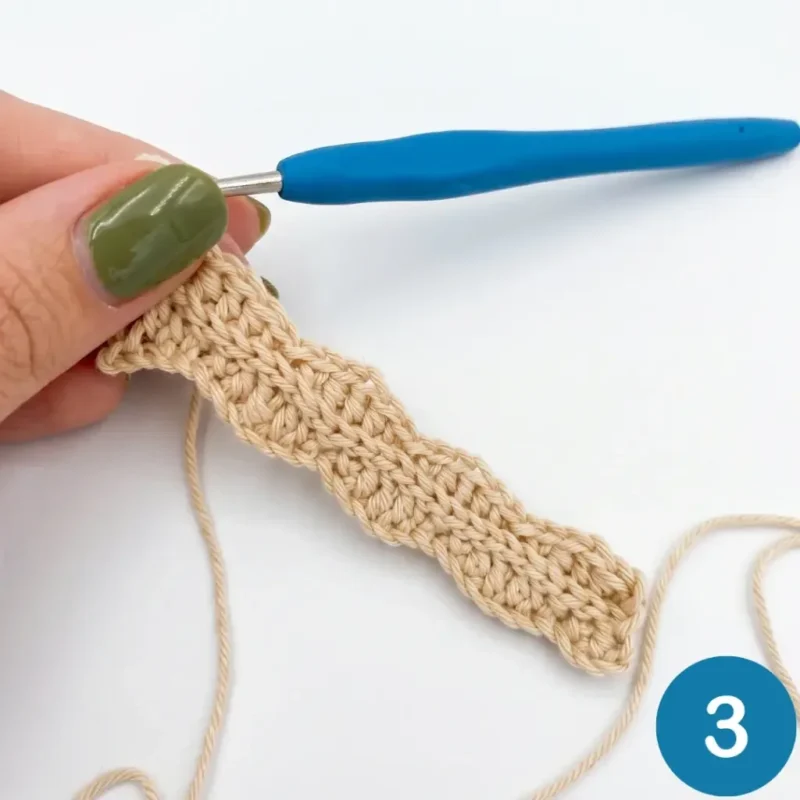
Work all rows in Back Loop Only (BLO). Work back-and-forth (flat rows), turning at the end of each row.
Tip Keep your BLO tension consistent. The entire base relies on BLO ribbing — if your tension shifts between rows, the raised ridges will look uneven. Check after every few rows that your fabric feels uniformly textured.
Foundation Chain: Ch 23 + 1 turning chain (24 chains total).
| Round | Instruction | Count |
|---|---|---|
| Row 1 | (RS): hdc, sc, sl st, sc, hdc, dc, hdc, sc, sl st, sc, hdc, dc, hdc, sc repeat 3 times. (23) | - |
| Row 2 | (WS): 23 sl st. (23) | - |
| Row 3 | (RS): sc, hdc, dc, hdc, sc, sl st, sc, hdc, dc, hdc, sc, sl st, sc, hdc, dc, hdc, sc repeat 3 times. (23) | - |
| Row 4 | (WS): 23 sl st. (23)Repeat Rows 1–4 as your block pattern. Total rows: 47. | - |
Tip Color changes on WS rows: make your color change at the end of a WS (slip stitch) row. Drop the old color, pick up the new one, and work the turning chain in the new color. This keeps color transitions crisp and hides the join naturally in the ribbed fabric.
Tip Seaming trick for an invisible join: When joining Row 1 to Row 47, lay the two edges flat with right sides facing out. Align the stitch segments carefully before you begin sewing — matching the ridges across the seam makes the join nearly invisible once the pumpkin is stuffed and rounded.
Pick up stitches evenly around each open edge of the cylinder and work in joined rounds.
| Round | Instruction | Count |
|---|---|---|
| Round 1 | Work 48 sc evenly around the edge. (48) | - |
| Round 2 | 4 sc, dec repeat 8 times. (40) | - |
| Round 3 | 3 sc, dec, 6 sc, dec repeat 4 times, 3 sc. (35) | - |
| Round 4 | 3 sc, dec repeat 7 times. (28) | - |
| Round 5 | 1 sc, dec, 2 sc, dec repeat 6 times, 1 sc. (21) | - |
| Round 6 | 1 sc, dec repeat 7 times. (14) | - |
| Round 7 | dec repeat 7 times. (7)As the opening narrows, insert stuffing firmly and evenly. Pull the remaining 7 stitches tight to close the opening. Draw the yarn tail through to the inside with a slight tug to create a natural dimple at the center. | - |
Tip Invisible decrease for the edging: insert your hook through the front loops only of the next two stitches, yarn over and pull through both, then complete as a normal sc. This keeps the edge smooth and seamless.
Use khaki yarn. Work in a continuous spiral.
| Round | Instruction | Count |
|---|---|---|
| Round 1 | 6 sc in MR. (6) | - |
| Round 2-3 | sc in each st around. (6) — 2 rounds | - |
| Round 4 | 1 sc, inc repeat 3 times. (9) | - |
| Round 5-6 | sc in each st around. (9) — 2 rounds | - |
| Round 7 | inc repeat 9 times. (18) | - |
| Round 8 | 2 sc, inc repeat 6 times. (24)Work 2 sl st, then fasten off, leaving a long yarn tail for sewing. | - |
03 · Putting it togetherHow the pieces go together
- S1
Lightly stuff the stem if desired, or leave it unstuffed for a flatter, more natural look.
- S2
Position the stem at the center top of the pumpkin, directly over the gathered dimple.
- S3
Using the long yarn tail and your tapestry needle, sew the stem in place using whipstitch around the base of the stem, stitching into the pumpkin surface securely.
- S4
Weave in all remaining yarn ends, drawing each tail to the inside of the pumpkin before trimming.
04 · Before it goes to a childWhat has to be right, and what is allowed to drift
- 💡 Use a stitch marker to mark the first stitch of every joined round on the top and bottom edgings so you never lose your place after seaming the base.
- 💡 Since the base is worked entirely in Back Loop Only, keep the unused front loops visible on the wrong side; this will help you confirm you're seaming the correct edges together later.
- 💡 If you're using the smaller 1.5mm hook option mentioned in the pattern notes, expect a denser, tighter fabric which is great for a firmer, more structured pumpkin shape.
- 💡 Stuff the pumpkin body before attaching the final edging round so you can adjust firmness evenly while you still have full access to the opening.
- 💡 Since the stem is worked in a continuous spiral, use a small stitch marker or scrap yarn loop moved up every round to keep accurate count without a formal join.
- 💡 This pattern is written in US crochet terminology.
- 💡 Gauge is not critical for this project, but work tightly enough that stuffing does not show through the fabric.
- 💡 Stitch counts are given at the end of each round or row in parentheses: (##).
- 💡 The metric hook size specified in the original pattern is 1.5 mm. If your tension is loose, size down; if the fabric feels stiff, size up slightly. A US B-1 / 2.0 mm is the closest standard US size.
05 · Snag listWhat went wrong on the bench, and the fix
Snag 1
Accidentally crocheting into both loops
Slow down on the first few rows and consciously check that you're only inserting your hook under the back loop; this is what creates the signature ribbed texture, so double-check every row until it becomes automatic.
Snag 2
Seaming the pumpkin base into a tube
Lay the flat base piece out on a table before seaming and smooth it flat, matching the starting and ending edges carefully so the rows line up straight before you whipstitch or slip stitch the seam closed.
Snag 3
Losing track of where the round begins
Place a stitch marker in the first stitch of every joined round and move it up as you go so you always know exactly where to slip stitch to close each round.
Snag 4
Treating the stem's continuous spiral
Remember the stem is worked in a true continuous spiral, so simply keep crocheting into the next stitch of the previous round without joining or chaining, using a stitch marker only to track when you complete each round for counting purposes.
Snag 5
Under-stuffing or over-stuffing
Stuff firmly but evenly in small pieces as you assemble, checking that the ribs stay visible and even all the way around rather than bulging in one section.
Snag 6
Using a hook that's too large
Stick to the 2.0mm hook specified (or 1.5mm if you want an even tighter fabric per the pattern notes) so the stitches stay snug enough to hold stuffing without gaps.
06 · VariantsOther ways to issue this one
I adore this pattern because the BLO rows do all the hard work for you visually! Working the pumpkin base back and forth in Back Loop Only creates those gorgeous raised ridges automatically, so you get a professional, sculptural look without any complex color changes or fancy stitches. Seaming the base into a tube and then joining the top and bottom edgings in rounds feels so satisfying, like watching a flat piece of fabric transform into a proper pumpkin shape right before your eyes. The spiral stem is a nice change of pace too, quick to whip up with no joins to track. I love that this pattern works equally well in a soft cream-and-terracotta duo or a sunnier three-color palette, so you can match it to your exact fall aesthetic. It's the kind of project where every round brings a visible payoff, which keeps me motivated from the very first stitch to the last tuck of the yarn tail. Honestly, it's become one of my favorite quick, meaningful makes each September.
07 · QueriesQuestions logged against this build
Can I use a different yarn weight for this pumpkin pattern?
Yes, you can substitute a different yarn weight, but keep in mind it will change the finished size of your pumpkin. A fingering or sport weight yarn worked on a small hook will produce a miniature pumpkin, while a DK or worsted weight will give you a larger, chunkier version. Always adjust your hook size to match your yarn and maintain a tight enough fabric that the stuffing doesn't peek through.
Why do I work every row in Back Loop Only?
Working in Back Loop Only throughout the flat base section creates a distinct horizontal ridge on the surface of the fabric. When you seam the short edges and stuff the piece, those ridges run vertically and mimic the natural segments of a real pumpkin. It's what gives this project its recognizable, realistic texture without any extra stitches or shaping tricks.
My pumpkin top and bottom don't look symmetrical — what went wrong?
The most common cause is an uneven stitch pick-up in Round 1 of the edging. Make sure you pick up exactly 48 stitches distributed evenly around each open edge before beginning the decrease rounds. Place a stitch marker every 12 stitches as you pick up to divide the edge into four equal sections — this makes it much easier to space your decreases consistently and achieve a balanced, symmetrical finish on both ends.
Original pattern: https://amigurumiarts.com/crochet-little-pumpkin-a-textured-amigurumi-pattern/
08 · Made byWho counted this one

Who writes Amigurumi Addict, how a build gets its number, and why every round on the site carries a stitch count.
09 · Next off the benchThree builds that sit near this one
Garden and food
How to Crochet a Rose Bouquet in a Vase
How do you crochet a rose bouquet vase? Roll spiral roses, stuff a round vase, and sew the bouquet together.
Garden and food
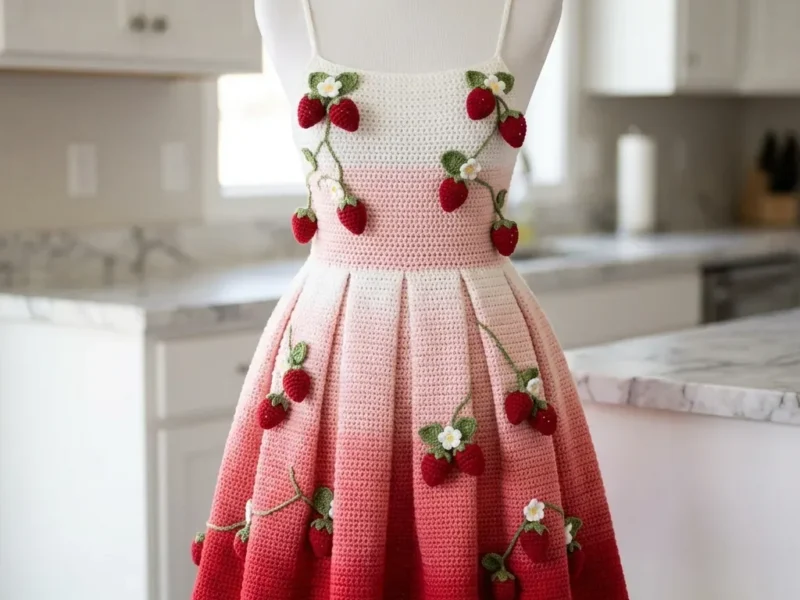
Strawberry vine sundress with pleated skirt crochet pattern
How do you crochet a strawberry sundress? Seamless bodice, pleated skirt, sewn appliques in DK cotton.
Garden and food
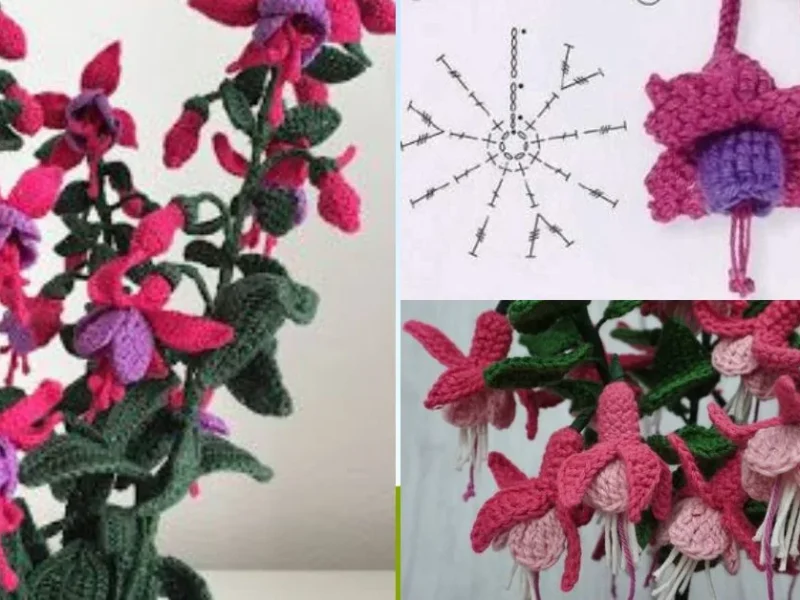
How to crochet a fuchsia flower with leaves
How do you crochet a fuchsia flower? Build a 12-sc center, fan the petals, then add leaves.
Join the build log
One message when a build is issued
A drawing and its parts list, when one leaves the bench.