| Shelf | Level | Time | Hook | Yarn |
|---|---|---|---|---|
| Mini and keychains | Beginner to Easy Intermediate | 1-2 Hours | 2.5 mm | Worsted |
Mini Yarn Basket Keychain Crochet Pattern
Crochet a mini basket keychain with this easy pattern using HDC stitches, a magic ring base, and a sturdy handle for a charming handmade keyring accessory.
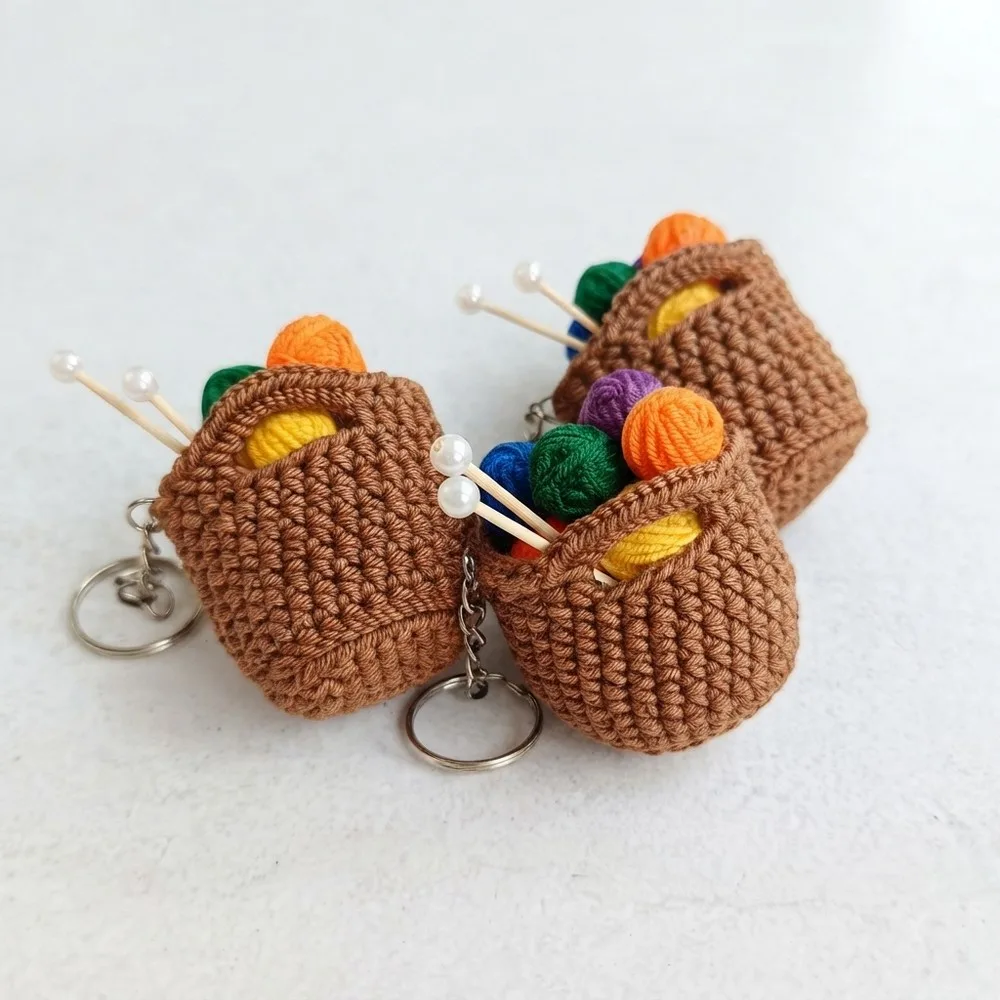
01 · The pieceWhat Mini Yarn Basket Keychain Crochet Pattern actually is
This Mini Yarn Basket Keychain is the cutest little handbag-shaped charm you can whip up in an afternoon, and it's exactly the kind of project that makes crochet feel so satisfying. Shaped like a tiny woven basket with its own handle, this keychain is perfect for crocheters who want a quick win, a thoughtful handmade gift, or a fun way to use up leftover acrylic yarn scraps sitting in their stash.
The whole design comes together using just two techniques: a magic ring to start the base seamlessly, and half double crochet stitches to build the body, handle, and edging. Because it's worked entirely in joined rounds with simple increases, this pattern is genuinely approachable for beginners while still being satisfying enough for more experienced makers who want a fast, mindless project to enjoy over coffee.
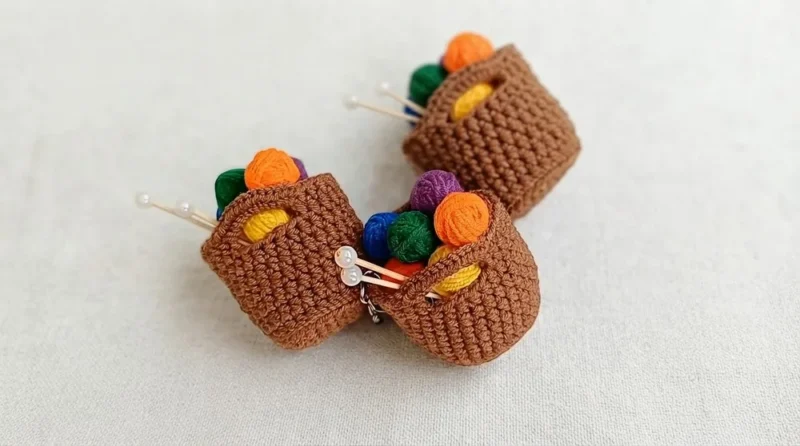
Once finished, you'll have a small, firm little basket with a rounded base, a sturdy body, a neat edging for structure, and a handle attached like a real handbag — all clipped onto a keyring. It's compact enough to hang from a backpack, keys, or purse, and it makes an irresistibly charming handmade gift for basket lovers, bag enthusiasts, or anyone who appreciates tiny amigurumi-style accessories.
- Begin at the center with a magic ring to form a tight, seamless starting point for the base.
- Work increase rounds outward to build a flat, rounded base that will become the bottom of the basket.
- Continue in joined rounds without further increases to build straight, even body height for the basket walls.
- Crochet the handle as a separate piece, shaping it into a sturdy strip long enough to arch over the top.
- Sew the handle onto opposite sides of the body so it stands up like a real handbag handle.
- Work a neat edging round around the top rim to add stability and a finished, tidy look.
- Weave in all loose ends securely so the basket looks clean inside and out.
- Attach a keyring to the handle or top edge so your finished basket is ready to clip onto keys or a bag.
02 · The count run5 rounds across 4 parts, each with its count
US terms throughout. Every row below ends with the count that round finishes on.
| Part | Qty | Finishes on |
|---|---|---|
| Base | 1 | - |
| Body | 1 | (30) |
| Handle | 1 | - |
| Edging | 1 | - |
| Round | Instruction | Count |
|---|---|---|
| Round 1 | Ch 2, work 10 HDC in Magic Ring (MR), join with Sl St to first HDC. (10 HDC) | - |
| Round 2 | Ch 2, 2 HDC in each st around, join with Sl St. (20 HDC) | - |
| Round 3 | Ch 2, ( 2 HDC in next st, 1 HDC in next st ) repeat around, join with Sl St. (30 HDC) | - |
| Round | Instruction | Count |
|---|---|---|
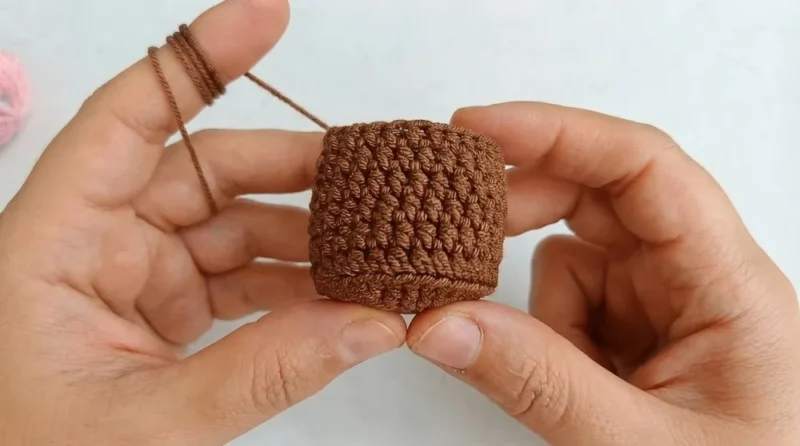
| Round 1 | Body Rounds 1–6: Ch 2, 1 HDC in each st around, join with Sl St.Repeat for a total of 6 straight rounds. | (1) |
| Round 2 | No increasing; you will maintain 30 HDC each round. | (30) |
This forms the main body or “pouch” of the bag.
First Side of Handle:
Ch 2, work 4 HDC across the side/top edge where you’d like to position the handle (align symmetrically).
Neat Finishing: Ch 2, 4 HDC along first side (along handle base)
12 SC along the top straight/side edge 9 HDC over the handle top 12 SC along the other side/top edge 4 HDC down opposite “side” (handle base)
Join with a Sl St to starting point Ch 1, fasten off.
Weave in ends securely.
For Yarn Boll scroll down to watch the video.
03 · Putting it togetherHow the pieces go together
- S1
Use the yarn needle to weave in all ends carefully for a smooth finish.
- S2
Insert the keychain ring:
- S3
Loop it through the center top (or side) of the handle, or sew it through any dense part of the handle base for extra security.
- S4
If desired, use leftover yarn for embellishments (small flowers, buttons, or bows).
- S5
Finished handbag keychain should measure about 2.5 inches across and tall (not including the keyring).
04 · Before it goes to a childWhat has to be right, and what is allowed to drift
- 💡 Use a 2.5mm hook consistently throughout the pattern to keep your gauge even between the base, body, and handle pieces.
- 💡 When starting your magic ring, leave a long enough tail (at least 6 inches) so you have plenty of yarn to cinch it tight and weave in later.
- 💡 Place a stitch marker in the first stitch of each round, especially during the base increases, so you never lose track of where a round begins and ends.
- 💡 Since this project uses light stuffing or none at all, keep your HDC stitches snug and even so the basket holds its shape without needing extra filler.
- 💡 Weave in ends securely along the inside of the basket where they won't show, especially where the handle attaches, since this spot gets the most handling stress.
- 💡 Attach the keyring only after your edging is complete so you can adjust the final stitch placement and make sure the ring sits centered on the handle.
05 · Snag listWhat went wrong on the bench, and the fix
Snag 1
Starting the magic ring too loosely, leaving a visible hole in the center of the base.
Pull the tail firmly after your first round of stitches and check that the center hole closes completely before continuing — snug it up as tight as possible without puckering the fabric.
Snag 2
Losing track of stitch count during the base increase rounds, causing the base to ripple or cup instead of lying flat.
Use a stitch marker at the join point of each round and count your stitches before moving to the body rounds to make sure your increases are evenly spaced.
Snag 3
Working half double crochet stitches too loosely, resulting in a floppy, gap-filled fabric.
Keep tension consistent by holding the working yarn firmly and consider going down a hook size if your stitches look loose or full of visible holes.
Snag 4
Forgetting to join each round with a slip stitch, causing the spiral to shift and the rounds to become misaligned.
Always slip stitch into the first stitch of the round to close it neatly before chaining up (if needed) and starting the next round.
Snag 5
Attaching the handle unevenly, so the basket sits crooked or leans to one side when hung from the keyring.
Pin or hold the handle in place on both sides of the body before sewing, checking that both attachment points are symmetrical and level.
Snag 6
Skipping or rushing the edging round, leaving the top rim of the basket looking unfinished or curling inward.
Take your time with the edging round, keeping stitches even and slightly firm so the rim holds its shape and gives the basket structural stability.
06 · VariantsOther ways to issue this one
I adore this pattern because it takes almost nothing — just a 2.5mm hook, some acrylic yarn, and half double crochet stitches — and turns it into something genuinely charming. Starting from a magic ring gives you that perfectly tight, hole-free base every time, which always feels like a little win. Watching the flat, rounded base grow through the increase rounds and then transition into the body height is so satisfying; you can see the basket shape forming almost instantly. I especially love that the handle is worked and attached separately, just like on a real handbag, which gives this keychain such a fun, realistic silhouette instead of looking like a plain pouch. The edging round is the final touch that makes it feel finished and sturdy rather than floppy, so it holds its basket shape nicely. And because it's all HDC in joined rounds, there's no counting complicated stitch patterns or juggling multiple techniques — just steady, rhythmic crocheting that's ideal for TV-watching sessions. Clipping it onto the keyring at the end and seeing the finished little basket dangle there is honestly one of the most rewarding parts of any quick project I've made this year.
07 · QueriesQuestions logged against this build
What size hook and yarn do I need for this basket keychain?
You'll need a 2.5mm crochet hook and any color or combination of acrylic worsted-weight yarn. This combination gives you a firm, tightly worked fabric ideal for a small keychain accessory.
Do I need to stuff the basket to help it hold its shape?
Stuffing isn't required since the tight HDC stitches and edging round give the basket enough structure on their own. If you'd like extra firmness, you can add a small amount of stuffing before closing up the top.
Is this pattern good for a first amigurumi project?
Yes, this is a great starter project since it only uses two techniques — magic ring and half double crochet. As long as you're comfortable working in joined rounds, you'll be able to complete this quickly.
How do I attach the handle so it looks like a real handbag?
The handle is worked as a separate piece and then sewn onto both sides of the basket body using a yarn needle. Make sure to line up the attachment points evenly so the handle sits symmetrically before securing it with a few sturdy stitches.
Can I make this basket bigger or smaller?
Absolutely — you can add an extra increase round to the base for a wider basket, or add a few extra body rounds for more height. Just keep your edging and handle proportions adjusted slightly to match the new size.
Original pattern: https://redagapeblog.com/free-crochet-yarn-basket-keychain-pattern/
08 · Made byWho counted this one

Who writes Amigurumi Addict, how a build gets its number, and why every round on the site carries a stitch count.
09 · Next off the benchThree builds that sit near this one
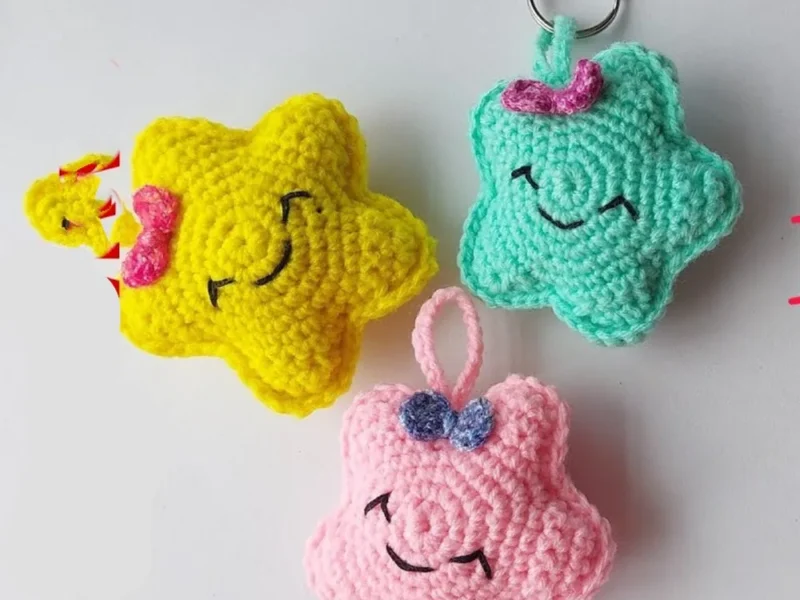
Mini and keychains
Star amigurumi keychain: a beginner’s build
How do you crochet a star amigurumi keychain? Crochet a five-pointed star from two pieces, sew and stuff them, add a
Mini and keychains
Crochet lips keychain: a two-piece amigurumi build
How do you crochet a lips keychain? Two lip pieces stuffed, closed, and seamed for a quick amigurumi gift.
Mini and keychains
How to crochet a chick keychain amigurumi
How do you crochet a chick keychain? Shape the body-head, fold the legs flat, then attach eyes and beak.
Join the build log
One message when a build is issued
A drawing and its parts list, when one leaves the bench.