| Shelf | Level | Time | Hook | Yarn | Size |
|---|---|---|---|---|---|
| Mini and keychains | Beginner | 1-1.5 Hours | 5.0 mm | Worsted | 7 x 7 inch |
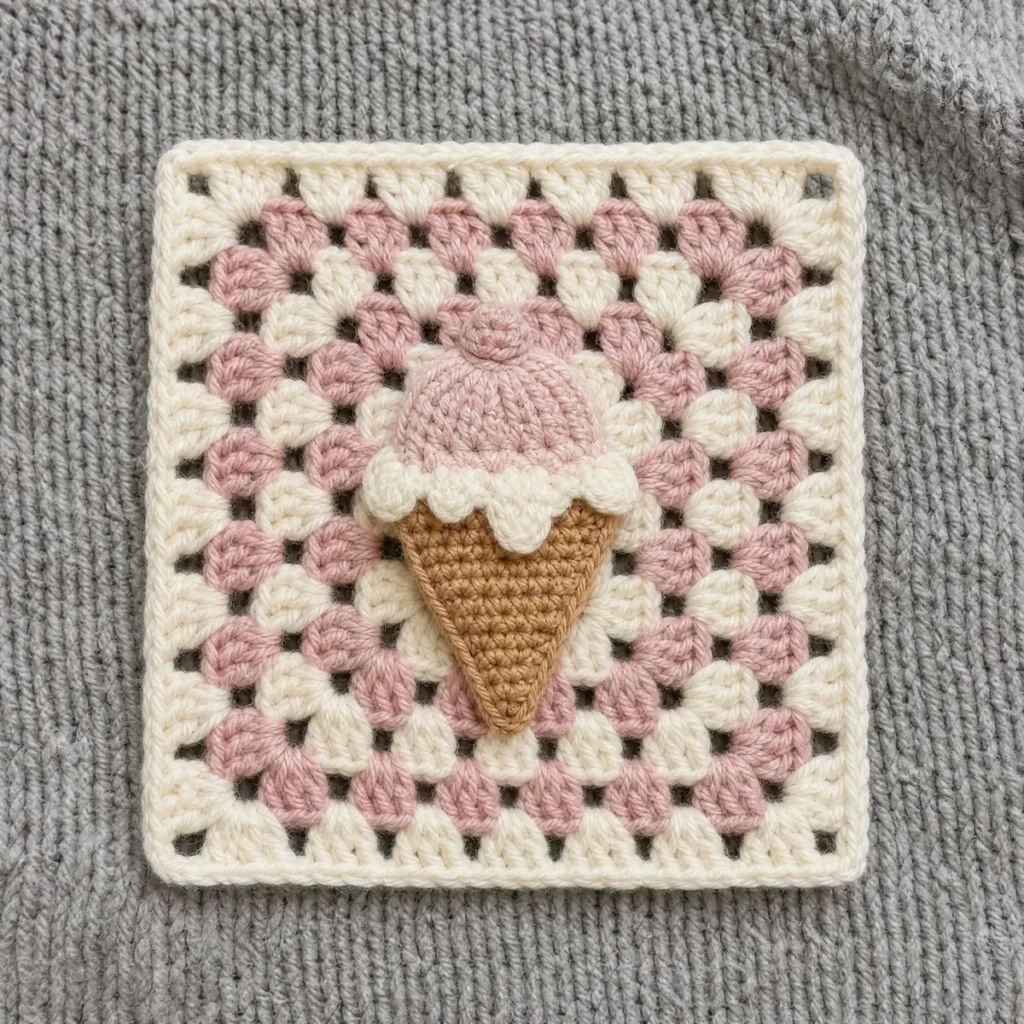
Melting Moment Cone Granny Square — A Sweet Beginner Appliqué
Stitch a sweet Melting Moment Cone appliqué onto a classic granny square in 6 rounds of cream, blush pink, and caramel — a cozy beginner-friendly project.
01 · The pieceWhat Melting Moment Cone Granny Square — A Sweet Beginner Appliqué actually is
This one is a little different from your everyday granny square — the Melting Moment Cone Granny Square is a pictorial design, which means the classic granny base is joined by a sweet appliqué shape stitched separately and sewn on top. Picture a tiny cone tipping ever so slightly, its scoop rounded and generous, with a soft cream swirl melting down one side. It's playful without being fussy, and it turns a simple square into a little scene.
The background square builds up in the classic granny rhythm you already know — corner clusters, chain spaces, and simple joins worked round by round in cream, blush pink, and caramel. The Cone, Scoop, and Cream Swirl pieces are worked separately in basic stitches, then tacked into place with a needle and matching yarn. If you can work a double crochet and count to three, you're ready. This is a lovely first appliqué project for anyone who's made a plain granny square before and wants to try something a bit more expressive.
Finished up, the square sits at about 7 x 7 inches, with the little cone perched cheerfully near one corner like it's about to melt into the background. Make one as a stand-alone coaster or a little accent piece for a shelf, or stitch up a whole batch to scatter through a bigger granny square blanket for a playful, sweet-shop kind of charm.
02 · The count run16 rounds across 5 parts, each with its count
US terms throughout. Every row below ends with the count that round finishes on.
| Part | Qty | Finishes on |
|---|---|---|
| The Background Square | 1 | - |
| The Cone | 1 | - |
| The Scoop | 1 | - |
| The Cream Swirl | 1 | - |
| Assembly — Bringing It Together | 1 | - |
Work the plain background square first — the melting moment cone pieces are sewn on at the end. Every count below is math-verified.
| Round | Instruction | Count |
|---|---|---|
| Round 1 | With cream, in a magic ring: ch 3, 2 dc, ch 2, [3 dc, ch 2] 3 times; sl st to top of ch-3 to join (12)Step by step Step by step: Using cream yarn, in a magic ring: make 3 chain stitches, 2 double crochet, make 2 chain stitches, [3 double crochet, make 2 chain stitches] 3 times; slip stitch to top of ch-3 to join. | - |
| Round 2 | sl st to corner sp, ch 3, 2 dc, ch 2, 3 dc in same corner, ch 1, [(3 dc, ch 2, 3 dc) in corner sp, ch 1, ] 3 times; sl st to join (24)Step by step Step by step: Slip stitch to corner space, make 3 chain stitches, 2 double crochet, make 2 chain stitches, 3 double crochet in same corner, make 1 chain stitch, [(3 double crochet, make 2 chain stitches, 3 double crochet) in corner space, make 1 chain stitch, ] 3 times; slip stitch to join. | - |
| Round 3 | With blush pink, sl st to corner sp, ch 3, 2 dc, ch 2, 3 dc in same corner, ch 1, 3 dc, ch 1, [(3 dc, ch 2, 3 dc) in corner sp, ch 1, 3 dc, ch 1, ] 3 times; sl st to join (36)Step by step Step by step: Using blush pink yarn, slip stitch to corner space, make 3 chain stitches, 2 double crochet, make 2 chain stitches, 3 double crochet in same corner, make 1 chain stitch, 3 double crochet, make 1 chain stitch, [(3 double crochet, make 2 chain stitches, 3 double crochet) in corner space, make 1 chain stitch, 3 double crochet, make 1 chain stitch, ] 3 times; slip stitch to join. | - |
| Round 4 | sl st to corner sp, ch 3, 2 dc, ch 2, 3 dc in same corner, ch 1, 3 dc, ch 1, 3 dc, ch 1, [(3 dc, ch 2, 3 dc) in corner sp, ch 1, 3 dc, ch 1, 3 dc, ch 1, ] 3 times; sl st to join (48) | - |
Step by step Step by step: Slip stitch to corner space, make 3 chain stitches, 2 double crochet, make 2 chain stitches, 3 double crochet in same corner, make 1 chain stitch, 3 double crochet, make 1 chain stitch, 3 double crochet, make 1 chain stitch, [(3 double crochet, make 2 chain stitches, 3 double crochet) in corner space, make 1 chain stitch, 3 double crochet, make 1 chain stitch, 3 double crochet, make 1 chain stitch, ] 3 times; slip stitch to join.
| Round | Instruction | Count |
|---|---|---|
| Round 5 | With cream, sl st to corner sp, ch 3, 2 dc, ch 2, 3 dc in same corner, ch 1, 3 dc, ch 1, 3 dc, ch 1, 3 dc, ch 1, [(3 dc, ch 2, 3 dc) in corner sp, ch 1, 3 dc, ch 1, 3 dc, ch 1, 3 dc, ch 1, ] 3 times; sl st to join (60) | - |
Step by step Step by step: Using cream yarn, slip stitch to corner space, make 3 chain stitches, 2 double crochet, make 2 chain stitches, 3 double crochet in same corner, make 1 chain stitch, 3 double crochet, make 1 chain stitch, 3 double crochet, make 1 chain stitch, 3 double crochet, make 1 chain stitch, [(3 double crochet, make 2 chain stitches, 3 double crochet) in corner space, make 1 chain stitch, 3 double crochet, make 1 chain stitch, 3 double crochet, make 1 chain stitch, 3 double crochet, make 1 chain stitch, ] 3 times; slip stitch to join.
| Round | Instruction | Count |
|---|---|---|
| Border | sl st into the corner ch-2 sp, ch 1, [3 sc in the corner sp, (sc in next 3 sts, sc in next sp) 4 times, sc in next 3 sts] 4 times; sl st to the first sc (88)Step by step Step by step: Slip stitch into the corner ch-2 space, make 1 chain stitch, [3 single crochet in the corner space, (single crochet in next 3 stitches, single crochet in next space) 4 times, single crochet in next 3 stitches] 4 times; slip stitch to the first single crochet. | - |
Worked in caramel. Leave a long tail for sewing.
| Round | Instruction | Count |
|---|---|---|
| Round 1 | ch 9, sc in 2nd ch from hook, 7 sc (8) | - |
| Round 2 | ch 1, turn, dec, 4 sc, dec (6) | - |
| Round 3 | ch 1, turn, dec, 2 sc, dec (4) | - |
| Round 4 | ch 1, turn, dec, dec (2) | - |
| Round 5 | ch 1, turn, dec (1) | - |
Worked in blush pink. Leave a long tail for sewing.
| Round | Instruction | Count |
|---|---|---|
| Round 1 | 6 sc in a magic ring (6) | - |
| Round 2 | [inc] repeat 6 times (12) | - |
| Round 3 | [sc, inc] repeat 6 times (18) | - |
Worked in cream. Leave a long tail for sewing.
| Round | Instruction | Count |
|---|---|---|
| Round 1 | 6 sc in a magic ring (6) | - |
| Round 2 | [inc] repeat 6 times (12) | - |
Step 1 Pin the Cone point-down just below center on the background square, tip aimed at the lower edge so the wide top row sits at the square's midline
Step 2 Pin the Scoop above the Cone so its flat starting ring nestles into the Cone's top row, overlapping by about one row for a seamless join
Step 3 Whipstitch the Cone in place first around its outer edge, then whipstitch the Scoop around its curved edge, leaving the shared seam with the Cone unstitched for a soft overlap
Step 4 Pin the Cream Swirl off-center near the top of the Scoop, tilted slightly as if melting to one side, and sew around its edge with matching cream thread
Step 5 Work embroidery details last: waffle grid on the Cone and sprinkle dashes on the Scoop
Embroidery Waffle texture on the Cone: 3 diagonal straight stitches in caramel one shade darker, then 3 more crossing the opposite way to form a criss-cross grid
Embroidery A few tiny cream straight-stitch 'sprinkle' dashes scattered across the top third of the Scoop
03 · Before it goes to a childWhat has to be right, and what is allowed to drift
- 💡 Gauge: the finished square is about 7 x 7 inches in Worsted weight yarn with a 5.0 mm hook. Tight crocheters can go up half a hook size; loose ones down half.
- 💡 Color plan: the sample uses cream, blush pink, caramel in round order — change colors with a slip-stitch join in the first stitch of the new round.
- 💡 Block your finished square lightly before sewing on the appliqué pieces — it makes the corners crisp and gives you a flatter surface to stitch onto.
- 💡 Pin the Cone, Scoop, and Cream Swirl in place with removable stitch markers before you start sewing, so you can check the placement looks right from a few steps back.
04 · Snag listWhat went wrong on the bench, and the fix
Snag 1
Losing track of corner spaces
It's easy to stitch into the wrong spot once the rounds get busier. Pause at the start of every corner and count your chain-2 space before working into it.
Snag 2
Pulling appliqué pieces too tight
Sewing the Cone, Scoop, and Cream Swirl on with tension that's too tight can pucker the background square. Sew with a relaxed hand and check that the square still lies flat as you go.
Snag 3
Mismatching yarn weight or hook size
Swapping in a different yarn weight without adjusting your hook throws off the gauge and the appliqué proportions. Stick with worsted weight and a 5.0mm hook, or size both up or down together.
05 · VariantsOther ways to issue this one
Once you've made one, this square is begging to be played with. Swap the caramel for chocolate brown and you've got a different flavor of cone entirely, or try a rainbow of scoop colors across a whole batch so every square in your blanket tells its own little treat story. A fingering weight yarn and a smaller hook will shrink the whole thing into a sweet little motif perfect for coasters or a set of tiny mug rugs, while bulky yarn and a bigger hook turn it into a bold statement piece perfect for a pillow front. You could even work the background in a soft mint or lavender instead of cream for a whole new color mood. However you stitch it, this little cone is endlessly adaptable.
I designed this square on a whim one afternoon when I was craving something sweet and didn't feel like leaving my chair, and it's stayed one of my favorite quick makes ever since. There's something so satisfying about watching that little cone take shape — the scoop rounds out, the swirl droops just so, and suddenly you've got a tiny treat sitting right there in your lap. I love that it's built on the same granny square logic I've used for years, so nothing about it feels intimidating, but the appliqué gives me a little creative stretch every time. It's the kind of project I reach for when I want to feel productive and a little delighted at the same time.
06 · QueriesQuestions logged against this build
Do I need to know how to make an appliqué to finish this square?
Not at all — the Cone, Scoop, and Cream Swirl are worked in the same basic stitches as the background, just as smaller separate pieces. You'll simply sew them on with a yarn needle once everything is finished.
Can I use a different yarn weight than worsted?
Yes, though it will change your finished size. A lighter yarn with a smaller hook gives you a daintier square, while a heavier yarn and larger hook makes it bigger and bolder.
What if I only have two colors instead of three?
You can still make this work — just repeat one of your two colors for the third round instead of introducing caramel. The shaping stays exactly the same either way.
How long does this square take to finish?
Most beginners can finish the background rounds and the little appliqué pieces in one relaxed sitting or two, especially once you're comfortable with the corner pattern.
Is this square good for using up scrap yarn?
Definitely — the background only needs small amounts of three colors, and the appliqué pieces use even less, so it's a great way to work through leftover worsted weight yarn.
07 · Made byWho counted this one

Who writes Amigurumi Addict, how a build gets its number, and why every round on the site carries a stitch count.
08 · Next off the benchThree builds that sit near this one
Mini and keychains
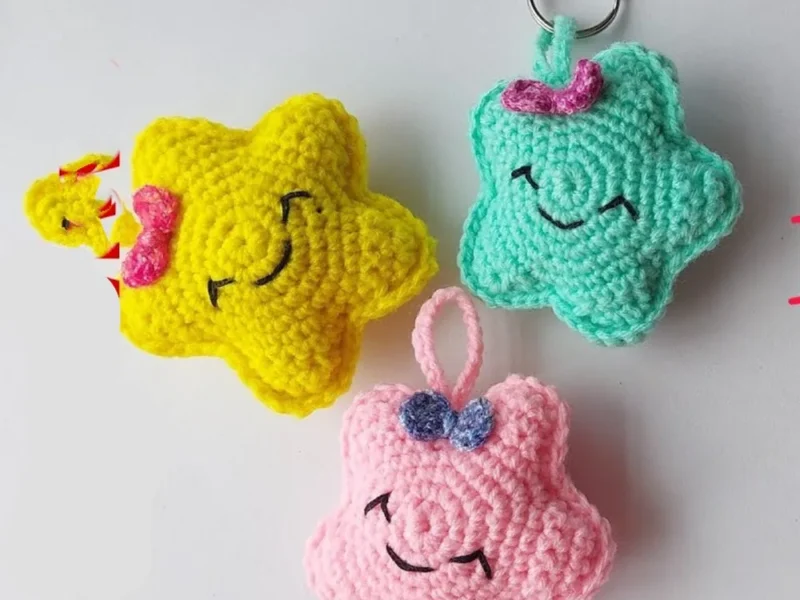
Star amigurumi keychain: a beginner’s build
How do you crochet a star amigurumi keychain? Crochet a five-pointed star from two pieces, sew and stuff them, add a

Mini and keychains
Crochet lips keychain: a two-piece amigurumi build
How do you crochet a lips keychain? Two lip pieces stuffed, closed, and seamed for a quick amigurumi gift.
Mini and keychains
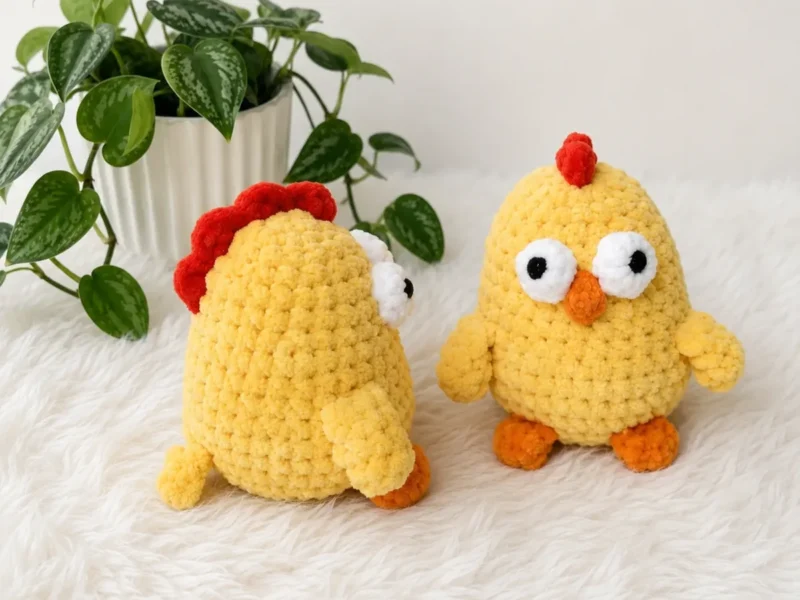
How to crochet a chick keychain amigurumi
How do you crochet a chick keychain? Shape the body-head, fold the legs flat, then attach eyes and beak.
Join the build log
One message when a build is issued
A drawing and its parts list, when one leaves the bench.