| Shelf | Level | Time | Hook | Yarn |
|---|---|---|---|---|
| Garden and food | Beginner | 2-4 Hours | 3.0 mm | DK |
How to Crochet a Strawberry Ice Cream (Free Beginner Amigurumi Pattern)
Crochet an adorable strawberry ice cream with bear ears! Free beginner amigurumi pattern using cotton DK yarn — a sweet, giftable summer make.
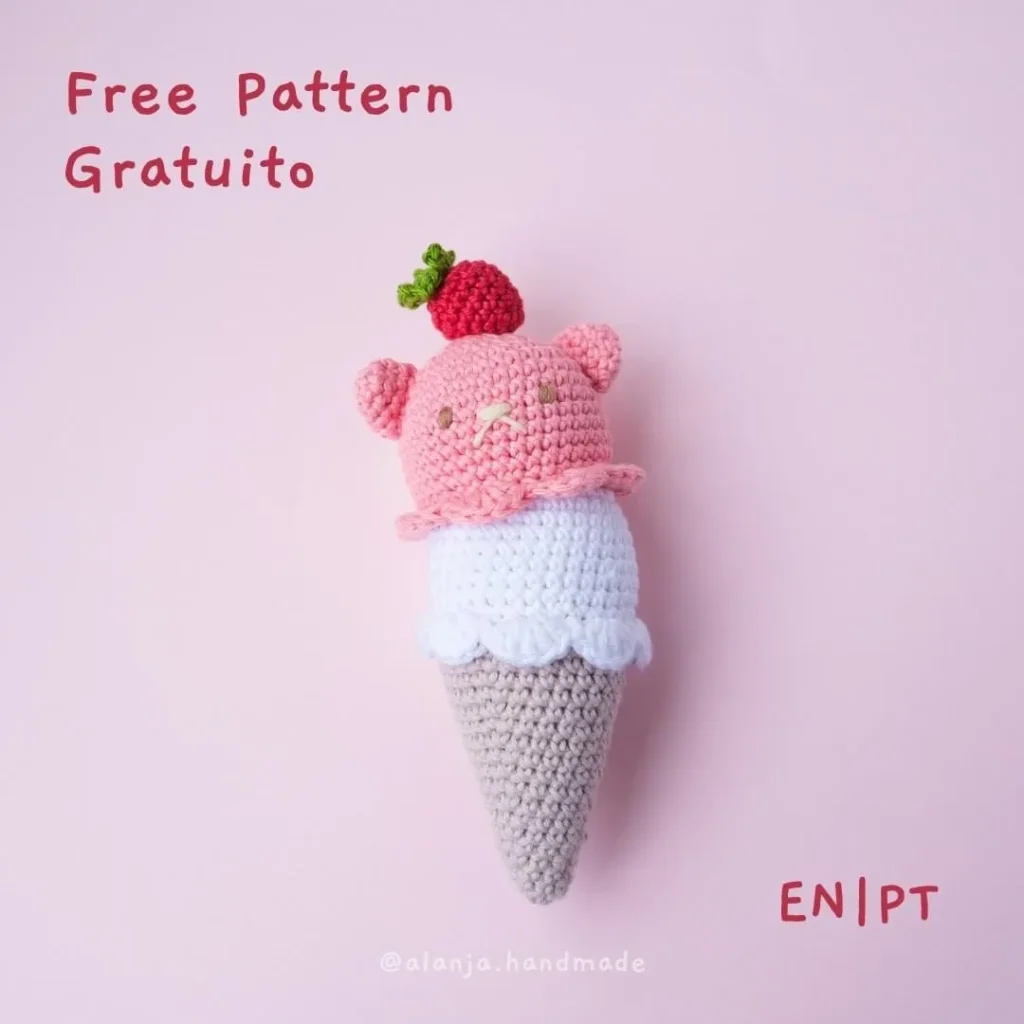
01 · The pieceWhat How to Crochet a Strawberry Ice Cream (Free Beginner Amigurumi Pattern) actually is
This free amigurumi pattern turns a handful of cotton yarn into the sweetest strawberry ice cream cone you have ever seen — two stacked scoops complete with tiny bear ears and a little red strawberry with its leafy green topper perched on the pink scoop. Designed by @alanja.handmade, it blends two beloved amigurumi worlds: play food and teddy bears. It is perfect for beginners who want a small, satisfying project, for parents building a play-kitchen collection, or for anyone who needs a little dose of summer sitting on their shelf all year round.
The finished ice cream is a palm-sized cutie with real personality: two plump scoops — white below and pink on top — stacked on a sturdy beige cone, a tiny red strawberry with its green leaf crown perched at the very top, and an embroidered bear face with the sweetest little snout on the pink scoop. Worked in 100% cotton, it feels smooth and structured and holds its shape beautifully once stuffed. It makes a darling pretend-play treat, a cheerful desk companion, or a thoughtful handmade gift for the ice cream lover in your life.
- Start with the two ice cream scoops — one white and one pink — working fifteen rounds each until you have soft domes with a ruffled edge, ready for stuffing.
- Shape the beige cone next, working seventeen rounds until it forms a sturdy little holder for the scoop.
- Work up the little bear ears, which take only four rounds, then set them aside for assembly.
- Crochet the tiny red strawberry in eight quick rounds, then its green leaves — a single round creates the sweet leafy topper.
- Stuff the scoops, cone, and strawberry firmly with toy filling so the ice cream holds its rounded, huggable shape.
- Use embroidery floss to stitch the bear's eyes and snout, giving your ice cream its friendly face.
- Sew the scoops, ears, and strawberry into place following the assembly steps, then weave in all your ends.
02 · The count run38 rounds across 5 parts, each with its count
US terms throughout. Every row below ends with the count that round finishes on.
| Part | Qty | Finishes on |
|---|---|---|
| Ice-Cream Scoop | 1 | (18) |
| Ice-Cream Cone | 1 | (32) |
| Bear Ears | 1 | - |
| Strawberry | 1 | (6) |
| Strawberry leaves | 1 | - |
(make 2 in White and Pink, 3.0mm hook)
| Round | Instruction | Count |
|---|---|---|
| Round 1 | MR 6 sc (5 sts) | - |
| Round 2 | 1 inc in each st around (12 sts) | - |
| Round 3 | (1 sc. 1 inc) x6 around (18 sts). | (18) |
| Round 4 | (2 sc, I inc) x6 around (24 sts) | - |
| Round 5 | (3 sc. I inc) x6 around (30 sts) | - |
| Round 6 | (4 sc, linc)x6 around (36 sts) | - |
| Round 7-13 | sc around (36 sts) 7 rounds | - |
| Round 14 | (7 sc, I dec) x4 around (32 sts) | - |
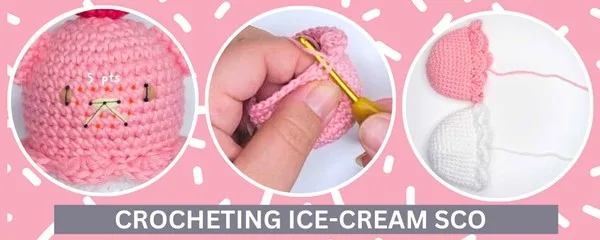
| Round 15 | In FLO, (I sc, 1 skp, 5 dc in same st, 1 skp)x8 around, Sist. (see image 3) Finish off and leave a long tail for sewing.For the pink scoop embroid the eyes and snout of the bear, starting on row B. (see image 1 for the scheme) | - |
(in Beige, 3.0mm hook)
| Round | Instruction | Count |
|---|---|---|
| Round 1 | MR 6 sc (6 sts) | - |
| Round 2 | (1 sc, 1 inc) x3 around (9 sts) | - |
| Round 3 | sc around (9 sts) | - |
| Round 4 | (2 sc, inc)x3 around (12 sts) | - |
| Round 5 | sc around (12 sts) | - |
| Round 6 | (3 sc, 1 inc) x3 around (15 sts) | - |
| Round 7 | sc around (15 sts) | - |
| Round 8 | (4 sc, I inc) x3 around (18 sts) | - |
| Round 9 | sc around (18 sts) | - |
| Round 10 | (5 sc, 1 inc) x3 around (21 sts) | - |
| Round 11 | sc around (21 sts) | - |
| Round 12 | (6 sc, 1 inc) x3 around (24 sts) | - |
| Round 13 | sc around (24 sts) | - |
| Round 14 | (7 sc, 1 inc) x3 around (27 sts) | - |
| Round 15 | sc around (27 sts) | - |
| Round 16 | (8 sc, I inc) x3 around (30 sts) | - |
| Round 17 | (14 sc. l inc)x2 (32 sts) Finish off and hide the yarn tail | (32) |
(make 2 in Pink, 3.0mm hook)
| Round | Instruction | Count |
|---|---|---|
| Round 1 | MR 6 sc (6 sts) | - |
| Round 2 | I inc in each st around (12 sts) | - |
| Round 3-4 | sc around (12 sts) 2 rounds Finish off and leave a tail for sewing. | - |
(in Red with 2.5mm hook)
| Round | Instruction | Count |
|---|---|---|
| Round 1 | MR 6 sc (6 sts) | - |
| Round 2 | (1 sc, 1 inc) x3 around (9 sts) | - |
| Round 3 | (2 sc. 1 inc) x3 around (12 sts) | - |
| Round 4 | (3 sc, 1 inc) x3 around (15 sts) | - |
| Round 5 | (4 sc. l inc) x3 around (18 sts) | - |
| Round 6 | sc around (18 sts) | - |
| Round 7 | (1 sc, I dec) x6 around (12 sts) Start Stuffing | (12) |
| Round 8 | 6 dec (6 sts) Finish off and sew the center shut. | (6) |
(in Green with 2.5mm hook)
| Round | Instruction | Count |
|---|---|---|
| Round 1 | MR (ch 6 Sist into the circle) xe around Finish off and sew it to the top of the strawberry | - |
03 · Putting it togetherHow the pieces go together
- S1
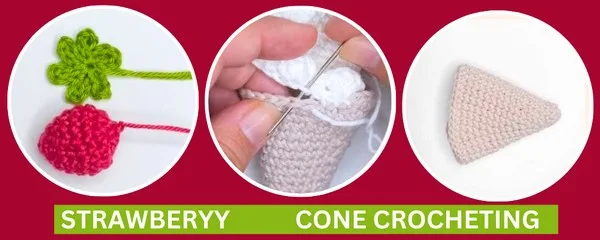
Stuff the Ice-cream cone, and the white scoop and sew the two together. Use the back loop from the white scoop and the two loops from the cone (see image 6).
- S2
Insert more stuffing when you are almost finished. Stuff the pink scoop and sew it on an angle, on top of the white scoop.
- S3
Attach the ears between rows 4-8. Attach the strawberry on top on the first row.
04 · Before it goes to a childWhat has to be right, and what is allowed to drift
- 💡 Keep both hooks in your project bag and match them to the yarn: the 3.0mm belongs with the DK cotton for the scoops, cone, and ears, while the 2.5mm handles the red strawberry and green leaves in fingering-weight yarn. If you can see stuffing peeking through your stitches, go down a hook size — amigurumi fabric should be tight.
- 💡 Place your stitch marker in the first stitch of every round and move it religiously, especially through the seventeen rounds of the cone. It is the difference between a smooth taper and a mystery spiral you have to frog.
- 💡 Stuff as you go. Both the scoop and the cone narrow as they close, and it is much easier to distribute filling evenly in stages than to cram it all through a small final opening.
- 💡 100% cotton has almost no stretch, so keep your tension relaxed and even rather than yanking each stitch tight — tight cotton stitches are genuinely hard to insert your hook into on the next round.
- 💡 Leave long tails when you fasten off the scoops, bear ears, and strawberry. Those tails become your sewing yarn during assembly, and threading an existing tail is far neater than joining new yarn.
- 💡 Complete the embroidered eyes and snout before the final assembly steps. Doubling your embroidery floss gives the features more presence against the DK fabric, and you can hide every knot inside the scoop.
05 · Snag listWhat went wrong on the bench, and the fix
Snag 1
Losing your place in
Move your stitch marker up at the start of every single round — spiral rounds have no visible seam, and the cone is the longest piece in this pattern. If you do get lost, count your stitches after each round and compare against the pattern before continuing rather than guessing.
Snag 2
Overstuffing the narrow tip of the cone
Feed stuffing in tiny pinches and push it gently down with the blunt end of your hook or a chopstick. You want the cone firm enough to stand up to play, but the fabric should never stretch enough to show white filling between stitches.
Snag 3
Finishing and stuffing the scoop before
Stitch the eyes and snout with embroidery floss while you can still reach inside the scoop — anchoring and knotting the floss on the inside gives a much cleaner face. Mark the eye positions with pins first and check they are level from the front.
Snag 4
Sewing the bear ears on unevenly so the bear looks lopsided.
Pin both ears in place with locking stitch markers and count the stitches between them before you sew a single stitch. Look at the scoop straight-on and from above; a half-round difference in height is very visible on a piece this small.
Snag 5
Leaving the magic ring loose so a hole
Pull the magic ring tail firmly closed before working on, then weave the tail through the ring stitches a second time. Cotton yarn is slippery and does not grip the way acrylic does, so an extra securing pass keeps the ring shut through years of squishing.
06 · VariantsOther ways to issue this one
I have a serious weakness for food-themed amigurumi, and this one had me grinning the whole time. The scoops work up in fifteen rounds each, so you get that thrilling moment of watching a shape appear almost immediately, and the seventeen-round cone is pure meditative crochet — round after gentle round while it grows in your hands. My favorite part, hands down, is the transformation at assembly: the second you stitch those tiny four-round bear ears onto the scoop, it goes from a nice ice cream to a little character with a face you cannot stop smiling at. The little red strawberry is such a clever touch too — a few quick rounds of red fingering yarn crowned with a single round of green leaves, and suddenly your ice cream is topped with a juicy berry. I also love that the embroidered eyes and snout let you give your bear its own expression; mine came out slightly sleepy and I would not change a thing. Small pieces, big charm, and zero boring stretches — that is exactly my kind of pattern.
07 · QueriesQuestions logged against this build
Is this pattern really suitable for beginners?
Yes — every piece is built from basic stitches worked in spiral rounds, and the largest piece is only seventeen rounds. As long as you know the magic ring, single crochet, increases, and decreases, you can work through it comfortably with a stitch marker as your safety net.
Can I use worsted-weight yarn instead of DK?
Absolutely. Keep the pattern exactly the same but move up to roughly a 3.5mm or 4.0mm hook so your stitches stay tight. Your finished ice cream will simply come out larger and a bit squishier than the DK version.
Why does the pattern call for two different hook sizes?
The main pieces use DK (size 3) cotton with the 3.0mm hook, while the little red strawberry and its green leaves use finer fingering (size 1) yarn with the 2.5mm hook. Matching the hook to the yarn weight keeps every piece dense enough to hold stuffing and shape.
What can I use for the eyes instead of embroidery floss?
Small safety eyes work nicely if you insert them before stuffing and closing the scoop. If the ice cream is destined for a baby or a child under three, stick with the embroidered eyes and snout — they are the safe choice and give the bear a soft, hand-made expression.
How big is the finished ice cream cone?
Worked in DK cotton on the 3.0mm hook, it comes out palm-sized — a comfortable little handful that suits play kitchens and shelf displays. Yarn weight and personal tension will nudge the size a bit in either direction.
Original pattern: https://redagapeblog.com/crochet-strawbear-icecream-pattern/
08 · Made byWho counted this one

Who writes Amigurumi Addict, how a build gets its number, and why every round on the site carries a stitch count.
09 · Next off the benchThree builds that sit near this one
Garden and food
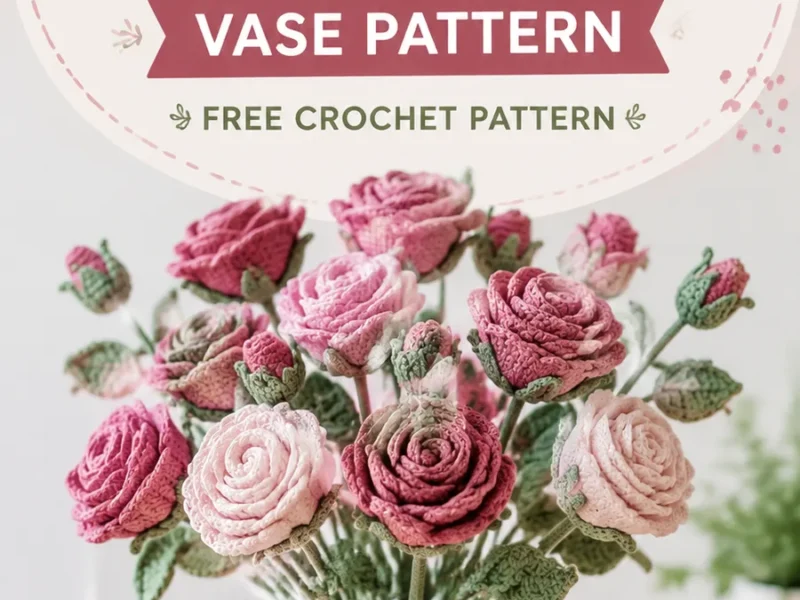
How to Crochet a Rose Bouquet in a Vase
How do you crochet a rose bouquet vase? Roll spiral roses, stuff a round vase, and sew the bouquet together.
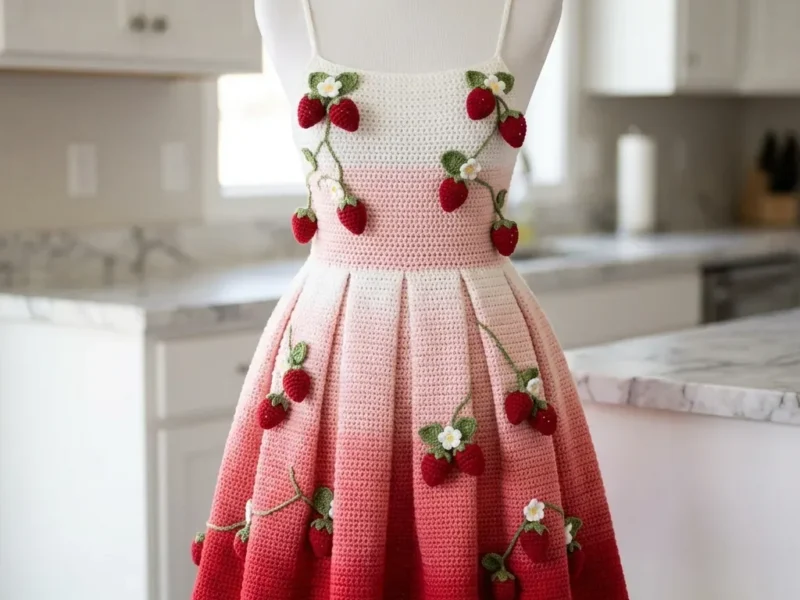
Garden and food
Strawberry vine sundress with pleated skirt crochet pattern
How do you crochet a strawberry sundress? Seamless bodice, pleated skirt, sewn appliques in DK cotton.
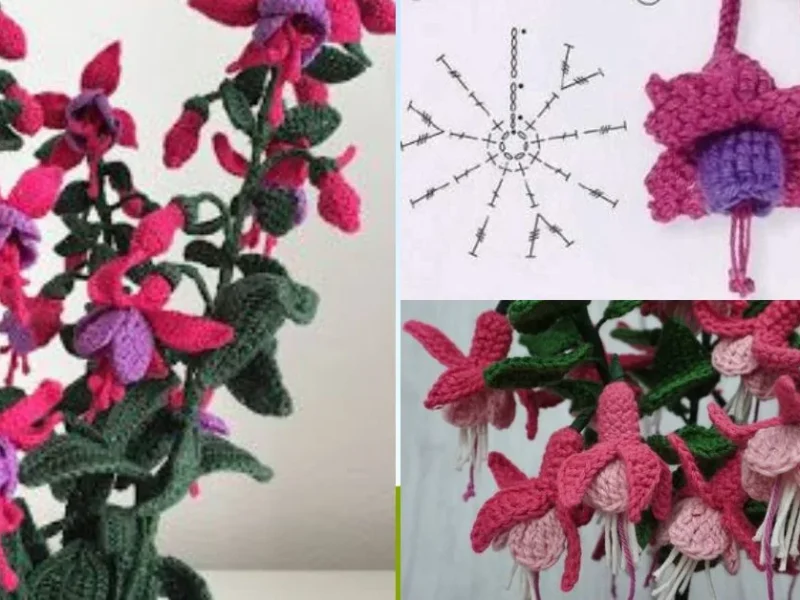
Garden and food
How to crochet a fuchsia flower with leaves
How do you crochet a fuchsia flower? Build a 12-sc center, fan the petals, then add leaves.
Join the build log
One message when a build is issued
A drawing and its parts list, when one leaves the bench.