| Shelf | Level | Time | Yarn |
|---|---|---|---|
| Animals | Intermediate | 4-6 hours | Worsted |
Crochet a no-sew amigurumi dinosaur in one continuous piece
How do you crochet a no-sew amigurumi dinosaur? Work head to tail in one seamless piece, no assembly.
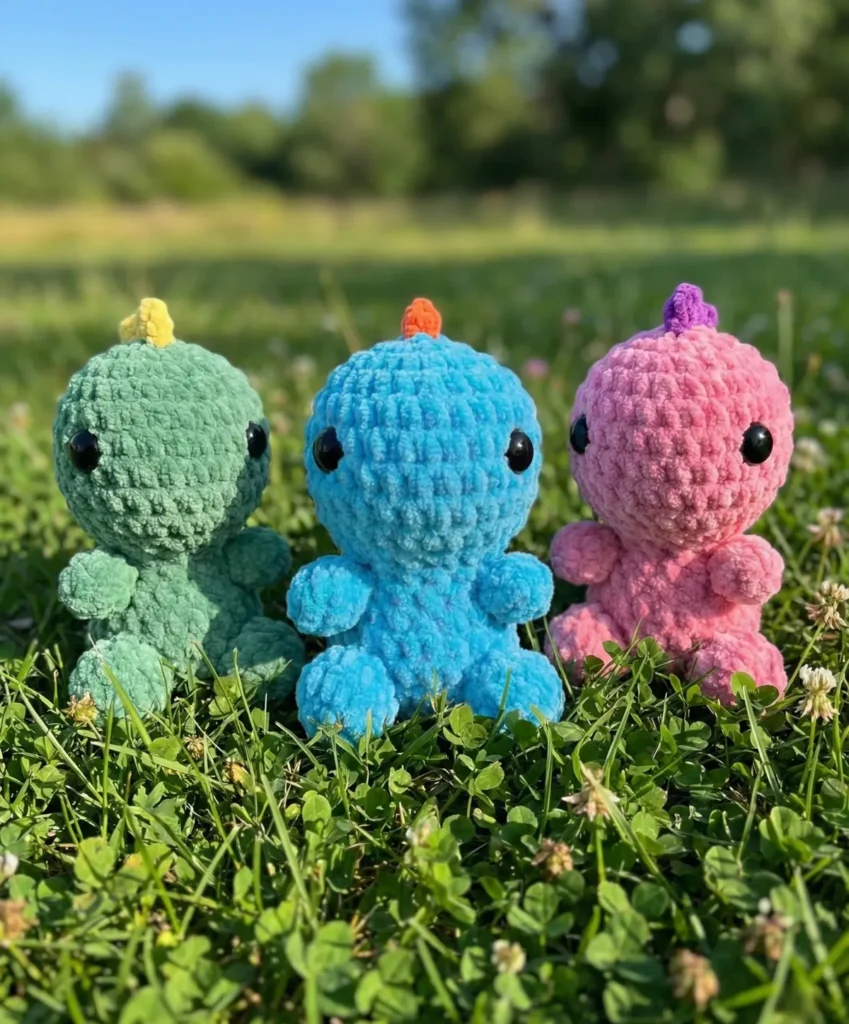
01 · The pieceWhat Crochet a no-sew amigurumi dinosaur in one continuous piece actually is
This dinosaur is a single tube, not an assembly. The head opens at Round 1 with a magic ring and expands through Round 4 (8, 16, 24, 30 stitches), the neck tapers across Rounds 9-13 down to 18 stitches, and the body rebuilds outward through Rounds 14-15 back to 30 stitches before the tail and closing rounds finish the shape. Bobble stitches worked into Round 16 form the arms directly into the body wall. Nothing is sewn on; every part is a stitch count change in the same piece.
Tolerances are not even across the build. Eye placement between Rounds 7-8, spaced 6-7 stitches apart and aligned to the bobble-stitch arms, decides whether the face reads as symmetrical, so that step deserves a ruler-eye check before committing. Plain single crochet rounds, by contrast, forgive a stitch or two of drift, since stuffing hides minor irregularities in a rounded body. Match the bobble stitches on Round 16 to each other in tension; match nothing else that tightly.
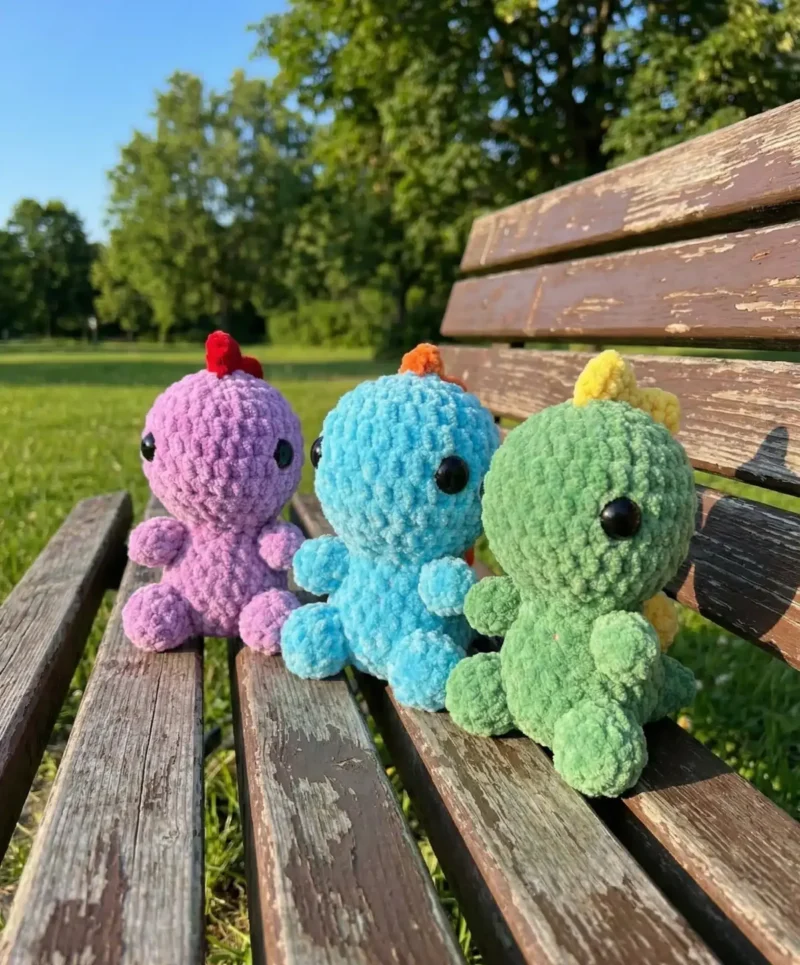
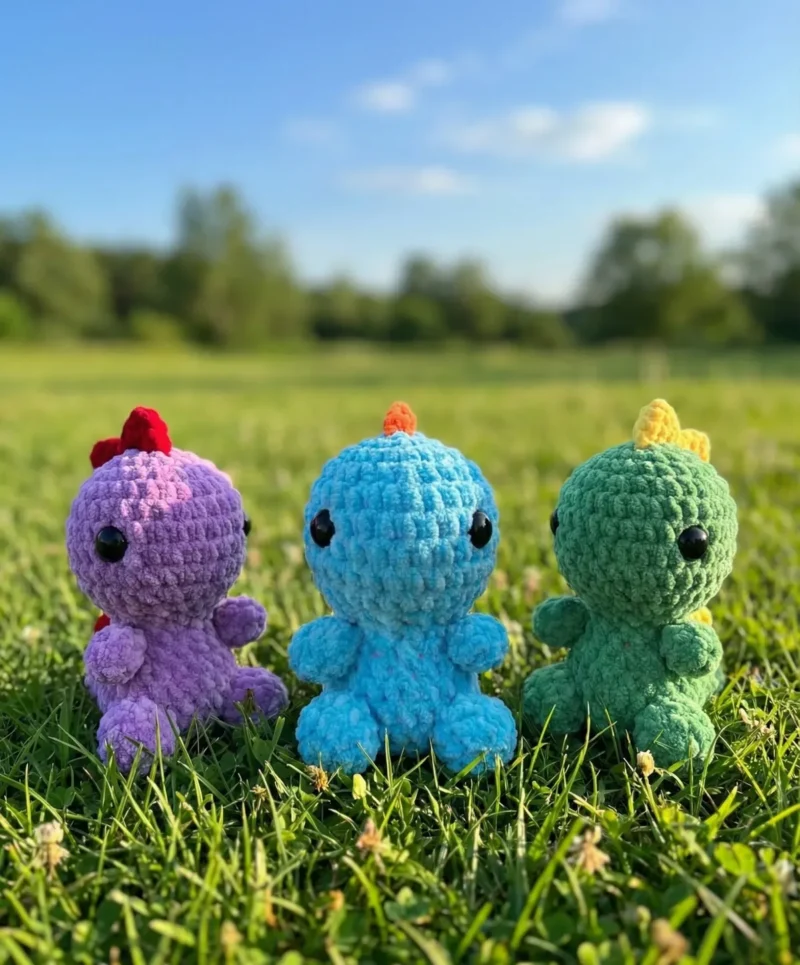
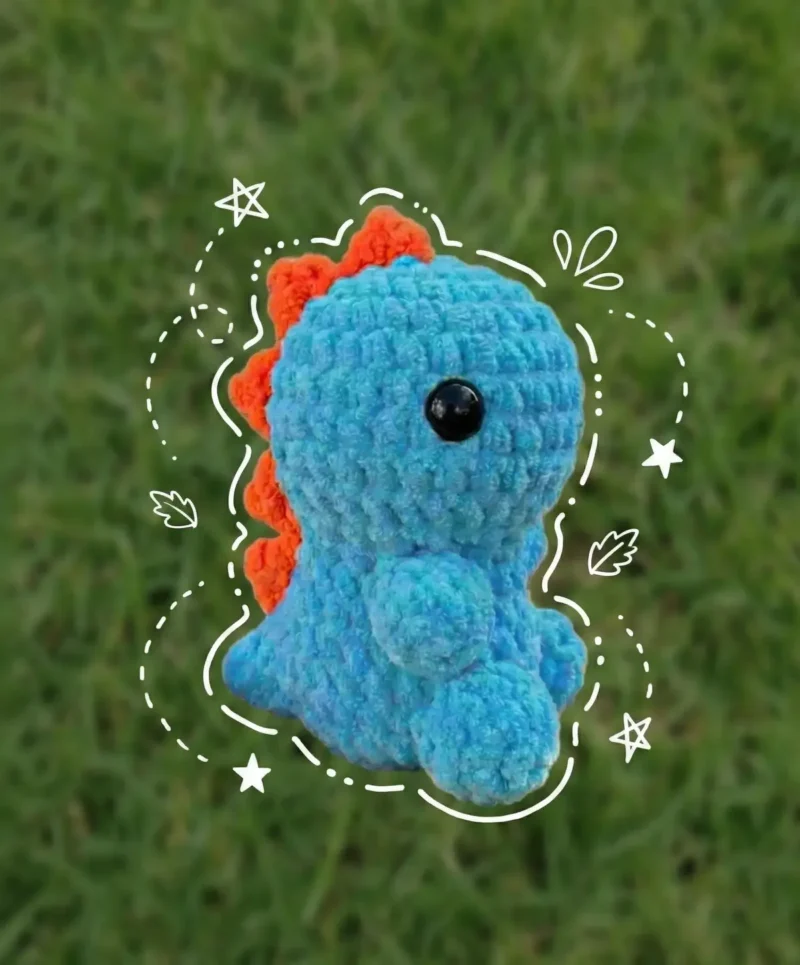
02 · The count run21 rounds across 6 parts, each with its count
US terms throughout. Every row below ends with the count that round finishes on.
| Part | Qty | Finishes on |
|---|---|---|
| Starting the Head | 1 | (36) |
| Shaping the Neck | 1 | (18) |
| Building the Body | 1 | (30) |
| Adding the Tail | 1 | (45) |
| Completing the Body | 1 | (22) |
| Creating the Spikes | 1 | - |
Begin with your main color yarn:
| Round | Instruction | Count |
|---|---|---|
| Round 1 | 8 single crochet in magic ring (8 stitches) | (8) |
| Round 2 | Increase in each stitch (16 stitches) | (16) |
| Round 3 | Single crochet, increase; repeat (24 stitches) | (24) |
| Round 4 | 3 single crochet, increase; repeat (30 stitches) | (30) |
| Round 5 | 2 single crochet, increase, then (4 single crochet, increase) five times, 2 single crochet (36 stitches) | (36) |
| Rounds 6–8 | Single crochet around for 3 rounds (36 stitches) | (36) |
| Round | Instruction | Count |
|---|---|---|
| Round 9 | 2 single crochet, decrease, then (4 single crochet, decrease) five times, 2 single crochet (30 stitches) | (30) |
| Round 10 | Single crochet around (30 stitches) | (30) |
| Round 11 | 7 single crochet, 8 decreases, 7 single crochet (22 stitches) | (22) |
| Round 12 | 7 single crochet, 4 decreases, 7 single crochet (18 stitches) | (18) |
| Round 13 | Single crochet around (18 stitches) | (18) |
| Round | Instruction | Count |
|---|---|---|
| Round 14 | 2 single crochet, increase; repeat (24 stitches) | (24) |
| Round 15 | 3 single crochet, increase; repeat (30 stitches) | (30) |
| Round 16 | 12 single crochet, bobble stitch, 5 single crochet, bobble stitch, 11 single crochet (30 stitches) | (30) |
Step by step Bobble stitch: Yarn over as if beginning a double crochet. Insert your hook into the next stitch. Yarn over and pull up a loop (3 loops on hook). Yarn over and pull through the first 2 loops (2 loops remaining). Repeat these steps three more times in the same stitch (5 loops total). Yarn over one final time and pull through all loops. Pro tip: you can create larger bobbles by adding more loops to your hook!
Important: After creating the bobble stitch arms, position and attach your safety eyes. Place them between rounds 7-8, approximately 6-7 stitches apart, aligned with the bobble stitches. Stuff the head before proceeding.
| Round | Instruction | Count |
|---|---|---|
| Round 17 | 2 single crochet, increase, then (4 single crochet, increase) five times, 2 single crochet (36 stitches) | (36) |
| Round 18 | 3 single crochet, chain 5. Starting from the 2nd stitch, work 4 single crochet down the chain, then single crochet back into the same stitch where you started the chain. Continue with 33 single crochet (36 stitches plus tail) | (36) |
| Round 19 | 3 single crochet, work 3 single crochet and increase 4 single crochet into the tail, 33 single crochet (45 stitches) | (45) |
Stuffing tip: Don't forget to stuff your tail as you work to help it maintain its shape!
| Round | Instruction | Count |
|---|---|---|
| Round 20 | (2 single crochet, 2 decreases) twice, 12 single crochet, bobble stitch, 8 single crochet, bobble stitch, 11 single crochet (41 stitches) | (41) |
| Round 21 | 2 decreases, 3 single crochet, 2 decreases, then (3 single crochet, decrease) six times (31 stitches) | (31) |
| Round 22 | 1 single crochet, 3 decreases, then (2 single crochet, decrease) six times (22 stitches) | (22) |
| Round 23 | Decrease 11 times (11 stitches) Fasten off and weave in all ends. Make sure to stuff your dinosaur as you go for the best results! | - |
For that classic dinosaur look, add adorable spikes down the back:
Step by step Position your work with the head facing down and closest to you. Slip stitch in the middle of your magic ring and chain 1. In the same stitch, work 2 double crochet and 1 half double crochet. Work 2 slip stitches in the following 2 stitches. Repeat these instructions to create 6-7 spikes along the back. Slip stitch and fasten off. Join both yarn ends, tie a secure knot, and hide the ends inside.
Techniques on this build
- Magic ring start
- Opens Round 1 of the head; pull the tail tight enough that no gap shows once stuffed.
- Single crochet increase
- Drives Rounds 2-4 (head) and Rounds 14-15 (body); miscounted increases here throw off the 30-stitch target both parts share.
- Single crochet decrease
- Shapes the neck across Rounds 9, 11, and 12; keep decreases evenly spaced or the taper will lean.
- Bobble stitch
- Forms the arms mid-Round 16 (12 sc, bobble, 5 sc, bobble, 11 sc); uneven loop tension makes one arm bulkier than the other. You can create larger bobbles by adding more loops to your hook.
- General technique tips
- Work in continuous rounds without joining at the end of each round. Use the yarn-under technique for tighter stitches that minimize gaps. Mark the beginning of each round with a stitch marker or contrasting yarn. Master invisible decreases for a professional-looking finish.
Final fit-up
- Stuff the head firmly before continuing past Round 6, as instructed, since access narrows once the neck decreases begin.
- Continue stuffing the body and tail in stages as each part closes, packing corners before the opening gets too small to reach.
- Cinch the final round of the tail and body closed, pulling the tail end through and securing with a few tight stitches.
- Weave in all ends, then apply a small amount of blush to the cheeks if adding the rosy-cheek detail.
How the parts fit
- The head increases every round from Round 1 to Round 4 (8, 16, 24, 30 stitches), a steady doubling-then-slowing pattern that produces a domed rather than pointed skull.
- The neck alternates decrease rounds with plain rounds (Round 9 decrease, Round 10 plain, Round 11-12 decrease, Round 13 plain), spreading the taper from 30 to 18 stitches over five rounds instead of pinching it in one step.
- The body's increase rounds (14-15) mirror the head's early increases, both landing back at 30 stitches, so the body picks up the same diameter the head started with before the bobble-stitch arms are placed on Round 16.
Scaling the build
| Small (5 inches) | Yarn: Premier Parfait Chunky. Hook size: 4.5mm. Safety eyes: 14mm. |
|---|---|
| Medium (6 inches) | Yarn: Sweet Snuggles Lite. Hook size: 5mm. Safety eyes: 18mm. |
| Jumbo (9 inches) | Yarn: Premier Parfait XL. Hook size: 10mm. Safety eyes: 30mm. |
| Custom sizing | Feel free to experiment with any yarn and hook combination, but keep in mind that your finished dinosaur's size and proportions may vary accordingly. |
03 · Putting it togetherHow the pieces go together
- S1
Add personality to your dinosaur with these optional details:
- S2
Rosy cheeks: Apply a small amount of blush to the cheeks for extra cuteness
- S3
Color variations: Experiment with different color combinations for unique dinosaurs
- S4
Expression: Adjust eye placement slightly to create different expressions
04 · Snag listWhat went wrong on the bench, and the fix
Snag 1
Gaps between stitches
Crochet more tightly or use a smaller hook.
Snag 2
Misaligned bobbles
Adjust placement based on your tension.
Snag 3
Tail losing shape
Ensure adequate stuffing throughout.
Snag 4
Uneven spikes
Practice consistency with your stitch tension.
05 · QueriesQuestions logged against this build
Do I need to sew any parts together?
No. The head, neck, body, and tail are worked as one continuous piece, which is the point of a no-sew design. The only attachments are the safety eyes, the spikes worked along the back, and optional blush.
When do I attach the safety eyes?
Between Rounds 7-8, spaced 6-7 stitches apart and aligned with where the bobble-stitch arms will sit. Attach them before stuffing the head fully and moving on to the neck shaping.
06 · Made byWho counted this one

Who writes Amigurumi Addict, how a build gets its number, and why every round on the site carries a stitch count.
07 · Next off the benchThree builds that sit near this one

Animals
Crochet a bunny or frog from one amigurumi base
How do you crochet a bunny and a frog from one base? Share Legs, Body, and Head; swap ears or eyes.

Animals
Crochet giraffe amigurumi pattern with horns and ears
How do you crochet a giraffe amigurumi? Shape head, body, legs, ears and horns in worsted yarn.

Animals
Amigurumi cat crochet pattern with oval muzzle and bow
How do you crochet an amigurumi cat with a flat muzzle? Shape it separately, pinch it, then sew it on.
Join the build log
One message when a build is issued
A drawing and its parts list, when one leaves the bench.