| Shelf | Level | Time | Hook | Yarn |
|---|---|---|---|---|
| Mini and keychains | Intermediate | 4-6 hours | 3 mm | Worsted |
How to crochet an embroidered heart amigurumi
How do you crochet a heart amigurumi? Two sc pieces joined, stuffed, then embroidered on top.
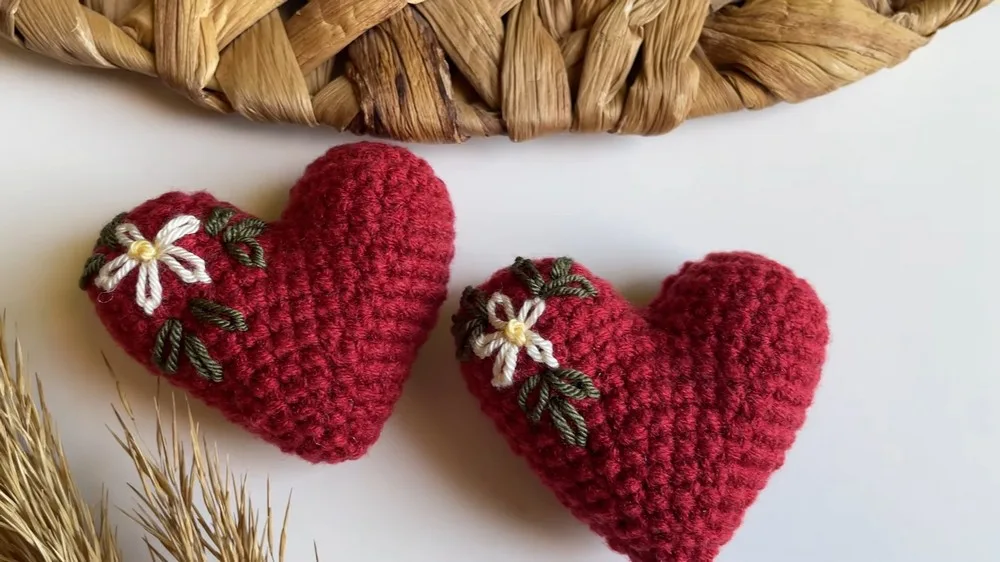
01 · The pieceWhat How to crochet an embroidered heart amigurumi actually is
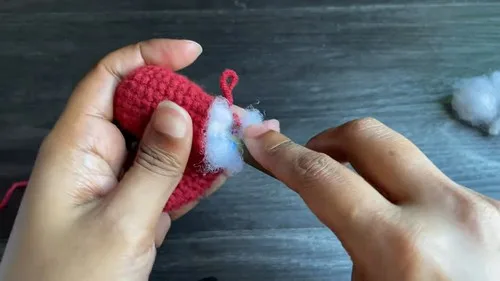
The heart is built from two identical disks, each started on a magic ring and increased outward in single crochet until it holds 18 stitches around. The two disks are then set face to face and joined with a single crochet seam that runs the full circumference, producing a 36-stitch join round. Stuffing goes in through the gap before the seam closes, so the piece is a pillow-style construction rather than a single continuous shell.
Stitch count matters at every increase round — miss the 2-sc placement in Round 2 or the 1-sc/2-sc alternation in Round 3 and the two disks will not match, which shows immediately at the join. Tension in the body rounds is more forgiving: milk cotton has enough give that a slightly loose or tight single crochet will not distort the finished shape once it is stuffed and joined.
02 · The count run15 rounds across 1 part, each with its count
US terms throughout. Every row below ends with the count that round finishes on.
| Part | Qty | Finishes on |
|---|---|---|
| Main Pattern | 1 | - |
Pattern Overview — Step by step: Start with a Magic Ring. Wrap yarn around your finger to create a cross. Insert hook under the first loop, grab the second loop and pull it through. Work a chain one to secure the magic ring.
| Round | Instruction | Count |
|---|---|---|
| Round 1 | Work 6 single crochets (sc) into the ring. Pull the strand tight to close the magic ring.Join with a slip stitch (sl st) to the first sc. | - |
| Round 2 | (Increase Round): Chain 1. Work 2 sc into each stitch around. Total of 12 sc. Join with a sl st. | - |
| Round 3 | In Round 3: Chain 1. 1 sc in the first stitch, 2 sc in the next stitch; repeat - around. Total of 18 sc. Join with a sl st. | - |
| Round 4-5 | (No Increase): Chain 1. Work 1 sc in each stitch around. Total of 18 sc for each round.Join each round with a sl st. | - |
| Round 6 | (Join Pieces): Hold both pieces together. Insert hook into a chain space of the next piece and work a sc to join them. Work 1 sc in each stitch around the first piece (18 sc). Continue with 1 sc in each stitch around the second piece (18 sc). Total of 36 sc. Join with a sl st. | - |
| Round 7 | Chain 1. Work 1 sc in each stitch around (36 sc). Join with a sl st. | - |
| Round 8 | (Decrease Starts): Chain 1. Work 1 sc in each of the next 4 stitches. Perform an invisible decrease over the next 2 stitches.1 sc in the next 4 stitches, then decrease; repeat - around. | - |
| Round 9 | For Round 9: Chain 1. Work 1 sc in each stitch around (30 sc). Join with a sl st. | - |
| Round 10 | (Decrease Continues): Chain 1. 1 sc in the next 3 stitches, then perform a decrease; repeat - around.Total of 24 sc. | - |
| Round 11 | Chain 1. Work 1 sc in each stitch around (24 sc). Join with a sl st. | - |
| Round 12 | In Round 12 (More Decrease): Chain 1. 1 sc in the next 2 stitches, then decrease; repeat - around. Total of 18 sc. Join with a sl st. | - |
| Round 13 | Chain 1. Work 1 sc in each stitch around (18 sc). Add stuffing before closing. Join with a sl st. | - |
| Round 14 | (Closing Starts): Chain 1. 1 sc, then a decrease over the next 2 stitches; repeat - around.Total of 12 sc. | - |
| Round 15 | For Round 15: Chain 1. Work 1 sc in each stitch around (12 sc). Join with a sl st. | - |
| Final Round | Work decreases across all stitches until you have 6 sc left. Finish off, leaving a long tail. | - |
Techniques on this build
- Magic ring start
- Opens Round 1 of each disk. Pull the tail firm before working into it — a loose ring leaves a hole at the center of the finished heart.
- Standard increase round
- Round 2 works 2 sc into every stitch to reach 12 sc. Keep increases even or the disk will cup instead of lying flat.
- Alternating increase round
- Round 3 shifts to 1 sc, 2 sc repeated around. Track the pattern stitch by stitch — this is where miscounts first appear.
- Joining two pieces with sc
- Round 6 joins the disks stitch-for-stitch through both chain spaces at once. Matching stitch for stitch keeps the seam from twisting the heart out of shape.
Final fit-up
- Weave in the magic ring tail from each disk before assembly, working it through the base stitches so it will not show once the pieces are joined.
- Stuff the heart before the join round closes completely — pack firmly into the point and both lobes, since access disappears once the seam is finished.
- Close the join round with a slip stitch to the first sc of the seam, matching the total of 36 sc evenly around the edge.
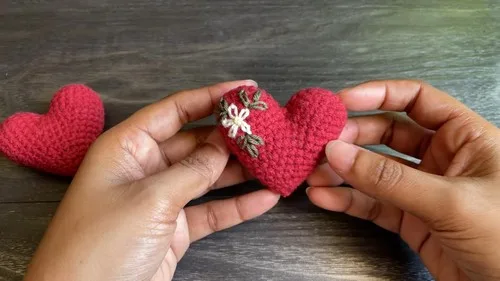
- Attach the embroidered heart detail to the right side with a single strand of yarn, working over the surface after the piece is fully assembled and stuffed. Detail the heart with embroidery for added personality, such as a lazy daisy flower, leaves, and a French knot for added decoration.
How the parts fit
- Round 1 opens on a 6-sc magic ring, giving each disk a small, dense center that resists gapping once stuffed.
- Round 2 doubles every stitch to 12 sc, while Round 3 slows the rate by alternating 1 sc and 2 sc — a standard taper that keeps the disk flat instead of cupping into a bowl.
- The two 18-sc disks are joined stitch-for-stitch rather than seamed from the outside, which is why the combined join round totals 36 sc — the count is simply double the single-disk total.
Scaling the build
| Smaller | Use a finer yarn with a hook smaller than 3 mm; stitches tighten and the same 9 rounds yield a more compact heart. |
|---|---|
| Rounder profile | Repeat an increase round such as Round 3 an extra time before moving to even rounds; this adds circumference to each disk without altering the stitch pattern already established. |
03 · Putting it togetherHow the pieces go together
- S1
Use the yarn tail to sew through the front loops of the remaining 6 stitches.
- S2
Pull tight to close the hole and secure the end.
04 · Snag listWhat went wrong on the bench, and the fix
Snag 1
Magic ring left loose
Pull the tail until the center hole fully closes before working Round 1. A loose ring leaves a visible gap at the back of the finished heart.
Snag 2
Increase round miscounted
Count stitches at the end of Round 2 and Round 3 before continuing. A count off by even one stitch will make the two disks mismatched at the join.
Snag 3
Disks joined out of alignment
Line up the starting stitch of both disks before working the join round. Joining off by a stitch or two twists the seam and skews the heart's point.
Snag 4
Stuffing added too late
Stuff before the join round is fully closed, working stuffing into both lobes and the point first. Once the seam is complete, access is limited.
05 · QueriesQuestions logged against this build
Why are there two separate disks instead of one continuous piece?
Each disk is worked flat in the round to 18 sc, then the pair is joined with a sc seam so stuffing can be placed between them before closing. This pillow-style build is what gives the heart its dimension.
When should the embroidered heart detail be added?
Work it after the piece is fully assembled, stuffed, and the join round is closed. Embroidering onto the finished, stuffed surface keeps the detail sitting flat rather than distorting under later handling.
What happens if the two disks end up with different stitch counts?
The join round depends on both disks matching at 18 sc each for a clean 36-sc seam. A mismatch will show as puckering or a twisted seam line once the pieces are joined.
06 · Made byWho counted this one

Who writes Amigurumi Addict, how a build gets its number, and why every round on the site carries a stitch count.
07 · Next off the benchThree builds that sit near this one
Mini and keychains
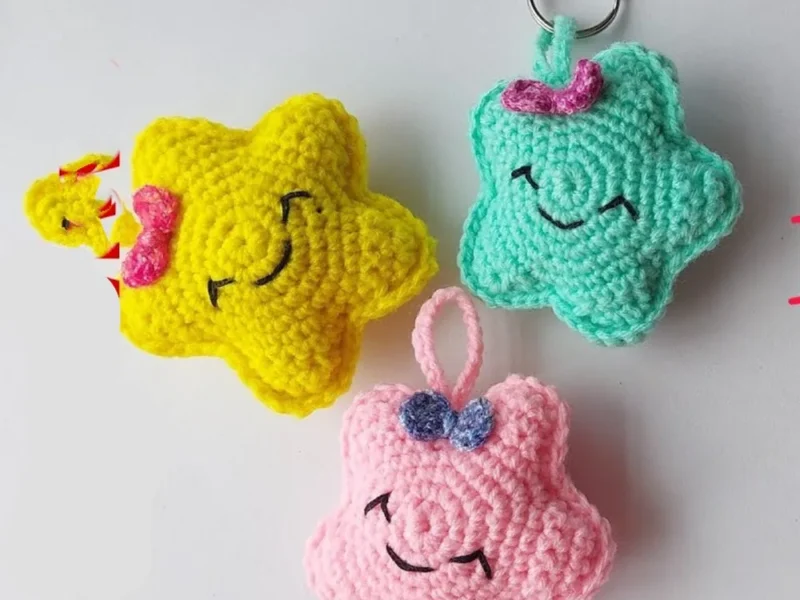
Star amigurumi keychain: a beginner’s build
How do you crochet a star amigurumi keychain? Crochet a five-pointed star from two pieces, sew and stuff them, add a

Mini and keychains
Crochet lips keychain: a two-piece amigurumi build
How do you crochet a lips keychain? Two lip pieces stuffed, closed, and seamed for a quick amigurumi gift.
Mini and keychains
How to crochet a chick keychain amigurumi
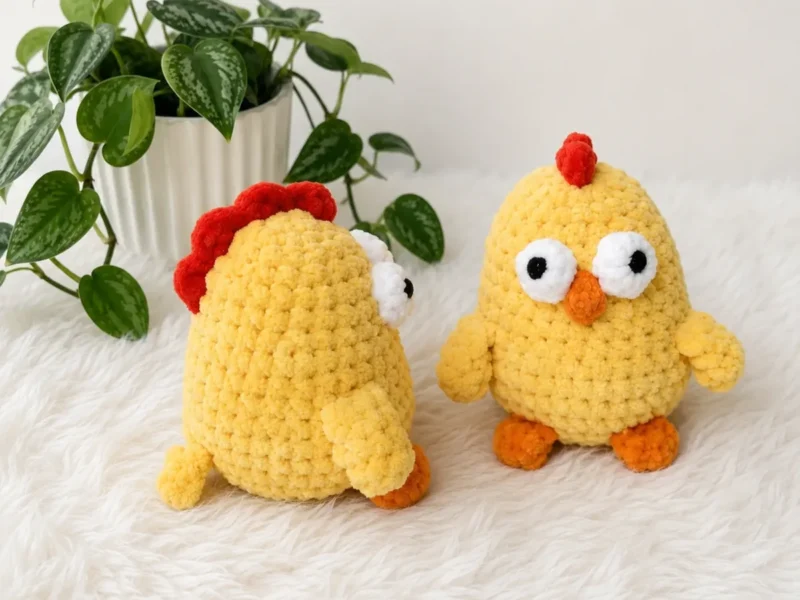
How do you crochet a chick keychain? Shape the body-head, fold the legs flat, then attach eyes and beak.
Join the build log
One message when a build is issued
A drawing and its parts list, when one leaves the bench.