| Shelf | Level | Time | Hook | Yarn |
|---|---|---|---|---|
| Sea friends | Intermediate | 4-6 Hours | 14 mm | Worsted |
Crochet Dolphin Amigurumi Pattern: Sweet Velvet Sea Buddy
Crochet an adorable velvet-yarn dolphin amigurumi with sculpted eyes, fins, and a curved tail. A cozy written pattern perfect for gifting or collecting.
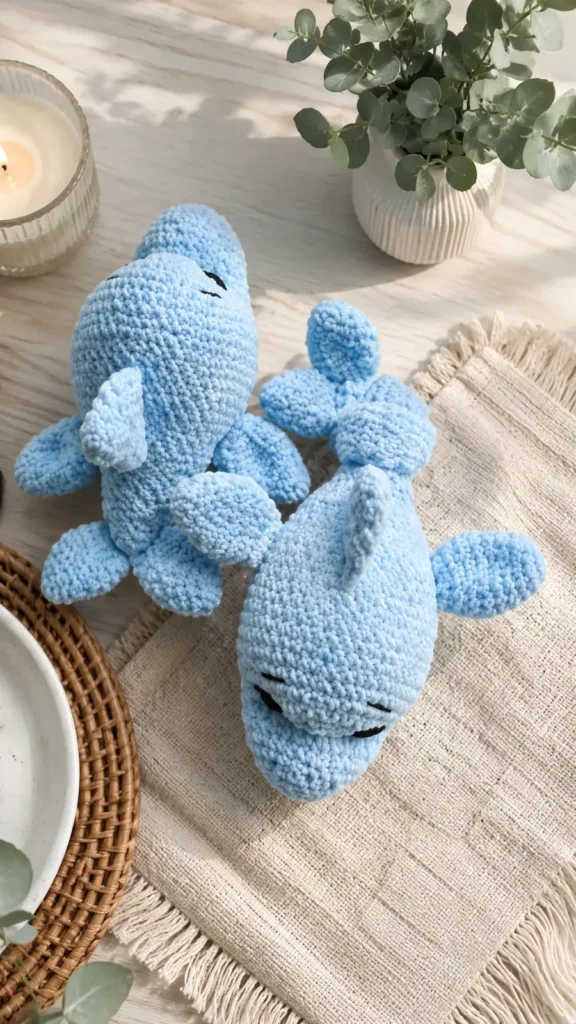
01 · The pieceWhat Crochet Dolphin Amigurumi Pattern: Sweet Velvet Sea Buddy actually is
This pattern turns a few skeins of plush velvet yarn into the most huggable little dolphin you've ever seen. With its glossy light blue body, gently sculpted snout, and tiny fins, this amigurumi captures that friendly, curious dolphin expression perfectly. It's an ideal make for anyone who loves ocean-themed nursery decor, ocean lovers on your gift list, or crocheters who just want to try something a little different from the usual bear-shaped amigurumi.
You'll work the body in one continuous spiral of single crochet, then use a bit of embroidery-style face sculpting to shape the eye area and give the dolphin its signature soulful gaze. There's also a fun structural technique in the Body Option 2 variation, where half double crochet rounds are left unstuffed so you can tie the tail into an actual knot. Expect a solidly intermediate project — nothing overly tricky, but the shaping and finishing steps reward some amigurumi experience. Budget around 4 to 6 hours total, spread across a relaxed evening or two.
When it's finished, you'll have a soft, rounded dolphin sized perfectly for little hands or a shelf display, with a velvety texture that feels irresistibly touchable. The safety eyes and black eyebrow details give it real personality, while the side fins, top fin, and tail fins add just enough dimension to read instantly as 'dolphin' rather than a generic blob. It makes a lovely handmade gift for a baby shower, a beach-loving friend, or simply as a treat for your own crochet basket.
- Start the head and body as one continuous piece, working single crochet in a spiral from a magic ring.
- Increase steadily through the early rounds to shape the rounded head before the body begins to taper.
- Insert the safety eyes around round 10, spacing them evenly for a friendly, forward-facing expression.
- Stuff firmly as you go, paying special attention to keeping the snout tightly packed and nicely rounded.
- Choose your body finish: fully stuffed for the classic look, or leave the later hdc rounds unstuffed to tie a knotted tail.
- Sculpt the face by stitching between the eyes to add subtle depth and personality before closing up the opening.
- Crochet the two tail fins, two side fins, and single top fin separately, then set them aside for attaching.
- Add the small crocheted lip, embroider the black eyebrows and eyelashes, then sew all the pieces onto the body to finish.
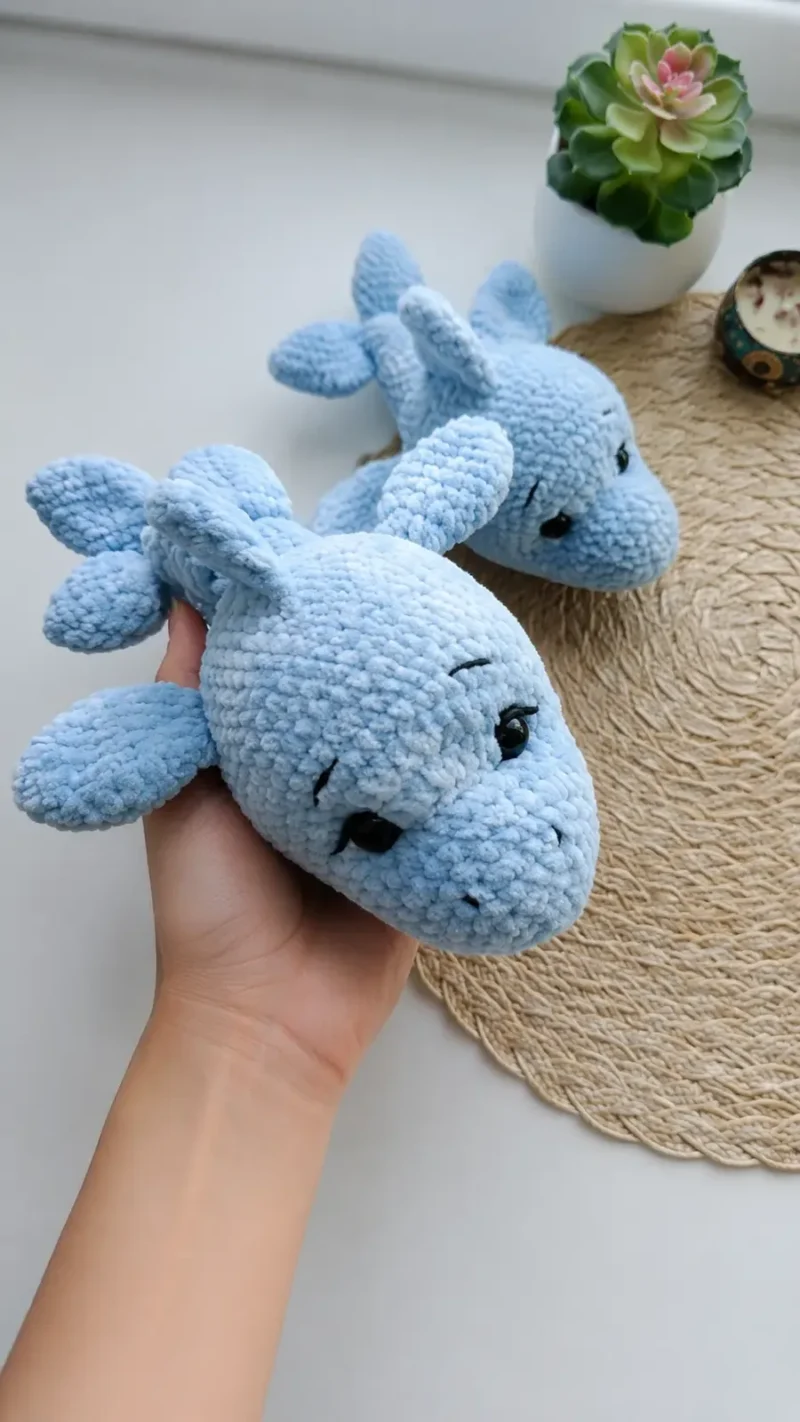
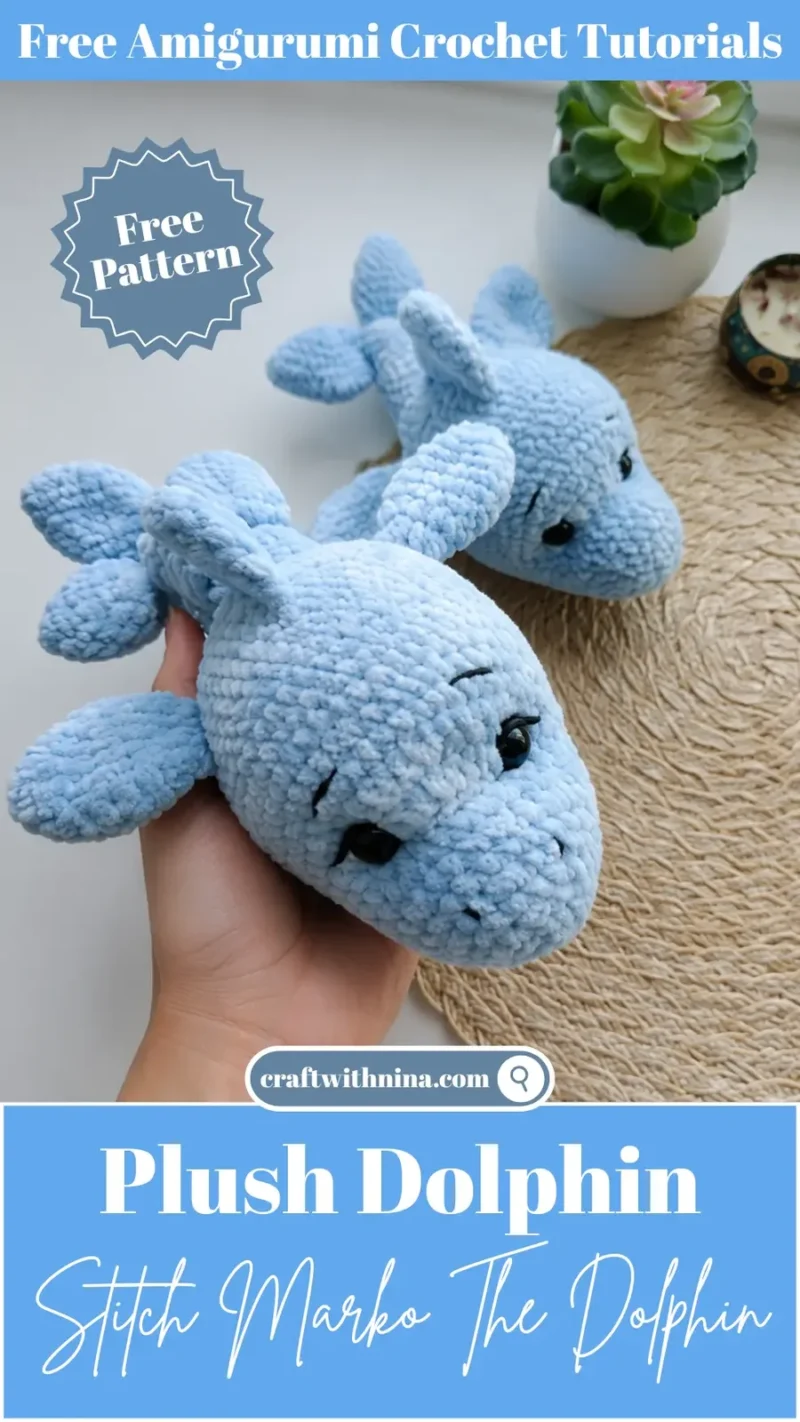
02 · The count run57 rounds across 6 parts, each with its count
US terms throughout. Every row below ends with the count that round finishes on.
| Part | Qty | Finishes on |
|---|---|---|
| Head and Body Option 1 | 1 | - |
| Body Option 2 (Knot) | 1 | - |
| Lip | 1 | - |
| Tail Fins | 2 | - |
| Side Fins | 2 | - |
| Top Fin | 1 | - |
Insert safety eyes in round 10 between the increase and the half double crochet, at a distance of 8 stitches.
Stuff the toy as you go. Stuff the nose tightly and try to keep the shape rounded.
Close opening after Round 39. Fasten off and hide yarn end.
| Round | Instruction | Count |
|---|---|---|
| Round 1 | 6 sc in MR. (6) | - |
| Round 2 | 6 inc. (12) | - |
| Round 3 | (1 sc, inc) x 6. (18) | - |
| Round 4 | 18 sc. | - |
| Round 5 | 1 sc, inc, (2 sc, inc) x 5, 1 sc. (24) | - |
| Round 6 | 24 sc. | - |
| Round 7 | (3 sc, inc) x 6. (30) | - |
| Round 8-9 | 2 rounds of 30 sc. | - |
| Round 10 | 11 sc, 1 hdc, 6 inc from hdc, 1 hdc, 11 sc. (36) | - |
| Round 11 | 11 sc, 1 hdc, (1 hdc, inc from hdc) x 6, 1 hdc, 11 sc. (42) | - |
| Round 12 | 3 sc, inc, (6 sc, inc) x 5, 3 sc. (48) | - |
| Round 13-17 | 5 rounds of 48 sc. | - |
| Round 18 | (10 sc, dec) x 4. (44) | - |
| Round 19-21 | 3 rounds of 44 sc. | - |
| Round 22 | (9 sc, dec) x 4. (40) | - |
| Round 23-24 | 2 rounds of 40 sc. | - |
| Round 25 | 8 sc, (2 sc, dec) x 6, 8 sc. (34) | - |
| Round 26 | 11 sc, (1 sc, dec) x 4, 11 sc. (30) | - |
| Round 27-28 | 2 rounds of 30 sc. | - |
| Round 29 | (3 sc, dec) x 6. (24) | - |
| Round 30 | 1 sc, dec, (2 sc, dec) x 6, 1 sc. (18) | - |
| Round 31-33 | 3 rounds of 18 sc. | - |
| Round 34 | dec, 3 sc, 5 sl st (not tight), 3 sc, dec, sc, dec. (15) | - |
| Round 35 | 15 sc. | - |
| Round 36 | dec, 4 sc, dec, 4 sc, dec, 1 sc. (12) | - |
| Round 37-38 | 2 rounds of 12 sc. | - |
| Round 39 | 6 dec. (6) | - |
Work rounds 1 to 36 without changes, same as Head and Body Option 1.
| Round | Instruction | Count |
|---|---|---|
| Round 37-56 | 20 rounds of 12 hdc. | - |
Do not stuff the hdc section, because it will be tied in a knot.
| Round | Instruction | Count |
|---|---|---|
| Round 56-57 | 2 rounds of 12 sc.Cut yarn, leaving enough to finish crocheting, and after cutting, tie a knot. Add stuffing tightly into the tail's sc section. | - |
| Round 58 | 6 dec. (6)Pull opening closed. Fasten off and cut yarn. Hide yarn end inside the toy. | - |
| Round | Instruction | Count |
|---|---|---|
| Round 1 | 6 sc in MR. (6) | - |
| Round 2 | 6 inc. (12)Fasten off yarn and, if desired, leave a long tail for sewing. | - |
We begin crocheting the fins. Do not stuff them!
Fasten off yarn and, if desired, leave a long tail for sewing.
| Round | Instruction | Count |
|---|---|---|
| Round 1 | 6 sc in MR. (6) | - |
| Round 2 | (1 sc, inc) x 3. (9) | - |
| Round 3 | (2 sc, inc) x 3. (12) | - |
| Round 4 | 12 sc. | - |
| Round 5 | (3 sc, inc) x 3. (15) | - |
| Round 6-7 | 2 rounds of 15 sc. | - |
| Round 8 | (3 sc, dec) x 3. (12) | - |
| Round 9 | (2 sc, dec) x 3. Crochet across both sides 4 sc. (9) | - |
| Round | Instruction | Count |
|---|---|---|
| Round 1 | 6 sc in MR. (6) | - |
| Round 2 | (1 sc, inc) x 3. (9) | - |
| Round 3 | (2 sc, inc) x 3. (12) | - |
| Round 4 | 12 sc. | - |
| Round 5 | (3 sc, inc) x 3. (15) | - |
| Round 6 | (4 sc, inc) x 3. (18) | - |
| Round 7 | 18 sc. | - |
| Round 8 | (4 sc, dec) x 3. (15) | - |
| Round 9 | (3 sc, dec) x 3. (12) | - |
| Round 10 | (2 sc, dec) x 3. Crochet across both sides 4 sc. (9)Fasten off yarn and, if desired, leave a long tail for sewing. | - |
Do not stuff.
Fasten off yarn and, if desired, leave a long tail for sewing.
| Round | Instruction | Count |
|---|---|---|
| Round 1 | 6 sc in MR. (6) | - |
| Round 2 | (1 sc, inc) x 3. (9) | - |
| Round 3 | 9 sc. | - |
| Round 4 | 2 inc, 5 sc, 2 inc. (13) | - |
| Round 5 | 13 sc. | - |
| Round 6 | 3 inc, 7 sc, 3 inc. (19) | - |
| Round 7 | 19 sc. Across both sides crochet 9 sc. | - |
03 · Putting it togetherHow the pieces go together
- S1
Insert needle in round 9 in the middle and bring needle out at the outer corner of eye (A), insert into inner corner (B), then bring out at inner corner of second eye (C), bring out at outer corner (D), and bring out at the same point where sculpting started (A1). Gently pull tight, tie 3 knots. Cut yarn and hide inside toy. A1-A-B-C-D-A1.
- S2
Insert needle in middle of round 9 and bring out at inner side of first eye (B), insert above inner corner of same eye (B1), then bring out above inner corner of second eye (C1), insert at inner corner (C), and bring out at same point where sculpting started (A1). Gently pull tight, tie 3 knots. Cut yarn and hide inside toy. A1-B-B1-C1-C-A1.
- S3
Insert needle in middle of round 9 and bring out at inner side of first eye (B), insert at inner corner (C), and bring out at same point where sculpting started (A1), 1 stitch over. Gently pull tight, tie 3 knots. Cut yarn and hide inside toy. A1-B-C-A1.
- S4
Sew tail fins onto the end of the tail. Sew edges of fins together above the tail.
- S5
Sew top fin in the middle between rounds 20 and 30.
- S6
Sew side fins between rounds 22 and 28, approximately 8 stitches away from top fin.
- S7
In the place where the 3rd sculpting point was made, sew the lip, hiding the sculpting.
- S8
Embroider white eye reflections, eyebrows, and eyelashes.
04 · Before it goes to a childWhat has to be right, and what is allowed to drift
- Use a stitch marker religiously on every single round — velvet yarn like LaVita Velur is gorgeous but notoriously hard to count stitches in, so a missed increase can throw off the whole head shape.
- When inserting the 14mm safety eyes in round 10, double-check the 8-stitch distance between them before pushing the posts through, since velvet yarn doesn't easily un-poke once secured.
- Melt the safety eye backings with a lighter only in a well-ventilated area, holding the flame briefly and at a safe distance to avoid scorching the plastic or the surrounding yarn.
- Stuff as you go rather than waiting until the end — it's much easier to shape the rounded snout and body gradually than to force stuffing into a nearly finished piece.
- If making Body Option 2, remember the hdc rounds must stay unstuffed on purpose; this is what allows the tail to be tied into a soft, secure knot at the end.
- Keep your tension relaxed specifically on round 34's slip stitches, since tight slip stitches here are the most common cause of a puckered, uneven tail seam.
- Count stitches every round: velvet yarn hides stitches easily, so keeping track with a stitch marker prevents missed stitches.
- Stuff the snout firmly: taking extra time to shape the nose while stuffing ensures the dolphin maintains its rounded profile.
- Use lighter heat carefully: melt safety eye backings with a lighter only in a well-ventilated space to prevent them from slipping.
- Keep sl sts loose: when working slip stitches on round 34, stitch loosely so the tail does not pucker or pull out of shape.
- Use semi-cotton yarn for assembly: sewing pieces on with semi-cotton yarn gives a stronger hold than plush yarn, which can snap when pulled tight.
- Take sculpting slowly: gently tug sculpting threads step by step so the facial expressions look natural and symmetrical.
- The size of the toy depends on the thickness of your yarn and hook, as well as the density of your stuffing. With firm stuffing, the yarn stretches and the toy may change in size. Therefore, pay attention so that the part takes on a beautiful desired shape.
05 · Snag listWhat went wrong on the bench, and the fix
Snag 1
Losing track of the stitch count
Place a stitch marker at the start of every round and count out loud as you go, especially through the increase-heavy early rounds.
Snag 2
Placing the safety eyes too early
Wait until round 10 as instructed, and test the eye placement with removable stitch markers before pushing the safety eye posts through.
Snag 3
Under-stuffing the snout area, leaving
Stuff the nose section firmly and pause to reshape it with your fingers as you continue crocheting, checking the profile from the side.
Snag 4
Stuffing the hdc section of Body Option
Leave the half double crochet rounds completely unstuffed if you're making the knotted tail variation — the knot needs that flexibility.
Snag 5
Working slip stitches too tightly
Consciously loosen your tension on that slip stitch round, or size up slightly on that section only, so the tail lies smooth.
Snag 6
Rushing the face sculpting steps
Follow the A-B-C-D anchor points slowly, checking symmetry after each pull before tying off, and adjust before you knot permanently.
06 · VariantsOther ways to issue this one
This dolphin is endlessly customizable once you get comfortable with the base shape. Swap the light blue main color for a soft gray or lavender velvet yarn for a completely different mood, or go bold with a coral or seafoam green body paired with white fins for a tropical look. If you want a baby-safe or beginner-friendly version, embroider the eyes with black yarn instead of using safety eyes, and skip the lighter-sealed backings altogether. For texture play, try working the head and body in a smooth worsted-weight cotton instead of plush velvet yarn — you'll lose some of that soft glow but gain great stitch definition, which is nice if you want the increases and decreases to show as a subtle spiral pattern. Size-wise, going up to a 4.0mm or 4.5mm hook with the same yarn will give you a noticeably bigger, squishier dolphin, perfect as a floor pillow-style toy, while dropping to a 3.0mm hook with thinner yarn creates an adorable mini version for keychains or ornament-style decor. Consider making a pod of dolphins in graduating sizes using this hook trick — they display beautifully together on a shelf. The knotted tail (Body Option 2) is a fun one to experiment with too: try tying it in a loose loop instead of a tight knot for a more playful, mid-leap pose. You could also personalize the eyebrows and eyelashes in a contrasting color like navy or deep teal instead of black for a softer, more whimsical face. Finally, consider adding a small crocheted or ribbon bow near the top fin for an easy gift-ready touch.
I adore this dolphin because it proves you don't need a complicated pattern to make something that feels genuinely alive. The plush velvet yarn does so much of the visual work — that light blue color just glows once it's stuffed and rounded out. What I find most satisfying is the face sculpting step, where a few careful needle passes between the eyes transform a plain round head into an expressive little dolphin face with real depth and character. I also love that this pattern gives you a choice: crochet the classic stuffed body, or try the knotted tail variation, where you leave a section of half double crochet unstuffed specifically so you can tie it. It's such a clever, satisfying trick and makes for a completely different silhouette from the same base pattern. Add in the tiny eyebrows and eyelashes worked in black yarn, and you get a dolphin with more personality than amigurumi twice its complexity. It's a quick enough project to finish in a weekend but detailed enough to feel like a real accomplishment.
07 · QueriesQuestions logged against this build
What hook size works best for plush dolphin amigurumi?
A 3.5 mm hook creates tight, even stitches that prevent stuffing from showing through plush velvet yarn.
Can I use acrylic yarn instead of plush yarn?
Yes, you can substitute acrylic or cotton yarn, but the finished dolphin will turn out smaller.
Do the fins need to be stuffed?
No, the fins are designed to lay flat and hold their shape naturally without fiberfill stuffing.
Why does option 2 have an unstuffed section?
Option 2 uses half double crochet stitches along the body so that part of the tail can be tied into a decorative knot.
How do I secure safety eyes safely for children?
Melt the plastic post behind the safety eye washer using a lighter, then flatten it with the lighter's edge to lock it in place.
Original pattern: https://craftwithnina.com/easy-dolphin-amigurumi-free-crochet-pattern/
08 · Made byWho counted this one

Who writes Amigurumi Addict, how a build gets its number, and why every round on the site carries a stitch count.
09 · Next off the benchThree builds that sit near this one
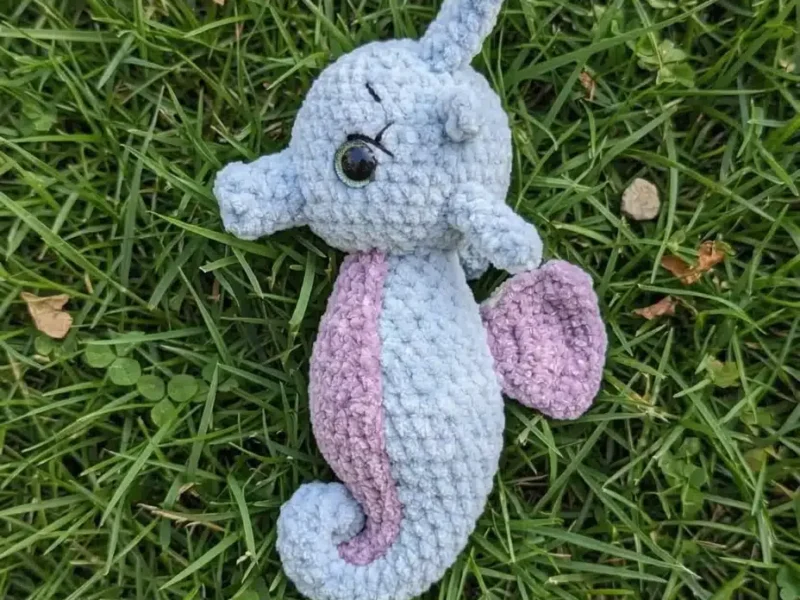
Sea friends
How to crochet a baby seahorse amigurumi
How do you crochet a baby seahorse amigurumi? Build the Body and Head, Nose, six Horns, Belly, and two Wings, then sew
Sea friends
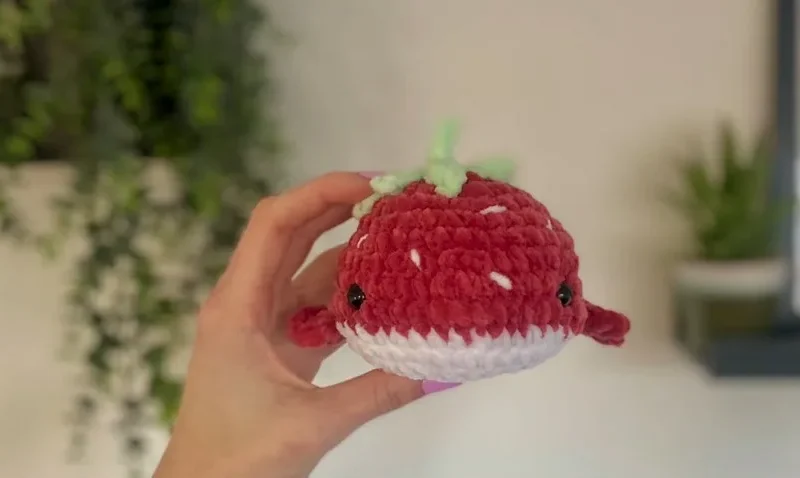
Crochet a strawberry whale plushie with leaf crown
How do you crochet a strawberry whale? Build a red sc body, add fins, tail, and a leaf-and-stem crown.
Sea friends
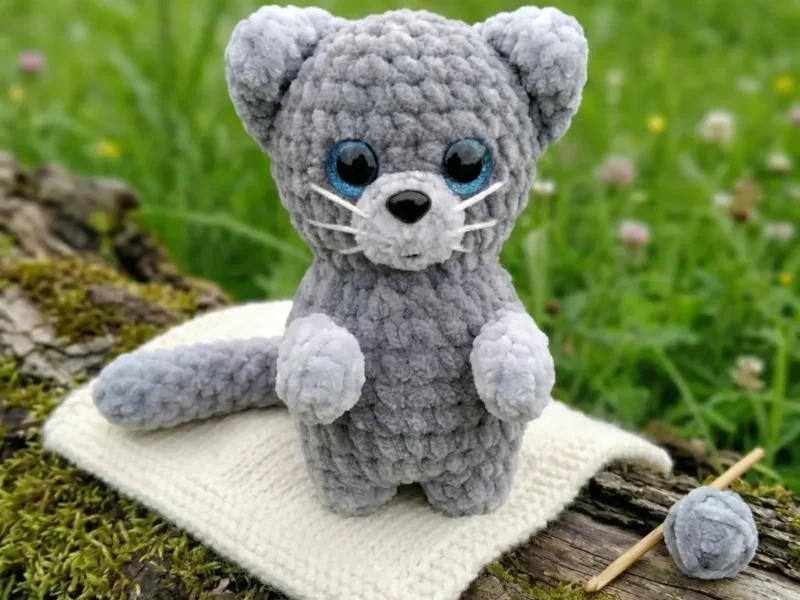
Little Kitty Amigurumi Crochet Pattern (Free & Beginner-Friendly)
Crochet an adorable Little Kitty amigurumi with this free pattern featuring continuous body-to-head construction and two cute ear options. Just 12-13 cm ta
Join the build log
One message when a build is issued
A drawing and its parts list, when one leaves the bench.