| Shelf | Level | Time | Yarn |
|---|---|---|---|
| Mini and keychains | Intermediate | 4-6 Hours | Worsted |
Crochet Bee Keychain: A Sweet Amigurumi Pattern
Make a plump little crochet bee keychain with magic ring eyes and a simple oval body—an easy amigurumi pattern for bags, keys, and gifting.
01 · The pieceWhat Crochet Bee Keychain: A Sweet Amigurumi Pattern actually is
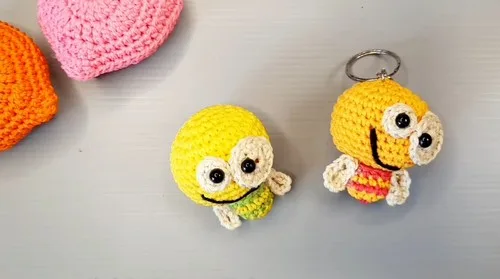
This crochet bee keychain is one of those small projects that punches way above its weight — a plump little oval body worked up in cheerful yellow and black, finished with a pair of round eyes that give it real personality. It's the kind of make that turns heads on a backpack zipper or set of keys, and it comes together quickly enough to whip up as a last-minute gift. If you love amigurumi but don't always have a weekend to spare, this bee is exactly the quick, satisfying project you've been looking for.
The pattern leans on a handful of core amigurumi techniques: working a flat oval base from a starting chain, single crochet increases to shape rounds, and magic rings to build the large and small eyes cleanly with no visible hole at the center. It's rated intermediate mainly because of the shaping and finishing steps, but if you've made even one amigurumi before, you'll find the pace comfortable. Expect to spend somewhere in the four-to-six-hour range, including assembly — easily splittable into a couple of relaxed evenings.
When it's done, you'll have a compact, huggable little bee with a rounded body and expressive eyes, sized just right for a keychain or bag charm. It has that irresistible amigurumi squish and a face that somehow looks happy from every angle. Because it stitches up fast and uses just a small amount of yarn, it's a wonderful gift for teachers, coworkers, kids, or anyone who could use a little handmade cheer clipped to their bag.
- Chain a short foundation and work single crochets around it to form a small oval-shaped base for the body.
- Build up the body across a few rounds, shaping the ends so it reads as a plump, rounded little form.
- Set the body aside and start the large eye with a magic ring, working single crochets into it.
- Increase evenly around the large eye's first round to double the stitch count and widen the circle.
- Close the large eye with a slip stitch, then repeat a similar magic ring start for the smaller eye.
- Finish off each piece, leaving generous yarn tails for sewing everything together later.
- Stuff the body gently but securely so it holds a firm, huggable shape once assembled.
- Sew the large and small eyes onto the face and attach any hardware to complete the keychain.
02 · The count run16 rounds across 4 parts, each with its count
US terms throughout. Every row below ends with the count that round finishes on.
| Part | Qty | Finishes on |
|---|---|---|
| Head Pattern | 1 | (16) |
| Body Pattern | 1 | (12) |
| Wing Pattern | 1 | (9) |
| Eye Pattern | 1 | (8) |
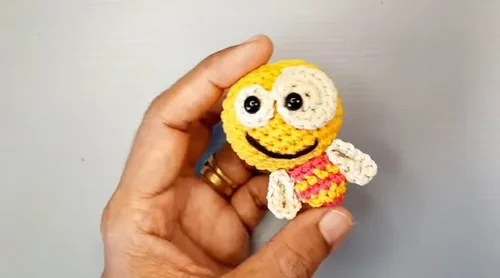
The final product can be used as a keychain, bag charm, or even a fun little gift for a friend. With its colorful yellow and pink body, sweet wings, and tiny eyes, it’s sure to catch everyone’s attention. Plus, the customizable nature of the design allows you to experiment with different yarn colors, making this pattern perfect for personalizing your creations.
| Round | Instruction | Count |
|---|---|---|
| Round 1 | Start with a magic ring and make 8 single crochets (SC) inside it. | (8) |
| Round 2 | Increase in each stitch for a total of 16 SC. | (16) |
| Round 3 | Repeat the pattern of 1 SC followed by an increase, for a total of 24 SC. | (24) |
| Round 4 | Repeat the pattern of 2 SC followed by an increase, for a total of 32 SC. | (32) |
| Round 5-10 | Create six rounds of single crochet stitches around the piece. | (32) |
| Round 11 | Begin decreasing by repeating the pattern of 2 SC followed by a decrease, for a total of 24 SC. | (24) |
| Round 12 | Repeat the pattern of 1 SC followed by a decrease, for a total of 16 SC.Closing Close the head by doing eight decrease stitches in a row. | (16) |
Stuffing Stuff the head with cotton or dakron.
| Round | Instruction | Count |
|---|---|---|
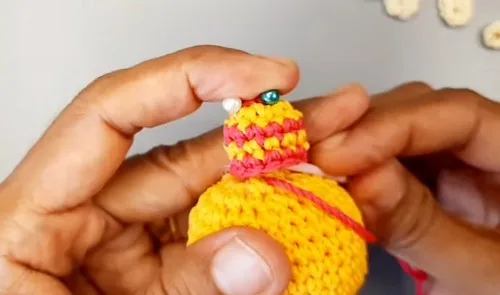
| Round 1 | Start with a magic ring and make 6 SC inside it. Switch to yellow yarn on the last SC of the magic ring. | (6) |
| Round 2 | Increase in each stitch for a total of 12 SC, and change to pink yarn on the last stitch. | (12) |
| Round 3 | Make 12 SC all around, and change back to yellow yarn on the last stitch. | (12) |
| Round 4 | Make 12 SC all around, and change back to pink yarn on the last stitch. | (12) |
| Round 5 | Make 12 SC all around.Finishing Finish the body by skipping a stitch and making a slip stitch to end. | (12) |
| Round | Instruction | Count |
|---|---|---|
| Row 1 | Create a starting chain of 3 stitches, plus one more. In the third chain from the hook, make 4 SC. Make 1 SC in the next chain. In the last chain, make 4 SC. | (9) |
| Row 2 | Continue on the opposite side, making 1 SC.Closing Finish by making a slip stitch to the first SC and cut the yarn. | - |
| Round | Instruction | Count |
|---|---|---|
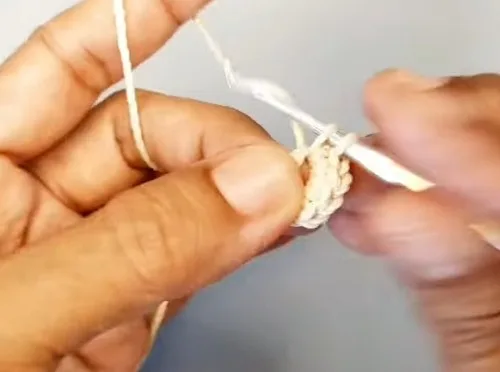
| Large Eye | Start with a magic ring and make 8 SC inside it. Increase in each stitch for a total of 16 SC. Finish with a slip stitch. | (16) |
| Small Eye | Start with a magic ring and make 8 SC inside it. Finish with a slip stitch. | (8) |
03 · Putting it togetherHow the pieces go together
- S1
Stitch the head and body together using pins.
- S2
Attach the wings to the back with hot glue.
- S3
Attach the small eye on top of the large eye with hot glue.
- S4
Attach the plastic doll eyes and embroider a mouth with black thread.
04 · Before it goes to a childWhat has to be right, and what is allowed to drift
- 💡 Use a hook one size smaller than the yarn label suggests for a nice tight amigurumi fabric that won't let stuffing peek through.
- 💡 Keep a stitch marker on the last stitch of every round in the body and eye pieces — it's easy to lose your place when the rounds aren't joined.
- 💡 When making the large and small eyes, work them one right after the other and lay them side by side before attaching, so you can match sizing and placement evenly on the face.
- 💡 Stuff the body firmly but not overstuffed — you want it plump enough to hold shape as a keychain but soft enough to squeeze without straining the stitches.
- 💡 Save your longest yarn tails from the eye pieces for sewing them onto the body; this avoids extra ends to weave in later.
- 💡 Attach your keyring or clasp during assembly, not as an afterthought — stitching it into a sturdy point on the body from the start prevents it from pulling loose with daily use.
05 · Snag listWhat went wrong on the bench, and the fix
Snag 1
Losing track of which side of the oval
Place a stitch marker or scrap of yarn at the very first stitch of the chain before you start, so you always know where round one began and ends.
Snag 2
Pulling the magic ring closed
Tug each loop of the magic ring individually after your first round of single crochets, then pull the tail firmly until the center is fully closed before continuing.
Snag 3
Miscounting during the increase round
Increase in every single stitch around (2 SC in each of the 8 stitches) and count out loud or use a stitch counter to confirm you land exactly on 16 before slip stitching to close.
Snag 4
Forgetting to leave a long enough tail
Leave at least a 6-8 inch tail on every piece before cutting so you have plenty of length for stitching parts together and weaving in securely.
Snag 5
Stuffing the bee's body unevenly
Stuff in small pinches, working from the ends toward the center, and gently shape the piece with your fingers as you go to keep it rounded and even.
06 · VariantsOther ways to issue this one
The classic bee colorway is bright yellow and black, but this pattern is a fantastic canvas for creative color play. Try a bumblebee-inspired ombré using Mandala or Super Saver in gold, black, and a touch of white for the wings. For a whimsical twist, swap the traditional stripes for pastel yellow and soft gray to make a 'baby bee' version, or go with orange and brown for a cozy autumn-themed charm. If you want a girl-bee look, add a few pink or lavender stitches around the antennae area or attach a tiny bow. Sizing is easy to adjust too. For a mini version, drop down to a smaller hook (try a C/2 or D/3 with fine sport-weight yarn) and expect a keychain roughly half the size — perfect for zipper pulls on wallets or pencil cases. For a slightly larger, huggable version, size up to a J/10 hook with chunky yarn; just know the eye rounds may need an extra increase round (from 16 SC up to 24 SC) to keep proportions balanced with a bigger body. Yarn substitutions work beautifully here — cotton yarns like Lily Sugar'n Cream give the bee a crisp, structured look great for keychains that see daily handling, while acrylic worsted weight like With Love keeps things soft and squishable. For themed variations, consider a ladybug (red and black), a firefly (black with glow-in-the-dark yellow accents), or even a football-team bee using two contrasting team colors instead of the traditional yellow and black. Attach a swivel clasp or keyring instead of a simple loop for extra durability if it's headed for daily use on a bag.
I adore this bee because it's proof that a small amount of yarn and a little patience can turn into something genuinely charming. Starting the body with that simple chain-of-four base and working four SC into the third chain from the hook feels almost like a magic trick — suddenly you've got a rounded little shape instead of a flat strip. Then building the face is my favorite part: the large eye's magic ring blooming from 8 SC to 16 SC in one increase round is so satisfying to watch take shape, and pairing it with the smaller eye gives the bee that slightly goofy, endearing expression. Closing each piece with a clean slip stitch and weaving in ends feels like tucking the project into bed. Assembly is where the bee really comes alive — placing the eyes, attaching the final pieces, and watching a pile of separate parts become one adorable little keychain. It's a project I keep coming back to whenever I want a fast, cheerful win between bigger projects, and it never fails to make people smile when I hand one over.
07 · QueriesQuestions logged against this build
What yarn weight works best for this bee keychain?
A worsted weight (medium, #4) yarn gives the best balance of stitch definition and finished size for a keychain. Cotton yarns hold their shape especially well if the bee will be handled often.
Do I need to join rounds or is this worked in a continuous spiral?
The eye pieces and closing steps reference slip stitches to close, so those rounds are joined rather than spiraled. Use a stitch marker to track your round starts since there's no continuous spiral to follow visually.
How much yarn do I need to make one bee?
Because the body and both eyes are small pieces, a single small skein in each color (yellow, black, and white or light for the eyes) is more than enough for one keychain. You'll likely have leftover yarn for a second bee.
Can I make this without a keyring attachment for use as a bag charm or ornament?
Absolutely — simply skip attaching the hardware during assembly and instead sew a small yarn loop or ribbon to the top of the body. It works beautifully as a stroller toy attachment or bag charm too.
My eyes came out different sizes even though I followed the same stitch counts — what happened?
This usually comes down to tension consistency between the two pieces, especially if you took a break between making them. Try making both eyes back-to-back in one sitting and keep your grip on the yarn consistent throughout.
Original pattern: https://crocheteverything.com/crochet-bee-keychain-tutorial-perfect-amigurumi-pattern/
08 · Made byWho counted this one

Who writes Amigurumi Addict, how a build gets its number, and why every round on the site carries a stitch count.
09 · Next off the benchThree builds that sit near this one
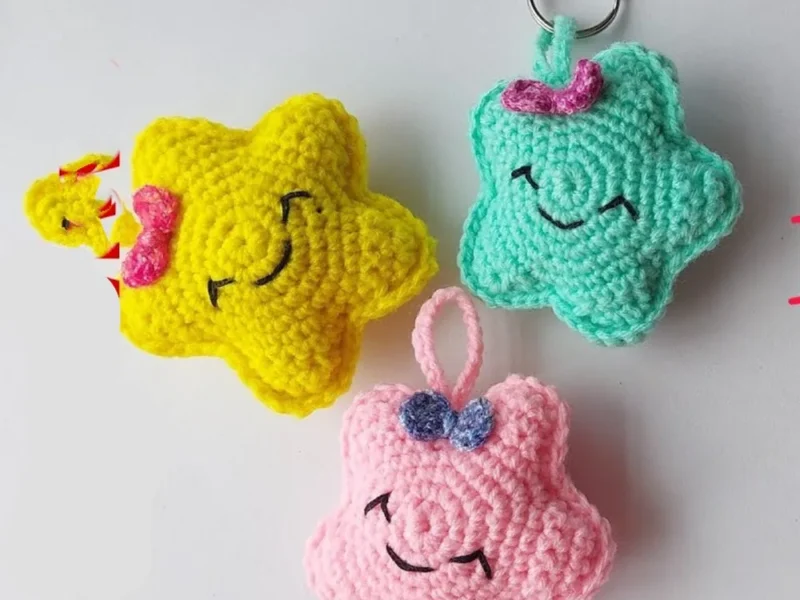
Mini and keychains
Star amigurumi keychain: a beginner’s build
How do you crochet a star amigurumi keychain? Crochet a five-pointed star from two pieces, sew and stuff them, add a
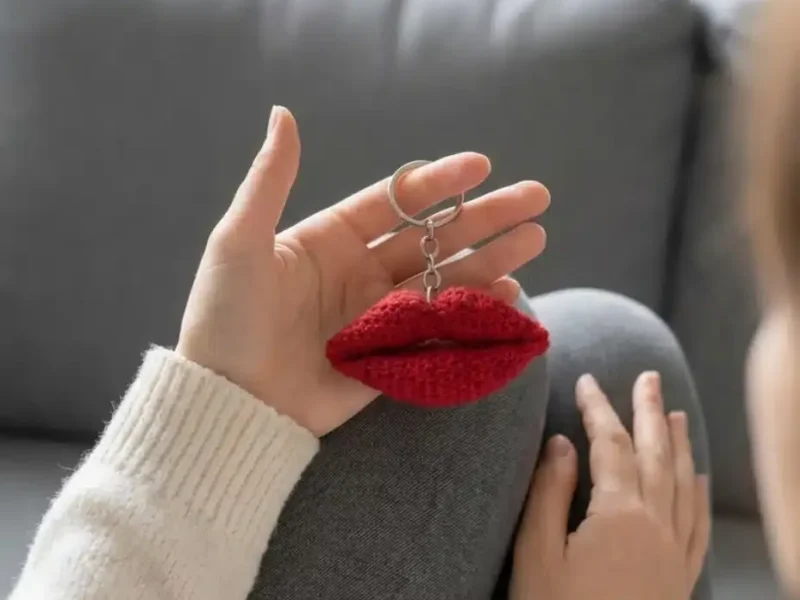
Mini and keychains
Crochet lips keychain: a two-piece amigurumi build
How do you crochet a lips keychain? Two lip pieces stuffed, closed, and seamed for a quick amigurumi gift.
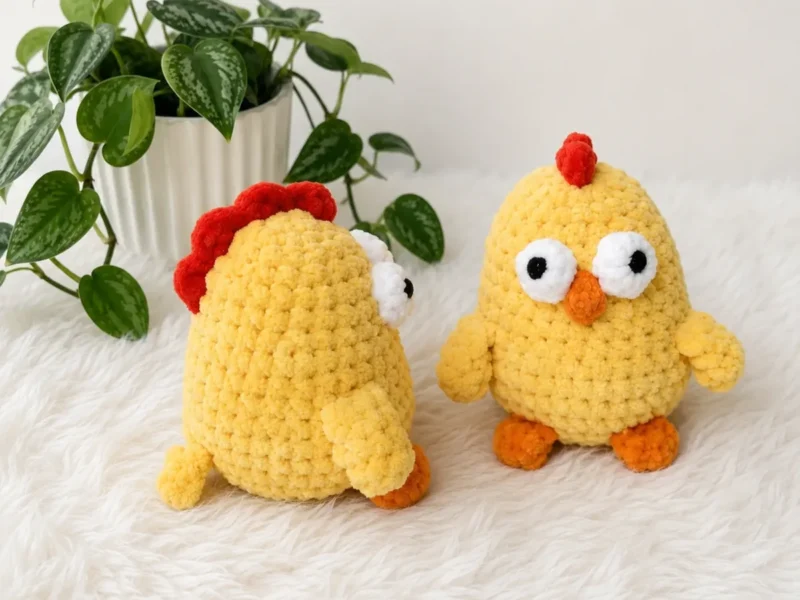
Mini and keychains
How to crochet a chick keychain amigurumi
How do you crochet a chick keychain? Shape the body-head, fold the legs flat, then attach eyes and beak.
Join the build log
One message when a build is issued
A drawing and its parts list, when one leaves the bench.