| Shelf | Level | Time | Hook | Yarn |
|---|---|---|---|---|
| Animals | Intermediate | 4-6 hours | 5 mm | Worsted |
Crocheting an amigurumi nature cow, step by step
How do you crochet an amigurumi cow? Build the head, body, horns, ears, and nose in continuous rounds.
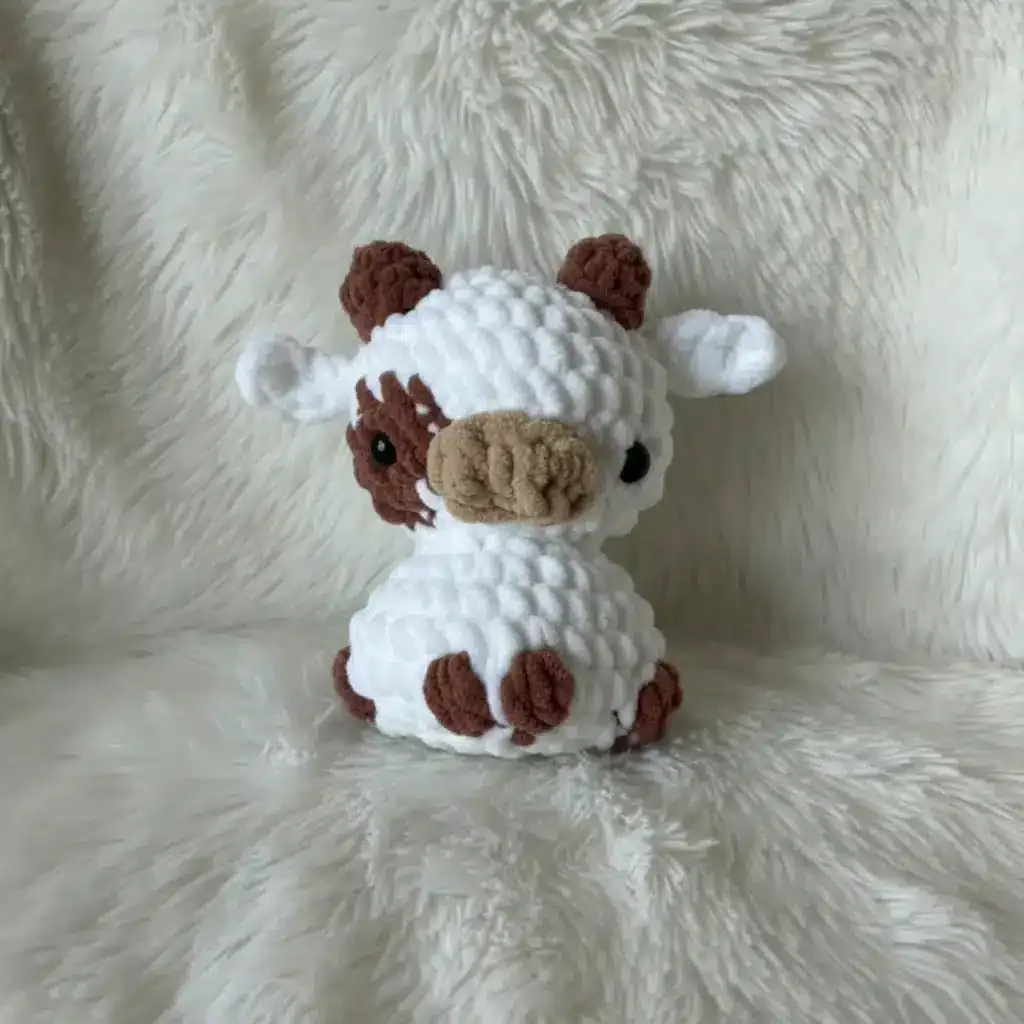
01 · The pieceWhat Crocheting an amigurumi nature cow, step by step actually is
Stitch count matters through the increase rounds — 6, 12, 18, 24, 30 — since a miscount here throws off the curve of the head before the shaping straightens into the body. Horn and ear placement, by contrast, is given as a band rather than a single round: horns sit anywhere between rounds 3 and 5, ears one round below. Nose position has more give still, centered by eye rather than by round count. Leg placement is explicitly adjustable for yarn weight and tension.
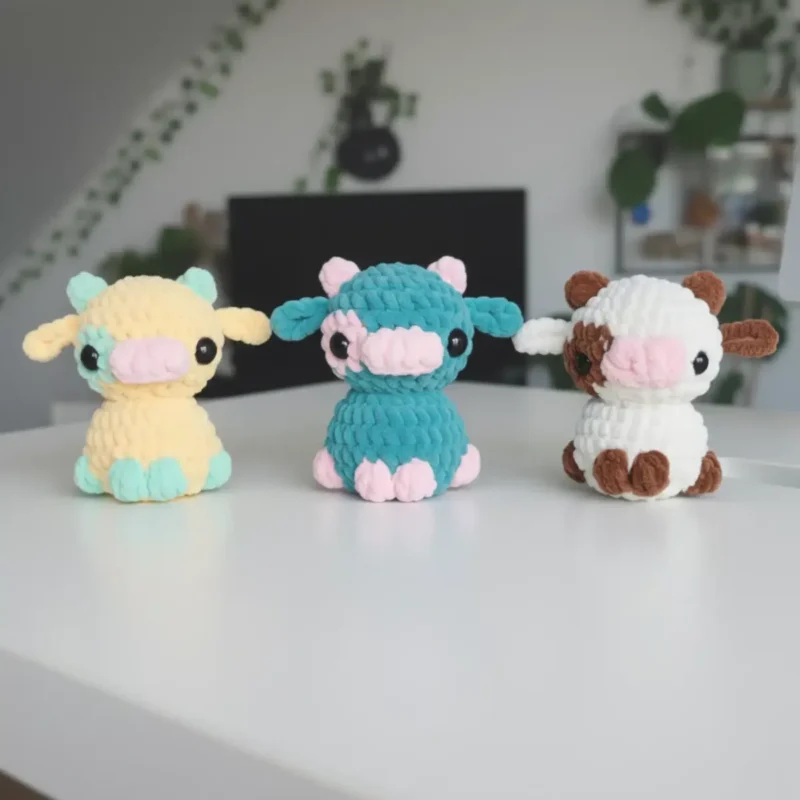
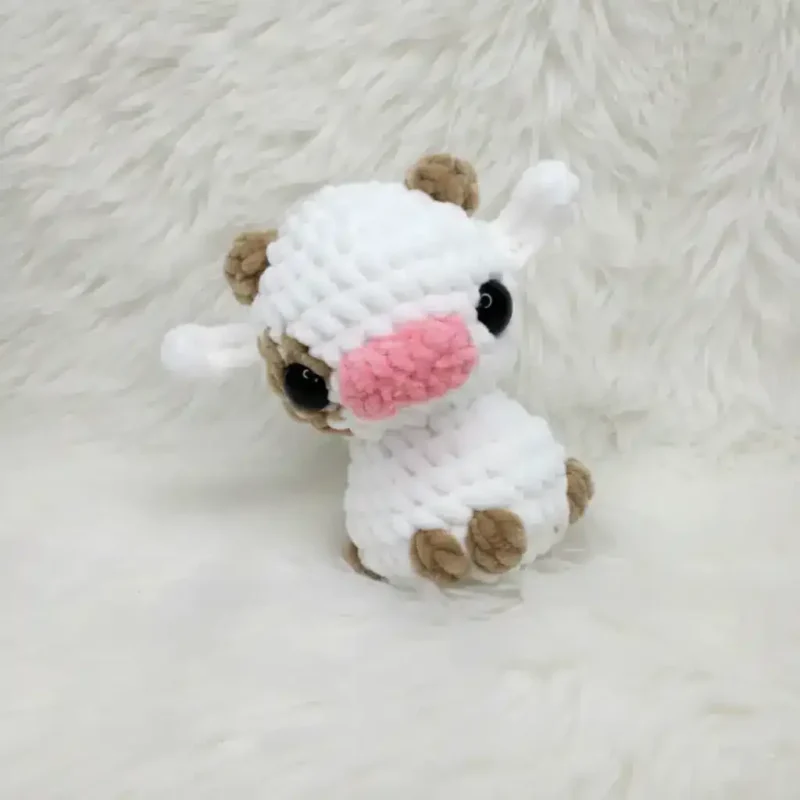
02 · The count run4 rounds across 4 parts, each with its count
US terms throughout. Every row below ends with the count that round finishes on.
| Part | Qty | Finishes on |
|---|---|---|
| Head and Body | 1 | (26) |
| Ears (Make 2) | 1 | - |
| Horns (Make 2) | 1 | - |
| Nose | 1 | - |
The head and body are worked as one continuous piece from top to bottom.
| Round | Instruction | Count |
|---|---|---|
| Rounds 1–6 | Building the Head Start with 6sc in magic ring (6 stitches) Inc around (12 stitches)(Sc, inc) x 6 (18 stitches) | (12) |
Rounds 7-9: Creating the Eye Patch
Note: Stitches shown in the color change section indicate switching to your brown yarn for the eye patch detail.
7sc, 3sc, 20sc (30 stitches)
8sc, 6sc, 19sc (30 stitches)
6sc, 4sc, 20sc (30 stitches)
| Round | Instruction | Count |
|---|---|---|
| Round 10 | Shaping the Neck (Sc, dec) x 2, sc, dec, (sc, dec) x 7 (20 stitches) | (20) |
| Round 11 | Neck Decrease Dec around (10 stitches) Eye Placement: Position safety eyes between rounds 8-9, spacing them 8 stitches apart. Begin stuffing the head firmly at this point. | - |
| Rounds 12–18 | Body Construction FLO inc around (20 stitches) (2sc, inc) x 6, 2sc (26 stitches)14-15. Sc around for 2 rounds (26 stitches) | (26) |
Complete stuffing at this point.
Dec x 10, sc (11 stitches)
Sew the opening closed and weave in all ends securely.
Using your body color yarn: Ch 5 Starting from the 2nd chain from hook: dc, 3sc Fasten off, leaving a long tail for sewing.
Using brown yarn: Ch 5 Starting from the 2nd chain from hook: Tr, 2dc, Tr Fasten off, leaving a long tail for sewing.
Using pink yarn: 6sc in magic ring (6 stitches)
Sc around (6 stitches)
Fasten off, leaving a long tail for sewing.
Techniques on this build
- Continuous rounds
- Used throughout the Head and Body — no slip stitch closes each round, so the stitch marker is the only thing marking where one round ends and the next begins.
- Magic ring
- Opens the Head and Body at round 1 with 6sc; a loose ring here throws off the 12, 18, 24, 30-stitch increases that follow.
- Working flat from a foundation chain
- Both Ears (dc, 3sc) and Horns (tr, 2dc, tr) start from a Ch 5 worked from the 2nd chain — watch the stitch heights, since swapping them swaps the shapes.
- Safety eye insertion
- Placed in the head before stuffing; the Nose is positioned relative to the eyes afterward, so eye placement sets the whole face layout.
Final fit-up
- Weave in the Ear and Horn tails as each piece comes off the hook, leaving the sewing tails long instead of trimming them.
- Stuff the Head and Body as the continuous spiral is worked, packing the head firmly before the shaping narrows toward the body.
- Close the final round of the Body, cinching the opening and running the tail through the remaining stitches before fastening off.
- Attach Horns between rounds 3–5, Ears one round below the Horns, and the Nose centered between the Safety Eyes.
How the parts fit
- The increase rounds add one more plain stitch between increases each round — sc, then (sc, inc), then (2sc, inc), then (3sc, inc) — the standard spacing pattern for rounding out a sphere from 6 to 30 stitches.
- Ears and Horns are worked flat off a Ch 5 rather than in the round, since a lobe or spike this small needs a curve, not a diameter, and a turned strip gets there with fewer stitches to track.
- There is no seam to join at the Head and Body, because continuous-round construction eliminates the slip stitch that would otherwise mark each round — the stitch marker does that job instead, invisibly.
Scaling the build
| Larger | Move up to a heavier yarn and a hook above the 4-5mm range; every stitch in the Head, Body, Ears, and Horns enlarges together, scaling the whole cow up. |
|---|---|
| Smaller | Drop to a smaller hook with finer yarn to tighten gauge across all pieces uniformly, without changing the stitch counts already set in the increase rounds. |
| Wider body | Repeat one of the increase rounds (the 24-stitch or 30-stitch round) once more before continuing, adding diameter at that point without reshaping the head above it. |
03 · Putting it togetherHow the pieces go together
- S1
Follow these steps to bring your cow to life:
- S2
Attach the horns between rounds 3-5 on top of the head
- S3
Sew the ears one round below the horns
- S4
Position the nose centered between the safety eyes
- S5
Take your time with assembly to ensure all pieces are securely attached and symmetrically placed for the best appearance.
04 · Snag listWhat went wrong on the bench, and the fix
Snag 1
Losing the round start
Move the stitch marker into the first stitch of the new round immediately after working it, not at the end of the round.
Snag 2
Miscounting the magic ring
Count the 6sc before pulling the ring closed; starting round 2 with the wrong base throws off every increase round after it.
Snag 3
Swapping Horn and Ear stitches
Horns use Tr, 2dc, Tr for a pointed shape; Ears use dc, 3sc for a rounder lobe. Check which piece is on the hook before working the second half of the chain.
Snag 4
Sewing horns outside the band
Mark rounds 3 and 5 with locking stitch markers before stuffing, then place the Horns within that band and the Ears one round below rather than guessing by eye afterward.
05 · QueriesQuestions logged against this build
Why isn't there a slip stitch at the end of each round?
The Head and Body are worked in continuous rounds, not joined rounds, so there is no slip stitch and no jog where colors or rounds would otherwise meet. Track round starts with a stitch marker instead.
How do I know exactly where to place the horns?
The pattern gives a band, not a single round: anywhere between rounds 3 and 5 on top of the head. Mark that band with locking stitch markers before sewing so both horns land at matching heights.
What safety eye size should I use?
The materials list gives a 9-16mm range; choose toward the larger end for a bulkier yarn weight and smaller for finer yarn, since eye size should scale with the head stitches around it.
06 · Made byWho counted this one

Who writes Amigurumi Addict, how a build gets its number, and why every round on the site carries a stitch count.
07 · Next off the benchThree builds that sit near this one

Animals
Crochet a bunny or frog from one amigurumi base
How do you crochet a bunny and a frog from one base? Share Legs, Body, and Head; swap ears or eyes.

Animals
Crochet giraffe amigurumi pattern with horns and ears
How do you crochet a giraffe amigurumi? Shape head, body, legs, ears and horns in worsted yarn.

Animals
Amigurumi cat crochet pattern with oval muzzle and bow
How do you crochet an amigurumi cat with a flat muzzle? Shape it separately, pinch it, then sew it on.
Join the build log
One message when a build is issued
A drawing and its parts list, when one leaves the bench.