| Shelf | Level | Time | Hook | Yarn |
|---|---|---|---|---|
| Mini and keychains | Intermediate | 4-6 Hours | 1.75 mm | DK |
Amigurumi Sheep Keychain Crochet Pattern (Free)
Make an adorable amigurumi sheep keychain with this free crochet pattern using a tiny 1.75mm hook, plush yarn, and simple embroidered details.
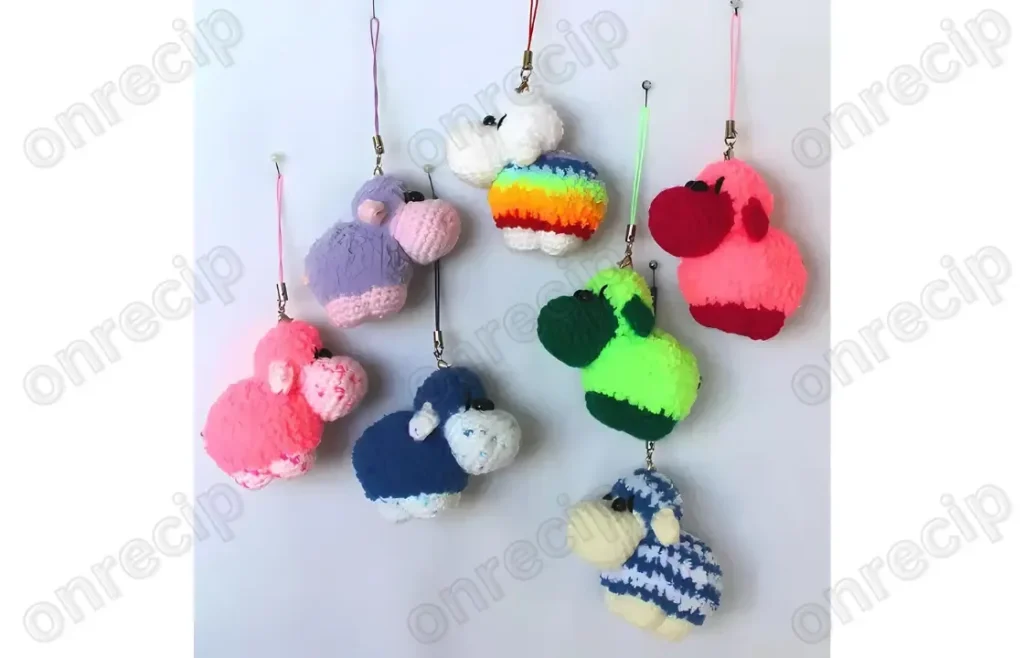
01 · The pieceWhat Amigurumi Sheep Keychain Crochet Pattern (Free) actually is
This little amigurumi sheep keychain is proof that big charm can come in a tiny package. Worked mostly in rounds with a fine 1.75 mm hook, the head builds up over 12 rounds into a plump, huggable shape topped off with a soft embroidered muzzle and sweet safety eyes. It's the kind of quick-grab project that's perfect for crocheters who love working small — attach it to a bag, backpack, or keyring and you've got an instant conversation starter.
The pattern relies on classic amigurumi fundamentals: magic ring starts, single crochet increases and decreases to shape the rounded head, and careful stitch counting to keep rows even at such a small gauge. Because the hook is so tiny (1.75 mm) and the yarns are plush but fine, this project sits comfortably in intermediate territory — beginners who've made a round amigurumi ball or two before will pick it up quickly, while more experienced crocheters will breeze through it in an evening or two.
Once stuffed and finished, you'll have a squishy, palm-sized sheep face full of personality, with the soft halo of Alize Softy yarn giving it a fluffy, wool-like texture that mimics real sheep fleece beautifully. It's an ideal quick gift — pop it on a set of keys, a diaper bag, or a purse zipper, or tie a ribbon through it for an easy stocking-stuffer-style present any time of year.
- Start the head with a magic ring and work single crochet increases to build a rounded shape over the first several rounds.
- Continue through the middle rounds, maintaining even stitches so the head grows into a smooth, symmetrical dome.
- Begin gradual decreases as you approach the final rounds to curve the head back inward toward closure.
- Insert safety eyes partway through, checking spacing carefully before locking the washers in place.
- Stuff the head firmly but gently as you work the last few rounds so filling stays evenly distributed.
- Close the final round and weave in the yarn tail securely to seal the head completely.
- Embroider the muzzle details by hand using contrasting thread for a soft, expressive sheep face.
- Attach a keychain loop at the top and sew it in tightly so the finished charm holds up to daily use.
02 · The count run12 rounds across 1 part, each with its count
US terms throughout. Every row below ends with the count that round finishes on.
| Part | Qty | Finishes on |
|---|---|---|
| Head | 1 | - |
We start knitting with smooth threads.
| Round | Instruction | Count |
|---|---|---|
| Round 1 | 4 ch, 2 sc in the second stitch from the hook, 1 sc, 3 sc in the last stitch. Then we knit on the other side of the chain: 1 sc, 1 sc in the first stitch of the chain (8) | - |
| Round 2 | (inc) x 2 times, 1 sc, (inc) x 3 times, 1 sc, inc (14) | - |
| Round 3 | (1 sc, inc) x 2 times, 1 sc, (1 sc, inc) x 3 times, 2 sc, inc (20) | - |
| Round 4 | (3 sc, inc, 5 sc, inc) x 2 times (24) | - |
| Round 5-7 | 24 sc | - |
| Round 8 | (2 sc, dec) x 6 times (18) | - |
| Round 9 | 18 sc | - |
| Round 10 | (2 sc, inc) x 6 times (24)Cut the smooth yarn, tie the fluffy one. | - |
| Round 11-12 | 24 sc | - |
| Round 13 | (2 sc, dec) x 6 times (18) | - |
| Round 14 | (1 sc, dec) x 6 times (12) | - |
Now you need to stuff the head with holofiber. Distribute the filler inside, knead the part, and shape a beautiful muzzle.
| Round | Instruction | Count |
|---|---|---|
| Round 15 | decrease until the hole is closed | - |
03 · Before it goes to a childWhat has to be right, and what is allowed to drift
- 💡 Keep your 1.75 mm hook and yarn tension consistent throughout — even small variations show up quickly at this tiny gauge, so try to crochet in one relaxed sitting when possible.
- 💡 Stuff as you go rather than waiting until the very end; it's much easier to distribute fiberfill evenly through a small opening than to stuff a fully closed head.
- 💡 Thread a scrap piece of contrasting yarn through round 1 as a visual anchor if you're worried about losing your place in the earlier increase rounds.
- 💡 Test your safety eye placement with removable pins first, since safety eyes are permanent once the washers are snapped on.
- 💡 Save your embroidery for last, after the head is fully stuffed and sewn — it's much easier to keep muzzle stitches even on a firm, filled surface than a floppy one.
04 · Snag listWhat went wrong on the bench, and the fix
Snag 1
Losing track of stitch count
Use a stitch marker at the start of every round and count your stitches after each round before moving on — with only 12 rounds total, catching an error early saves you from unraveling a lot of tiny, tight stitches.
Snag 2
Using a hook that's too large
Stick with the 1.75 mm hook or size down slightly if your tension runs loose; tight, gap-free stitches are essential at this scale so the stuffing doesn't peek through.
Snag 3
Pulling the magic ring closed
Tug the yarn tail firmly until the center hole is fully closed, then weave the tail through a few stitches to secure it before continuing, so there's no hole at the top of the head.
Snag 4
Overstuffing or understuffing the head
Add stuffing gradually in small pieces as you work the final rounds, checking that the head feels firm but still slightly squeezable, not lumpy or misshapen.
Snag 5
Placing the safety eyes
Insert the eye posts but don't lock the washers yet — hold the piece at arm's length, adjust placement, and only secure them once you're happy with the symmetry and expression.
Snag 6
Embroidering the muzzle details
Use a finer embroidery thread and take small, even stitches, pulling gently after each pass so the muzzle lines stay crisp and don't sink into the plush yarn texture.
05 · VariantsOther ways to issue this one
One of my favorite things about this sheep keychain is how easy it is to remix. For a color twist, try a black-faced Suffolk sheep look by using a dark brown or black Nako Bambino for the muzzle and legs against a snowy white Alize Softy body — instant farmyard realism. Want a pastel nursery vibe instead? Swap in soft lilac, blush pink, or baby blue for the body yarn and keep the muzzle in a warm caramel tone for contrast. If you're working with what's in your stash, any DK-weight plush yarn can sub in for Alize Softy (Bernat Baby Velvet or Himalaya Dolphin Baby work nicely), and a smooth cotton-acrylic blend like Nako Bambino can be swapped for Scheepjes Softfun or Vanna's Choice for the muzzle and legs. Sizing up is simple too — grab a 2.5 mm or 3 mm hook with a slightly thicker yarn and your 12-round head will scale up proportionally into a bigger ornament, bag charm, or even a small stuffed toy rather than a keychain. For themed versions, consider curly-textured yarn like Ricorumi loop yarn for a fuzzy, freshly-shorn sheep look, or add tiny crocheted flowers or a bow around the neck for a springtime edition. You could also skip the keychain hardware entirely and turn this same head pattern into a mini brooch, a bag charm cluster paired with other mini amigurumi farm animals, or a garland by chaining several sheep heads together with contrasting ribbon. However you style it, this little pattern is endlessly adaptable to whatever color palette or gifting occasion you have in mind.
06 · QueriesQuestions logged against this build
What size hook do I really need for this sheep keychain?
A 1.75 mm hook is called for and it's important for keeping stitches tight enough that stuffing won't show through. If you only have a 2 mm hook, you can use it, but expect a slightly looser, larger finished head.
Can I use a different yarn weight than Nako Bambino or Alize Softy?
Yes, any soft DK-weight yarn will work as a substitute, just keep in mind that a thicker yarn will make the finished sheep noticeably bigger. Try to match a plush yarn for the body and a smoother yarn for the muzzle and legs to keep the same textural contrast.
How long does it take to finish the head?
Most crocheters can complete the 12-round head in one to two hours once comfortable with the stitch pattern, with the small hook size being the main thing that slows the pace. Add extra time for stuffing, attaching eyes, and embroidering the muzzle.
Do I need safety eyes, or can I embroider the eyes instead?
Safety eyes are recommended for that classic amigurumi look and are quick to attach securely, but you can absolutely embroider small French knots instead if the keychain is for a very young child. Just make sure any embroidered features are stitched tightly and secured well on the inside.
What's the best way to attach the keychain hardware?
Sew a small fabric or crochet loop securely into the top of the head using your sewing needle and a doubled strand of yarn, then clip a metal keyring or lobster clasp through the loop. Reinforce the stitching a few extra times since keychains get a lot of wear and tug.
Original pattern: https://onrecip.com/free-amigurumi-sheep-keychain-crochet-pattern/
07 · Made byWho counted this one

Who writes Amigurumi Addict, how a build gets its number, and why every round on the site carries a stitch count.
08 · Next off the benchThree builds that sit near this one
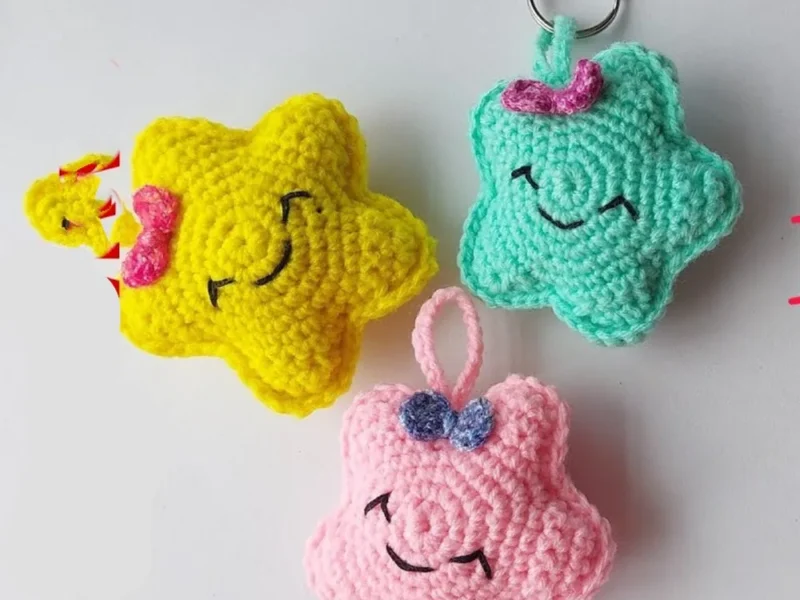
Mini and keychains
Star amigurumi keychain: a beginner’s build
How do you crochet a star amigurumi keychain? Crochet a five-pointed star from two pieces, sew and stuff them, add a
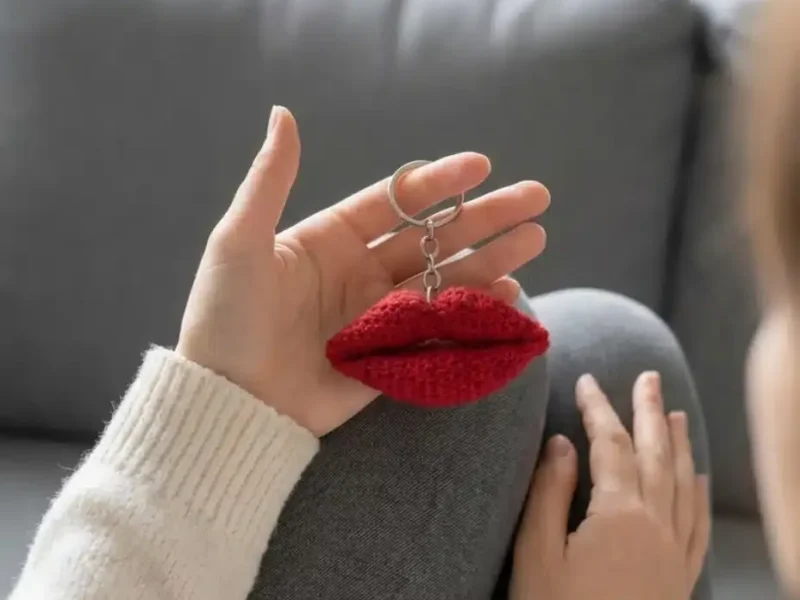
Mini and keychains
Crochet lips keychain: a two-piece amigurumi build
How do you crochet a lips keychain? Two lip pieces stuffed, closed, and seamed for a quick amigurumi gift.
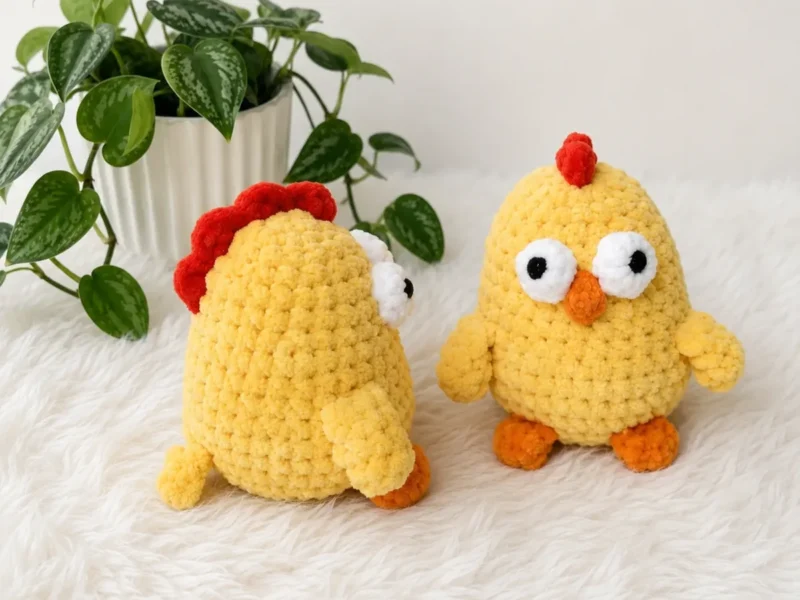
Mini and keychains
How to crochet a chick keychain amigurumi
How do you crochet a chick keychain? Shape the body-head, fold the legs flat, then attach eyes and beak.
Join the build log
One message when a build is issued
A drawing and its parts list, when one leaves the bench.