| Shelf | Level | Time | Hook | Yarn |
|---|---|---|---|---|
| Odds and ends | Beginner | 1-2 Hours | 12 mm | Super Bulky |
Chunky Ribbed Winter Hat Free Crochet Pattern
Make a cozy chunky ribbed winter hat with this free crochet pattern using super bulky yarn — beginner-friendly, fast, and finished with a fun pom pom.
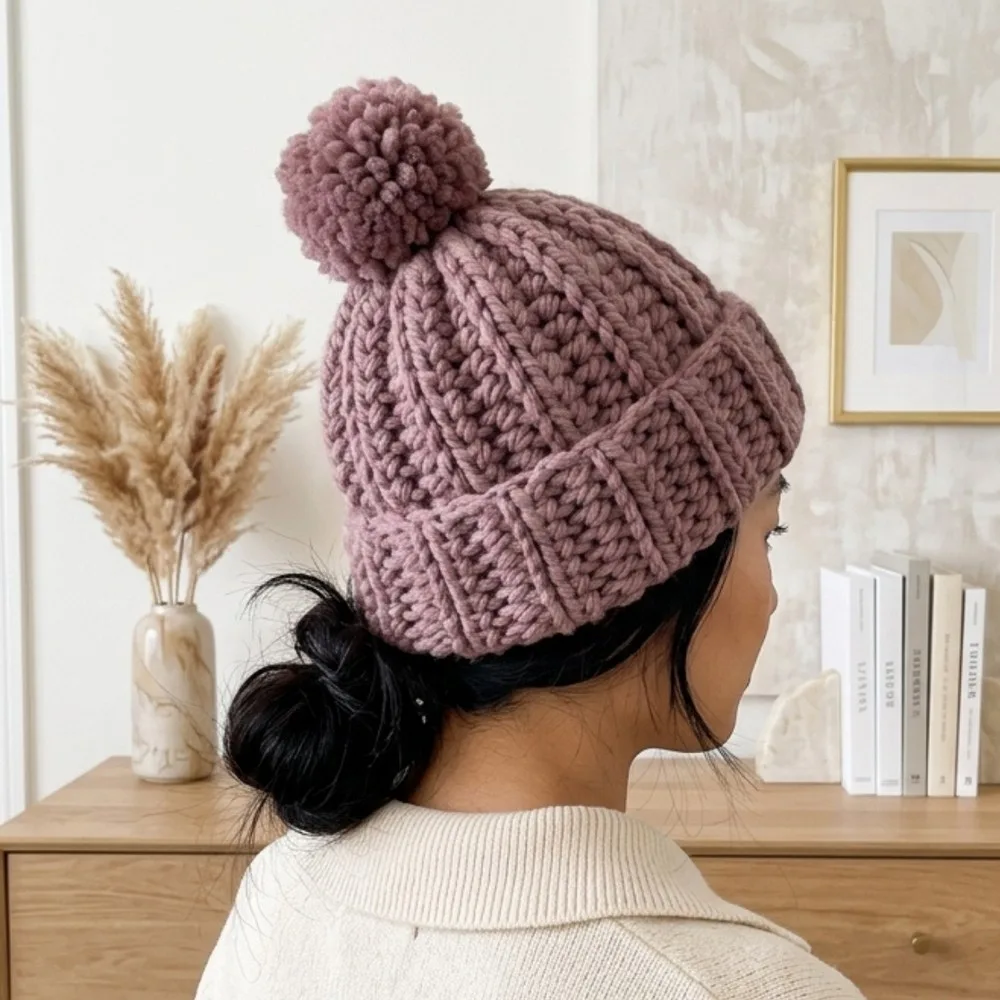
01 · The pieceWhat Chunky Ribbed Winter Hat Free Crochet Pattern actually is
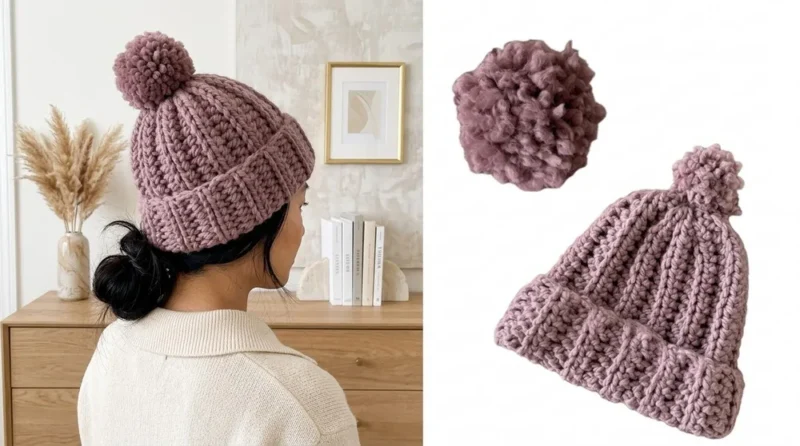
This chunky ribbed hat is the ultimate grab-and-go winter accessory, worked up in a super bulky weight yarn that makes every stitch feel substantial and satisfying. The ribbed texture gives it a classic, cozy look that pairs perfectly with the fluffy handmade pom pom on top. It's ideal for beginners who want a finishing-first project, or for experienced crocheters who need a fast, foolproof gift.
Using a 12mm hook and thick yarn, this pattern relies on simple, repeatable stitches worked in rounds to build the ribbing effect without any complicated shaping. It's an easy skill-level project start to finish, with most hats coming together in about an hour or two once you get into a rhythm. Because the design is fully adjustable, you can easily customize the starting chain and row count for any head size.
The finished hat has a snug, stretchy fit thanks to the ribbed construction, with a soft slouch and a cheerful pom pom finishing touch. It feels substantial and warm without being bulky to wear, striking that sweet spot between fashion and function. Whether you keep it for yourself or wrap it up for a friend, this hat makes a thoughtful, handmade winter gift that feels far more special than anything store-bought.
- Gather your super bulky yarn, 12mm hook, and pom pom-making supplies before you begin.
- Start with a foundation chain sized to fit the wearer's head circumference.
- Join the chain into a round and begin working the ribbed stitch pattern across the first round.
- Continue working the ribbing pattern round after round, keeping tension relaxed for a stretchy fabric.
- Check the fit periodically by trying the hat on or measuring against the wearer's head.
- Finish off once the hat reaches the desired height, then weave in all loose ends securely.
- Wind yarn around a paper towel roll to create a full, fluffy pom pom for the crown.
- Sew the pom pom firmly onto the top of the hat using your tapestry needle.
02 · The count run3 rounds across 1 part, each with its count
US terms throughout. Every row below ends with the count that round finishes on.
| Part | Qty | Finishes on |
|---|---|---|
| Foundation | 1 | - |
Leave a 16–20 inch tail (to sew the hat later).
Make a slip knot and place on hook.
Ch 25 .
For a longer hat (with fold-over brim), chain more.
| Round | Instruction | Count |
|---|---|---|
| Round 1 | Hdc in 2nd ch from hook and in each ch across (24 hdc). At end, turn your work. | - |
| Round 2 | Ch 1 ( does not count as a stitch ), turn. Blo hdc (half double crochet in back loop only) in each st across except the last stitch .In the last stitch: work a regular hdc through both loops. | - |
| Round 3 | Row 24 Repeat Row 2: ch 1, turn, work blo hdc in each st except last st (regular hdc in both loops).Continue until you have 24 rows , or until the rectangle fits comfortably around your head when stretched. | - |
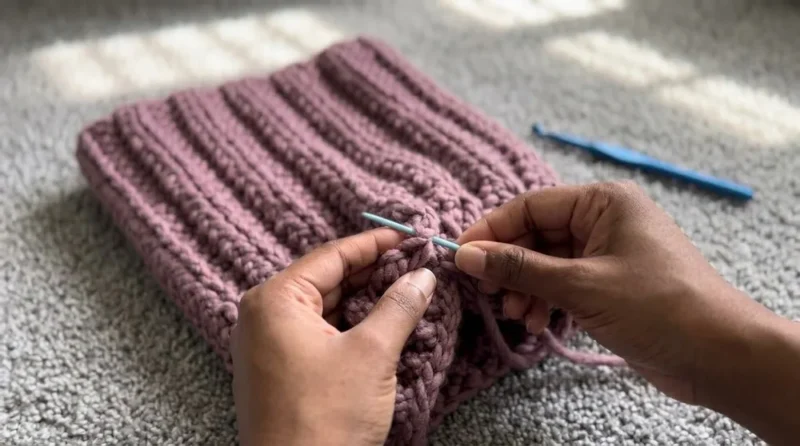
2. Seaming the Hat Align both short ends of the rectangle together.
3. Closing the Crown Thread the remaining yarn onto the needle.
Lightly pull on the tail to cinch the top closed.
03 · Putting it togetherHow the pieces go together
- S1
Ch 1 and fasten off, leaving a long tail for seaming.
04 · Before it goes to a childWhat has to be right, and what is allowed to drift
- 💡 Always use a 12mm hook for this pattern — going smaller will fight against the drape that gives this hat its signature stretchy, ribbed texture.
- 💡 Two skeins of Wool Ease Thick and Quick is the sweet spot for most adult sizes, so grab extra if you're making a larger or slouchier version.
- 💡 Place a stitch marker at the start of every round from the very first stitch — with thick yarn it's surprisingly easy to lose your place.
- 💡 Save a length of yarn tail before finishing so you have enough left over to sew the pom pom on securely without needing to add new yarn.
- 💡 A paper towel roll cut into rings works beautifully for pom pom making and gives you consistent, full-sized pom poms every time.
- 💡 Block your finished hat lightly by stretching it over a bowl or balloon while damp to help the ribbing relax into an even, professional-looking shape.
05 · Snag listWhat went wrong on the bench, and the fix
Snag 1
Working stitches too tightly with the thick yarn and large hook, making it hard to insert the hook into the next stitch.
Keep your tension relaxed and let the yarn glide through your fingers rather than gripping tightly — the bulk of the yarn will naturally hold its shape.
Snag 2
Losing track of where the round begins, which throws off the ribbed pattern's consistency.
Place a stitch marker in the first stitch of each round and move it up as you go so you always know exactly where to start and stop.
Snag 3
Using a hook smaller than 12mm because it 'feels more secure,' resulting in a stiff, non-stretchy fabric.
Stick with the recommended 12mm hook — the larger size is essential for creating the soft, stretchy drape that makes this hat comfortable to wear.
Snag 4
Not adjusting the starting chain length for different head sizes, resulting in a hat that's too tight or too loose.
Measure the intended wearer's head circumference before starting and adjust the foundation chain length accordingly, testing the fit as you work the first few rounds.
Snag 5
Rushing the pom pom construction and ending up with a thin, sparse pom pom instead of a full, fluffy one.
Wrap the yarn around your paper towel roll generously — more wraps mean a denser, fuller pom pom, so don't be afraid to use extra yardage here.
Snag 6
Sewing the pom pom on with a single loose stitch, causing it to fall off after light wear.
Use your yarn needle to secure the pom pom with several sturdy stitches through its center, anchoring it firmly to the crown of the hat.
06 · VariantsOther ways to issue this one
This pattern is endlessly customizable, which is part of what makes it so fun to revisit. For a bold statement piece, try working it in a rich mustard or forest green Wool Ease Thick and Quick instead of a neutral, and pair it with a contrasting cream pom pom for a pop of color. If you want a softer, more luxurious feel, swap in a chunky alpaca-blend yarn like Loops & Threads Cozy Wool for extra drape and warmth against the skin. For sizing, remember the whole hat scales off your starting chain and row count — add a few extra chains for an adult with a larger head, or reduce the chain length and work fewer rows for a toddler-sized version. You can also skip the pom pom entirely for a sleeker, minimalist look, or add two smaller pom poms on either side for a playful earflap-style vibe. Consider a two-tone striped effect by changing yarn colors every few rows as you build the ribbing, which adds visual interest without changing the stitch pattern itself. For gifting, monogram-style felt patches or a small crocheted flower sewn onto the brim can personalize the hat further. Seasonal palettes are fun too — icy blues and whites for a winter-wonderland feel, or deep burgundy and cream for a cozy cabin aesthetic. If you're making several as gifts, batch-cutting your pom pom loops ahead of time using the same paper towel roll speeds up the whole process significantly.
I love this hat because it proves that cozy and quick can absolutely go together. Working with super bulky yarn and a 12mm hook means every round flies by — you can watch real progress happen in minutes instead of hours. The ribbed texture is one of my favorite effects in crochet; it's simple to execute but looks so intentional and polished once it's blocked into shape. There's something deeply satisfying about seeing that stretchy, springy fabric build up round after round, knowing it's going to hug someone's head perfectly. And then there's the pom pom — rolling up a paper towel tube to wind your yarn around feels like such a fun, old-school craft moment, and the payoff is that fluffy, cheerful topper that makes the whole hat feel finished and special. This is the pattern I reach for when I want a guaranteed win: minimal counting, maximum coziness, and a handmade result that looks like it took way more effort than it actually did.
07 · QueriesQuestions logged against this build
What yarn weight works best for this winter hat pattern?
Super bulky weight 6 yarn is essential here, Wool Ease Thick and Quick being the recommended choice. This weight is what allows the hat to work up so quickly and gives the ribbing its signature cozy texture.
How do I resize this hat for a child or a larger adult?
Simply adjust the length of your starting foundation chain and the number of rows worked — a shorter chain and fewer rows creates a smaller hat, while a longer chain and more rows fits a larger head. Measure the wearer's head circumference first to get an accurate starting point.
Do I really need a 12mm hook, or can I use a smaller one?
The 12mm hook is important for getting the right stretchy, drapey fabric this pattern is known for. A smaller hook will make the stitches too tight and stiff, losing the soft, cozy feel.
How do I make the pom pom without a special pom pom maker tool?
You can use a paper towel roll or a sturdy envelope as your winding guide instead of a store-bought tool. Wrap your yarn generously around it, tie it off tightly in the center, cut the loops, and trim into a round shape.
How many skeins of yarn do I need to make this hat?
Two skeins of Wool Ease Thick and Quick are recommended for a small hat, and you may want extra for larger sizes or a fuller pom pom. It's always smart to keep a little extra on hand in case you want to lengthen the hat.
Is this pattern actually beginner-friendly?
Yes, this is a great project for beginners since it relies on simple, repeated stitches worked in rounds without complex shaping. The thick yarn and large hook also make stitches easy to see and work with, which helps when you're still learning.
Original pattern: https://redagapeblog.com/winter-hat-free-crochet-pattern/
08 · Made byWho counted this one

Who writes Amigurumi Addict, how a build gets its number, and why every round on the site carries a stitch count.
09 · Next off the benchThree builds that sit near this one

Odds and ends
Crochet a phone bag with strap, flap, and ring closure
How to crochet a phone bag? Join rounds from a 30-chain base, add a strap, flap, and ring.

Odds and ends
Crochet worsted weight socks with a turned heel
How do you crochet socks for winter? Build toe-up in worsted weight with a folded heel and ribbed leg.

Odds and ends
Toe-Up Woodland Walker Crochet Socks With Colorwork Cuff
How do you crochet toe-up socks with a colorwork cuff? Build the Toe, Heel, and stranded Cuff in order.
Join the build log
One message when a build is issued
A drawing and its parts list, when one leaves the bench.